Much Ado About Tassels
/This past week has flown by! I’m sure everyone participating in the One Room Challenge would say the same. But glory hallelujah, I’m done making tassels! The final total was 210, a little short of the 4 million it felt like.
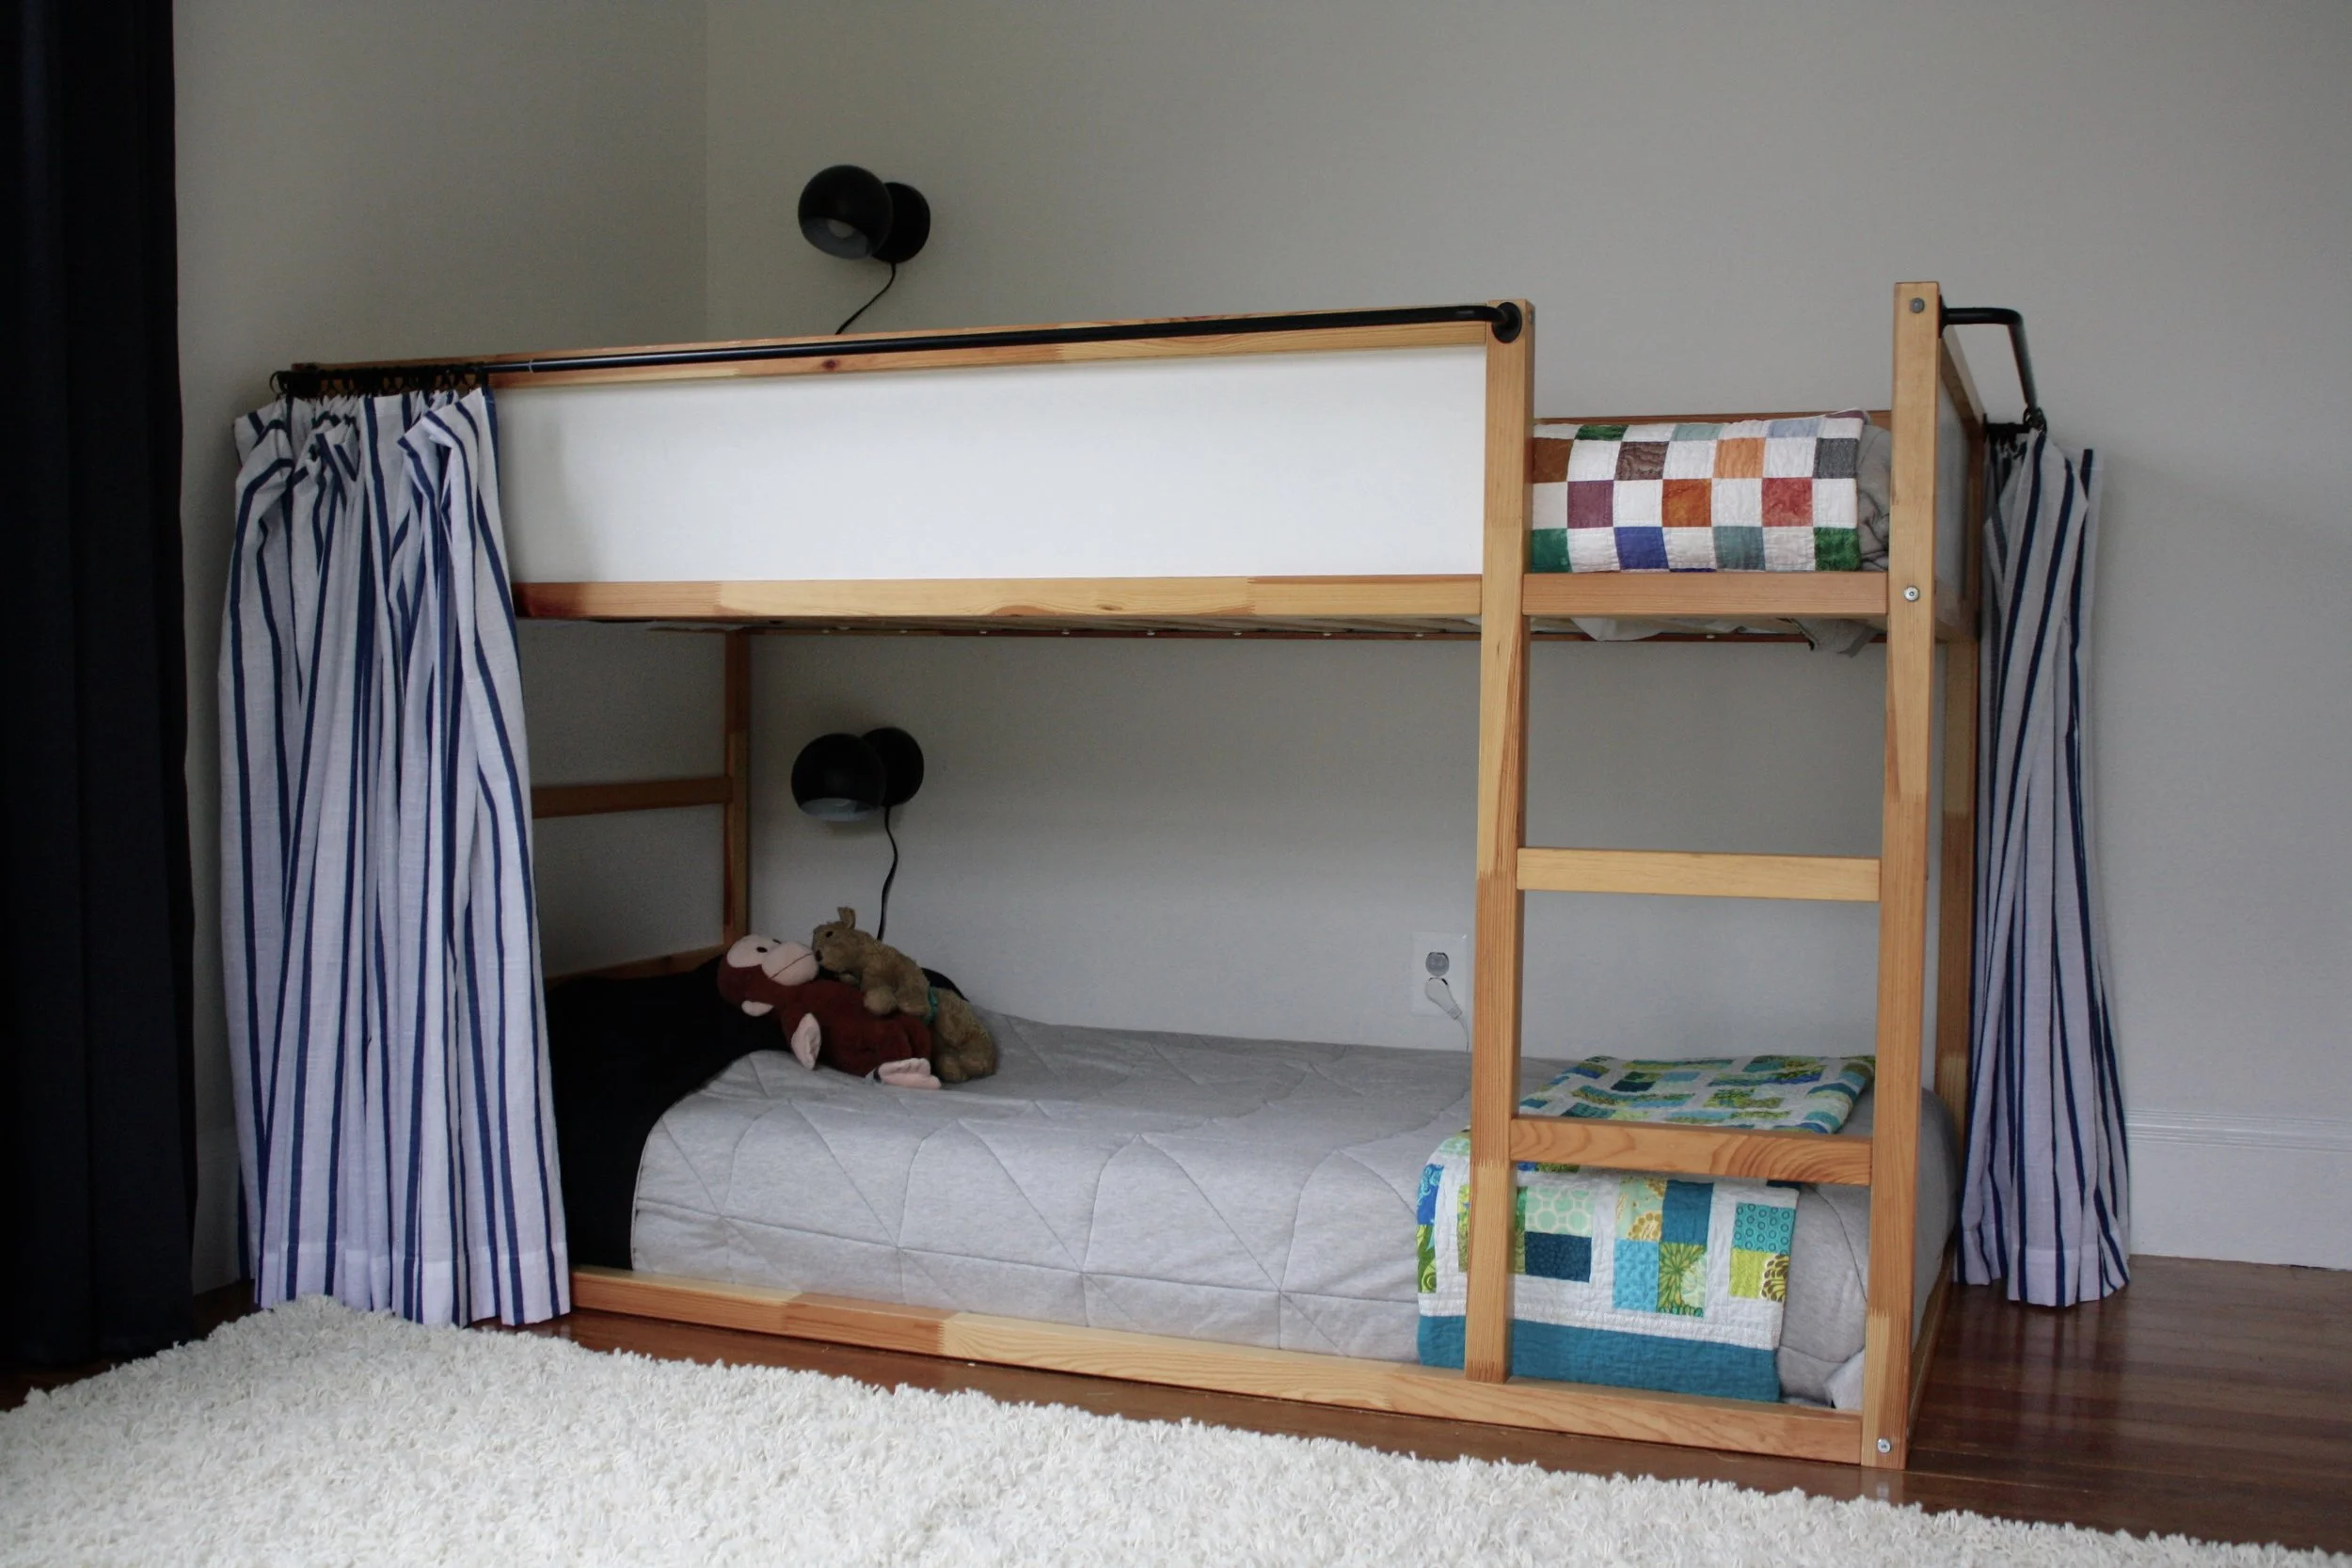
For any new readers, the One Room Challenge is a biannual decor and design event that takes place every spring and fall. This Fall 2018 Challenge marks its fourteenth season! Each Challenge there are 20 designers selected to transform a space, and they document their progress every Wednesday for 6 weeks. In addition, anyone with a blog can take part as a Guest Participant. Each Thursday the guests post links to their progress, inspiring and encouraging others as they participate. And that’s me, a Guest Participant! I’m making over my boys shared bedroom, giving it a touch of whimsey and lots of function.

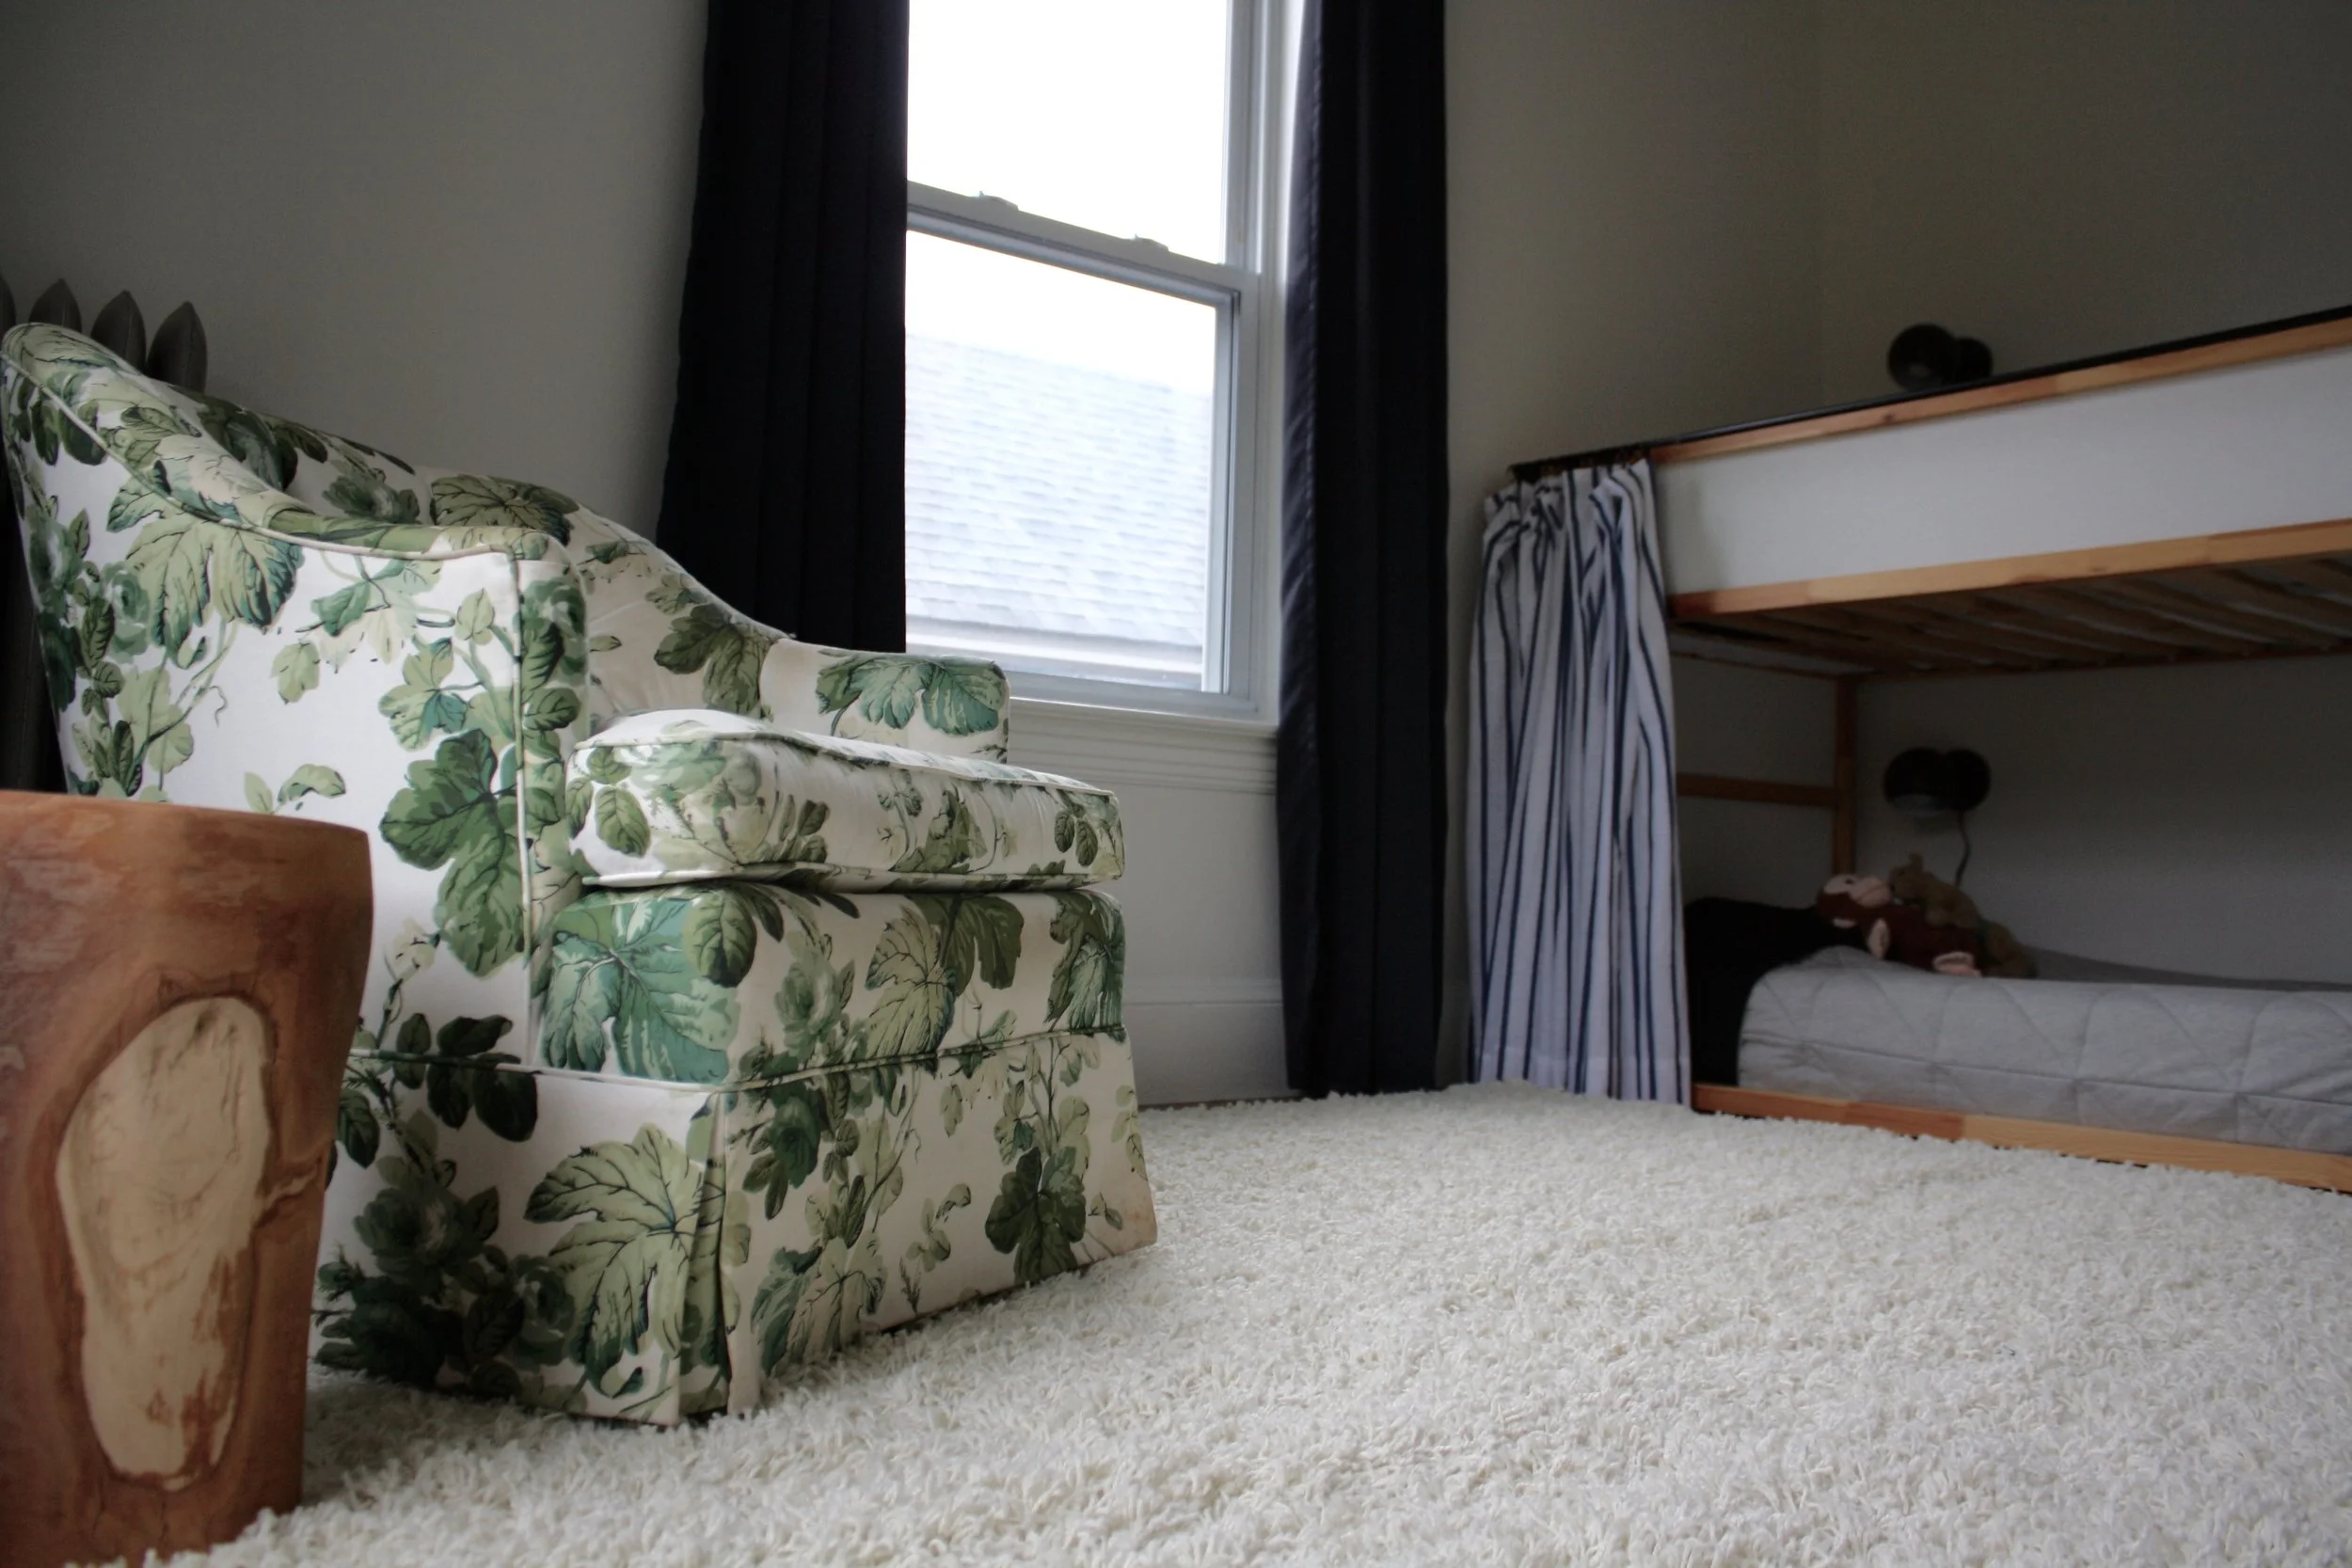
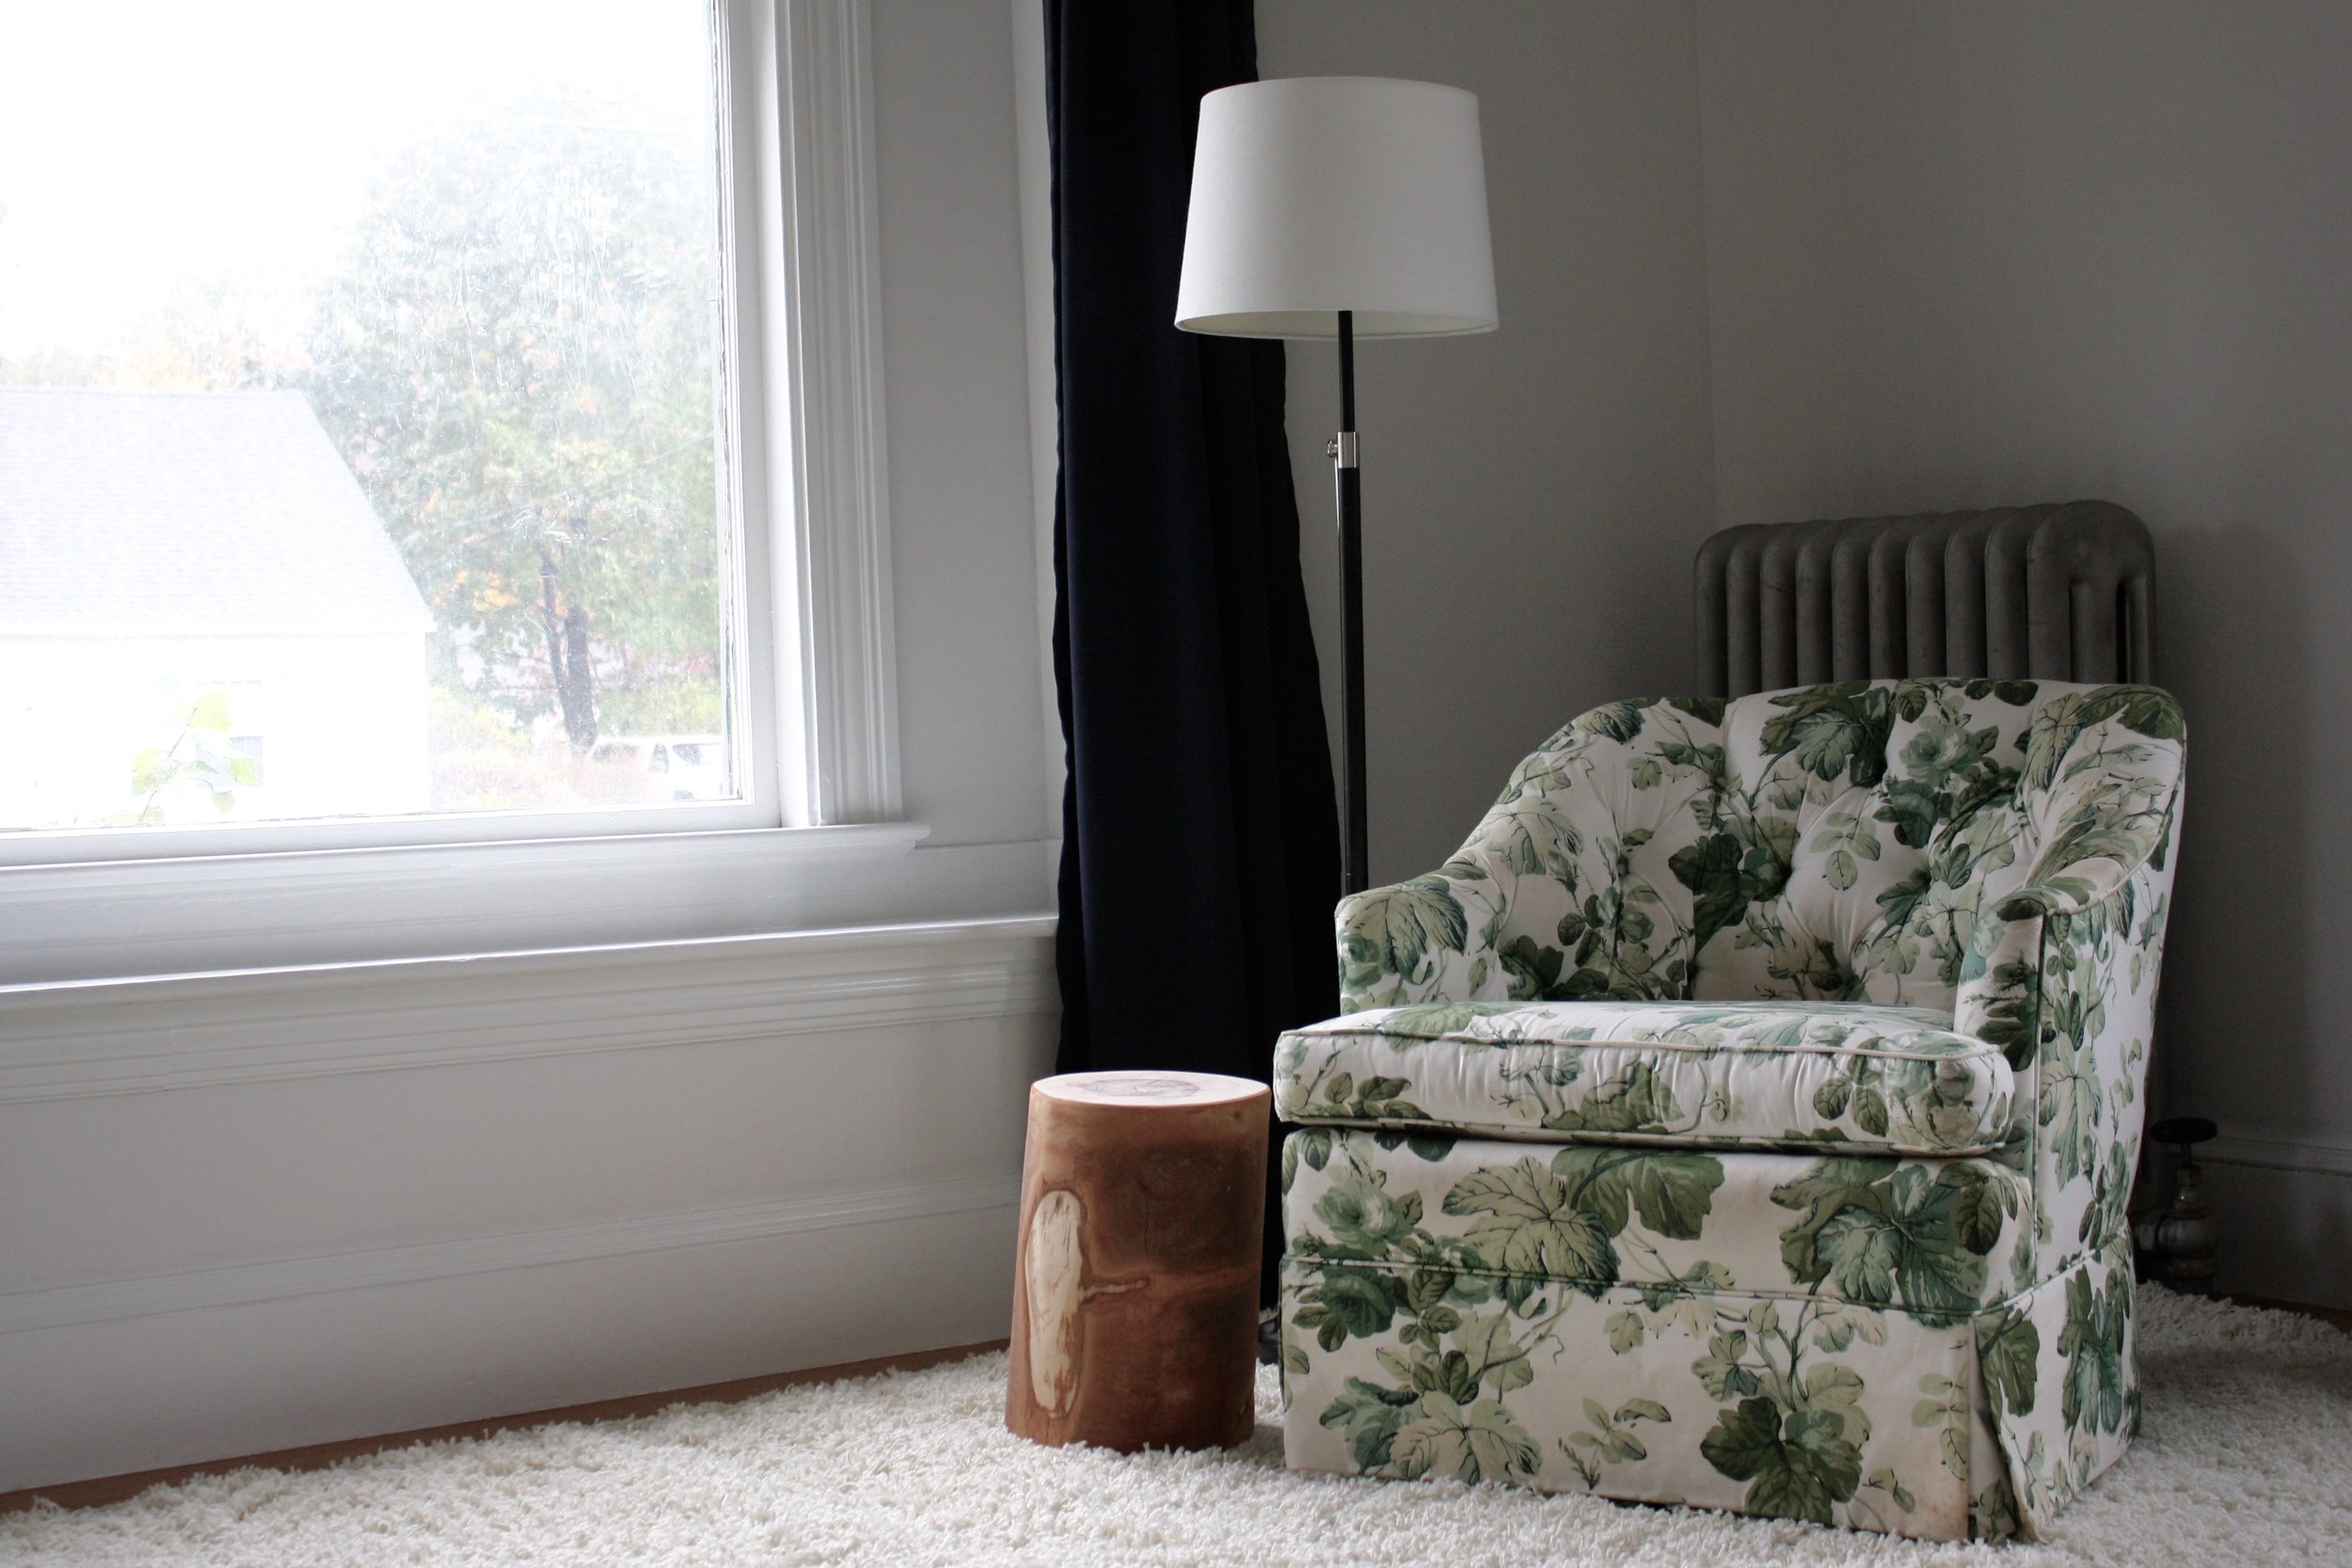
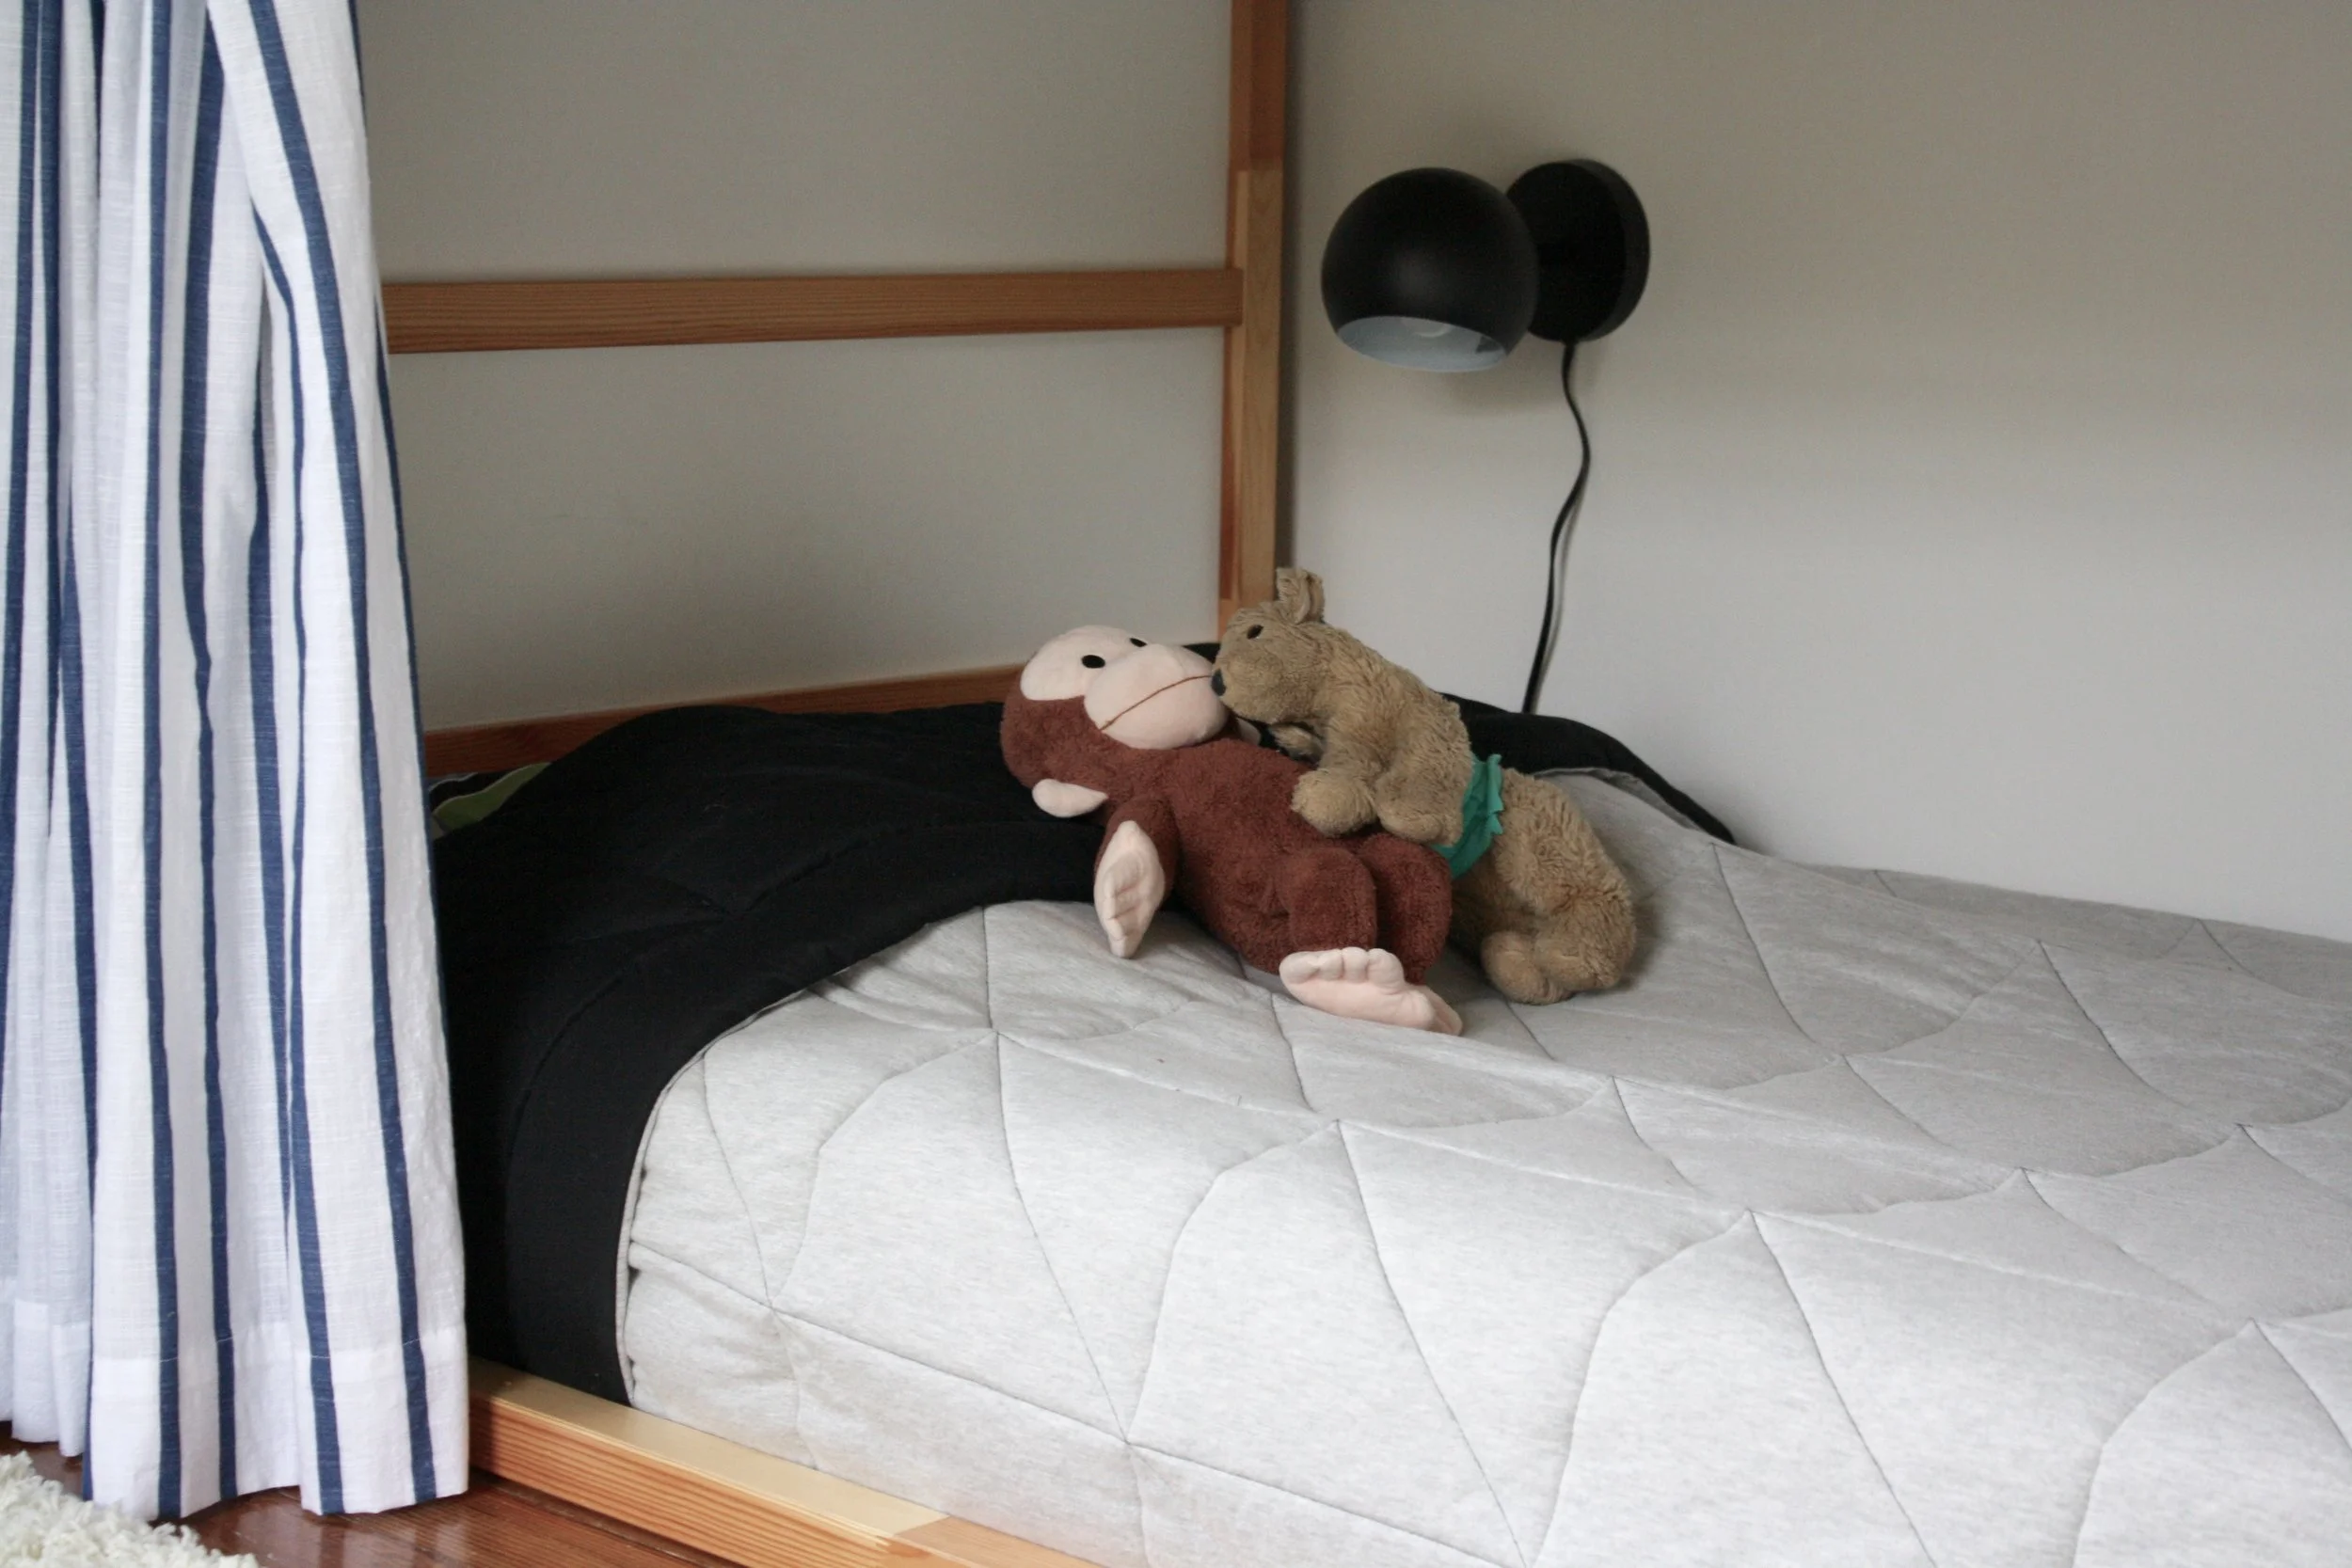
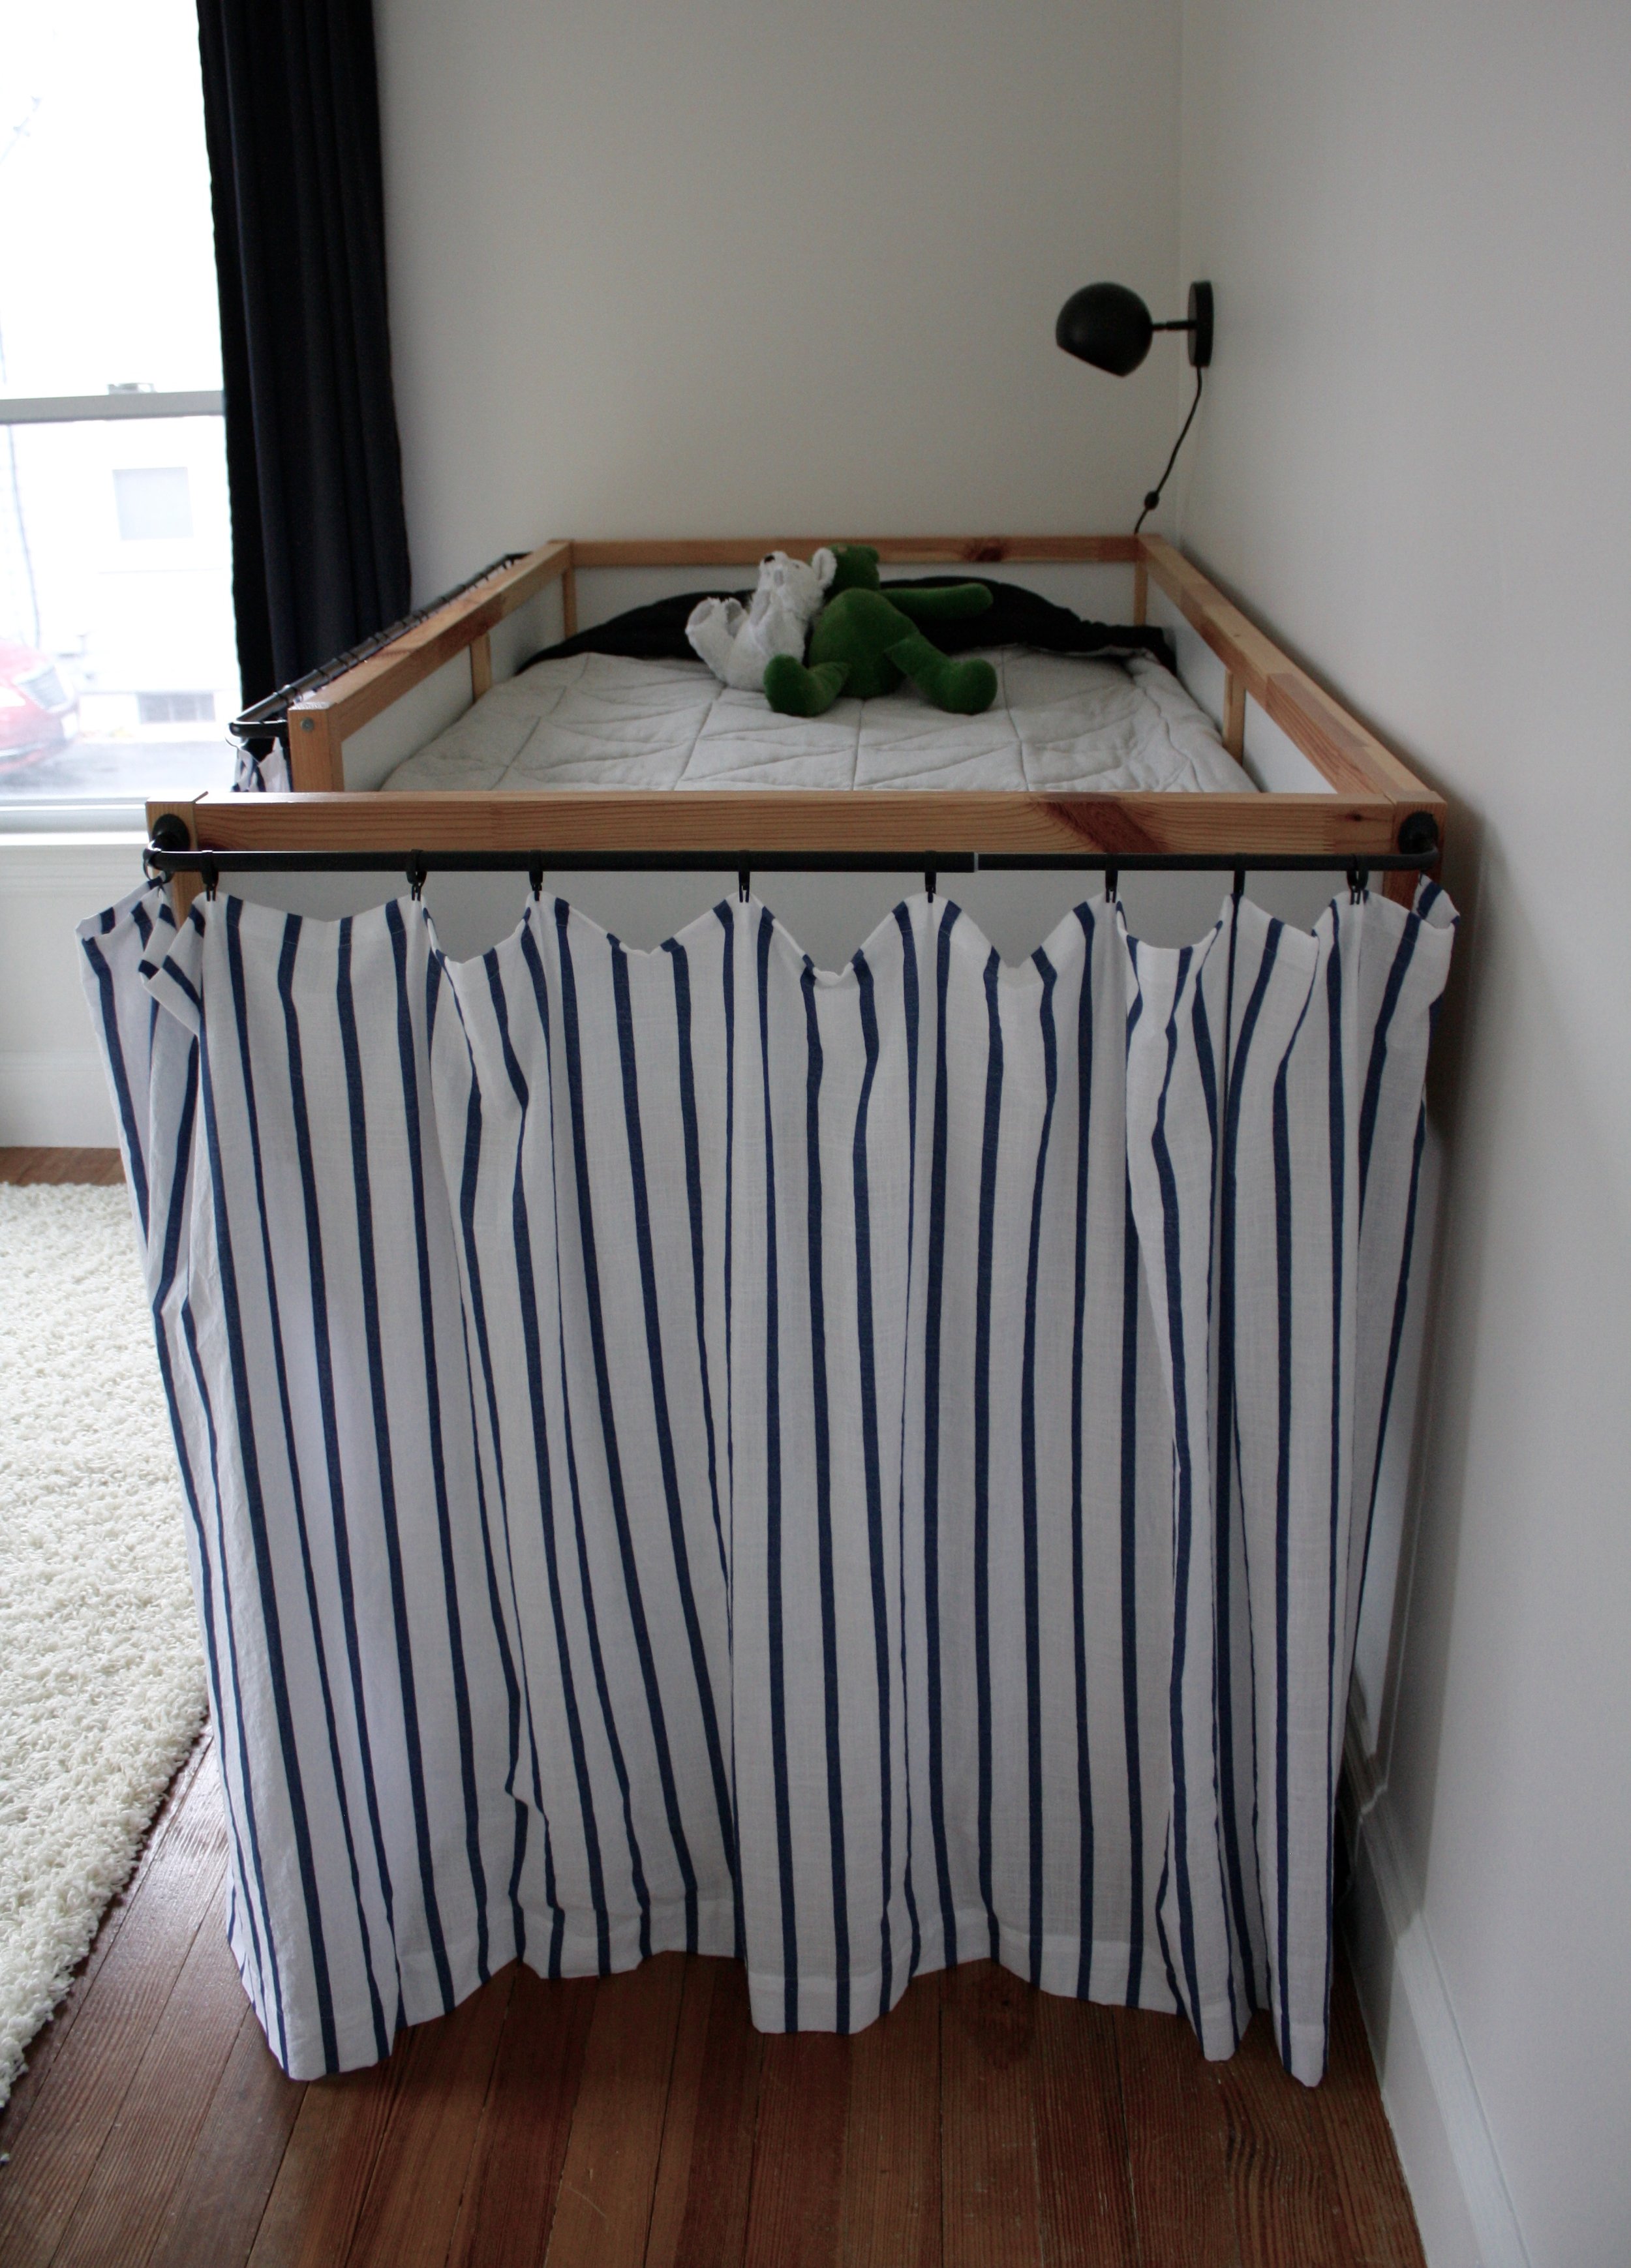
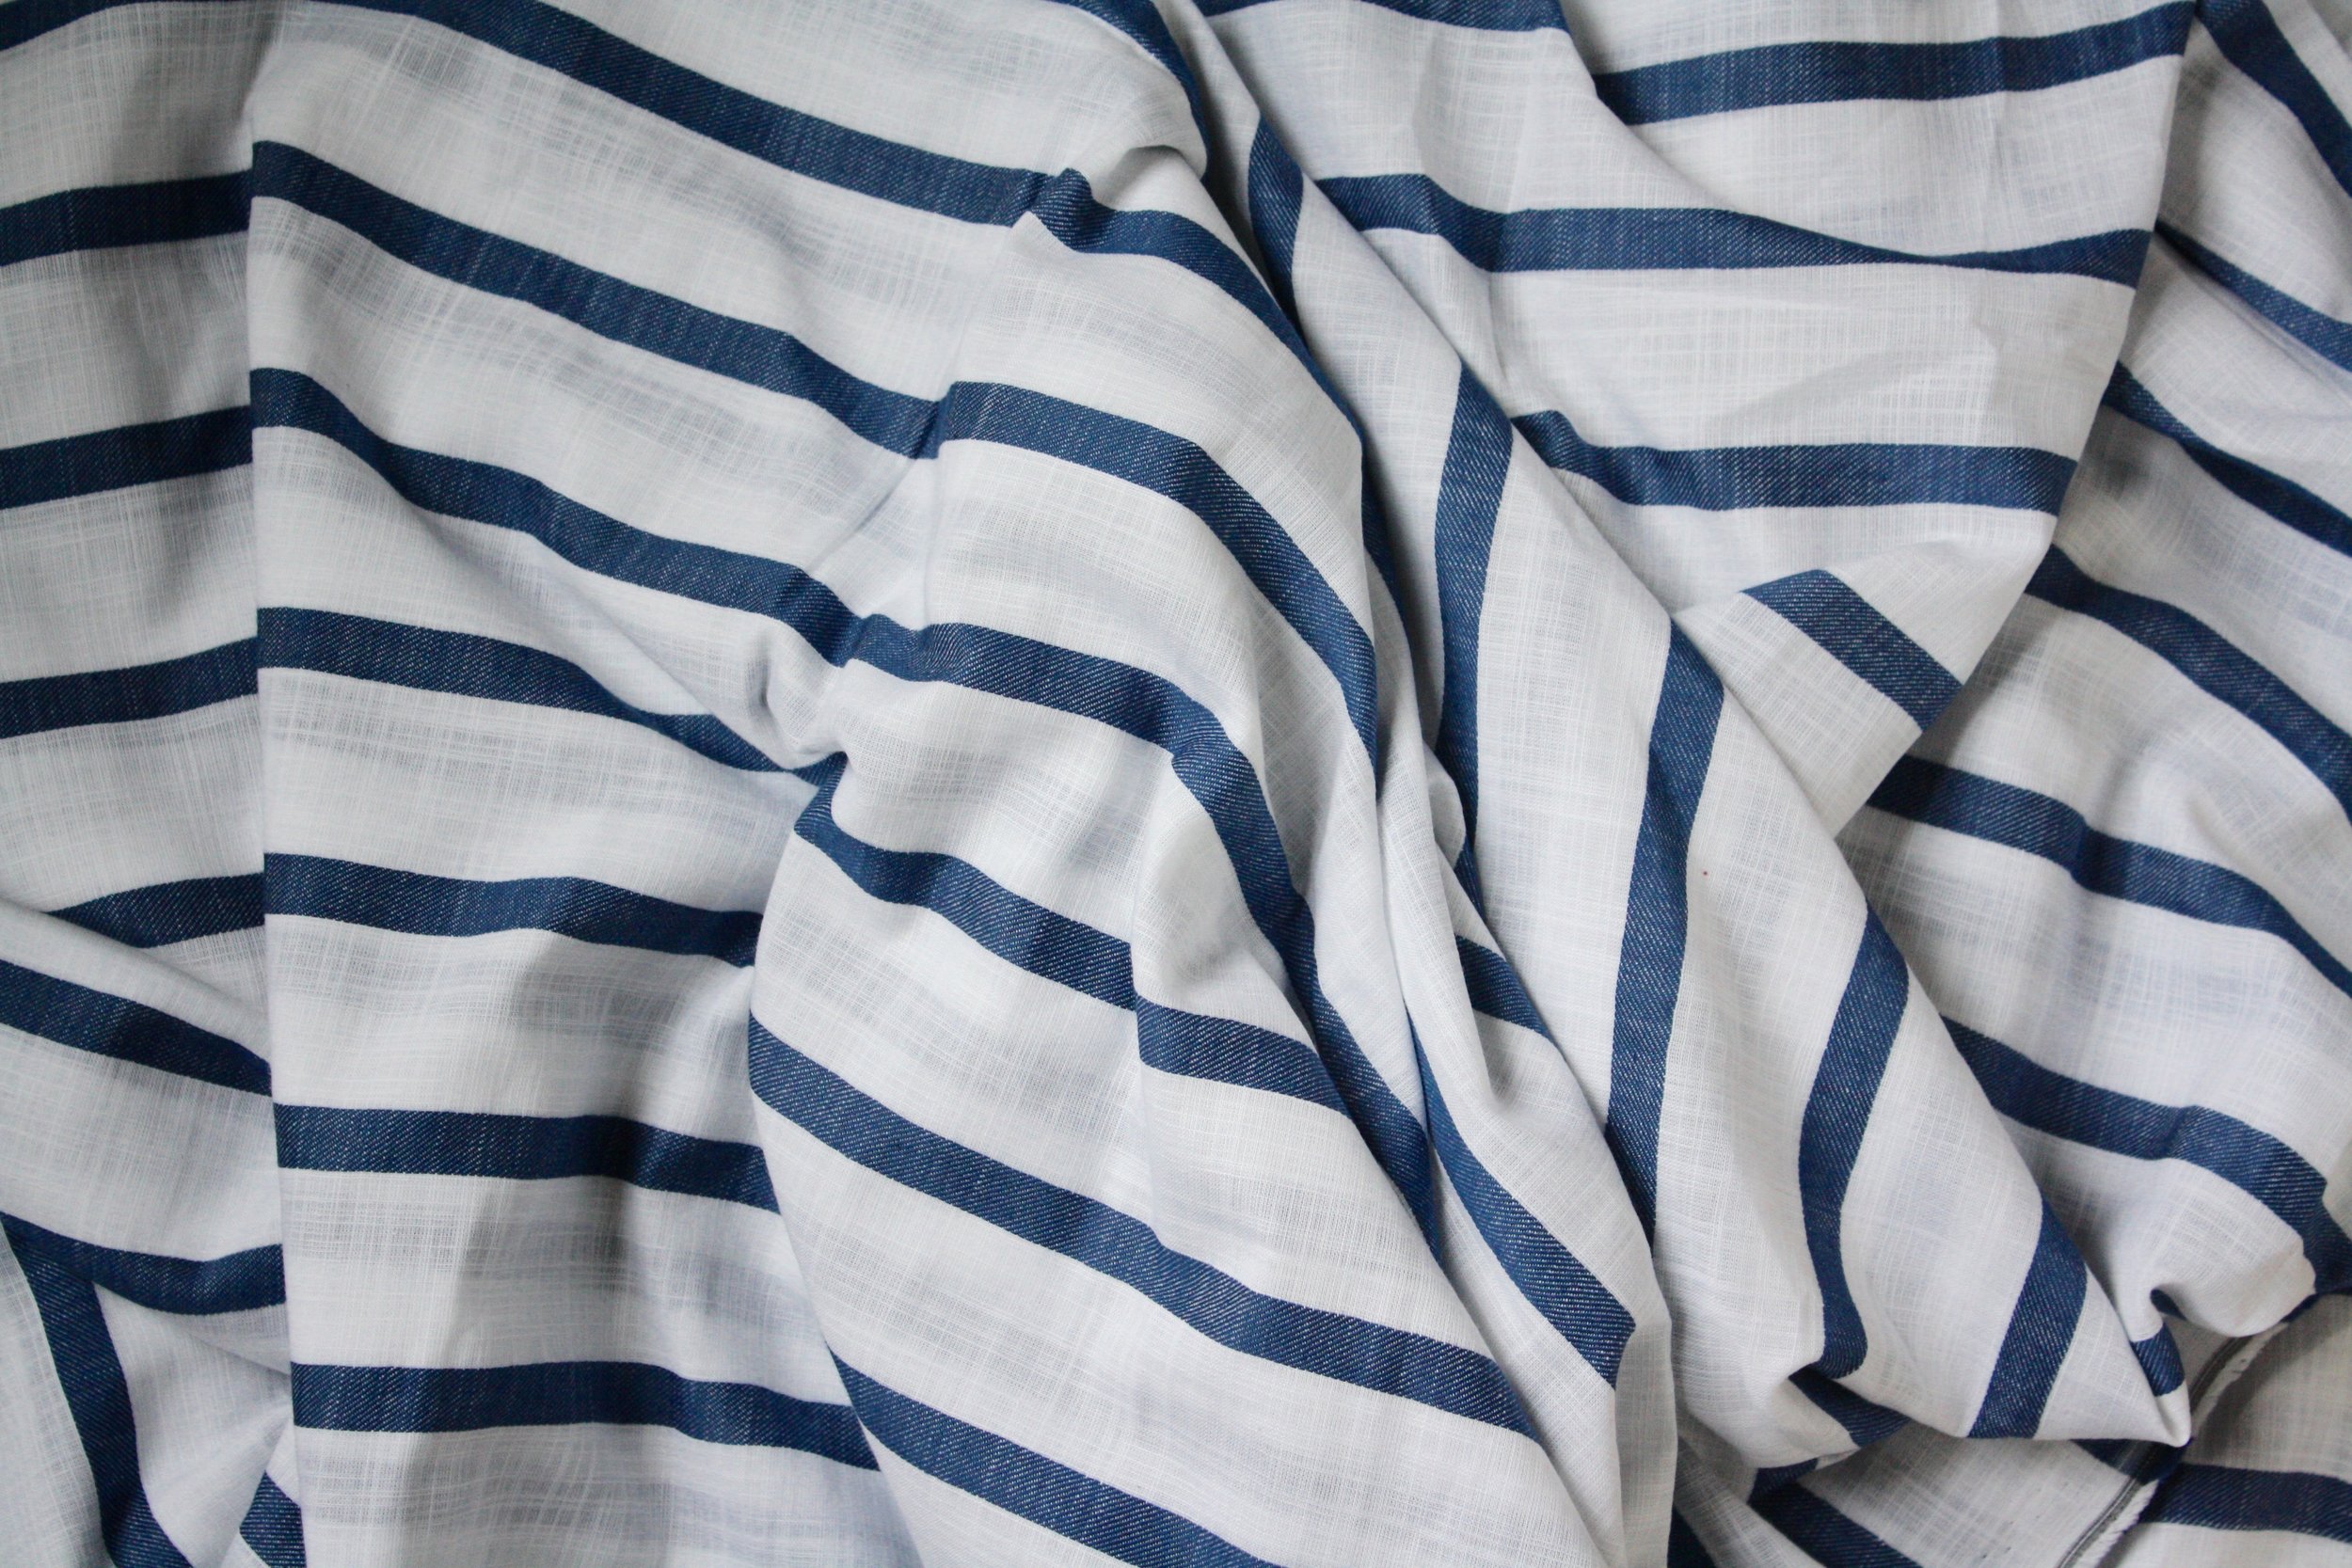
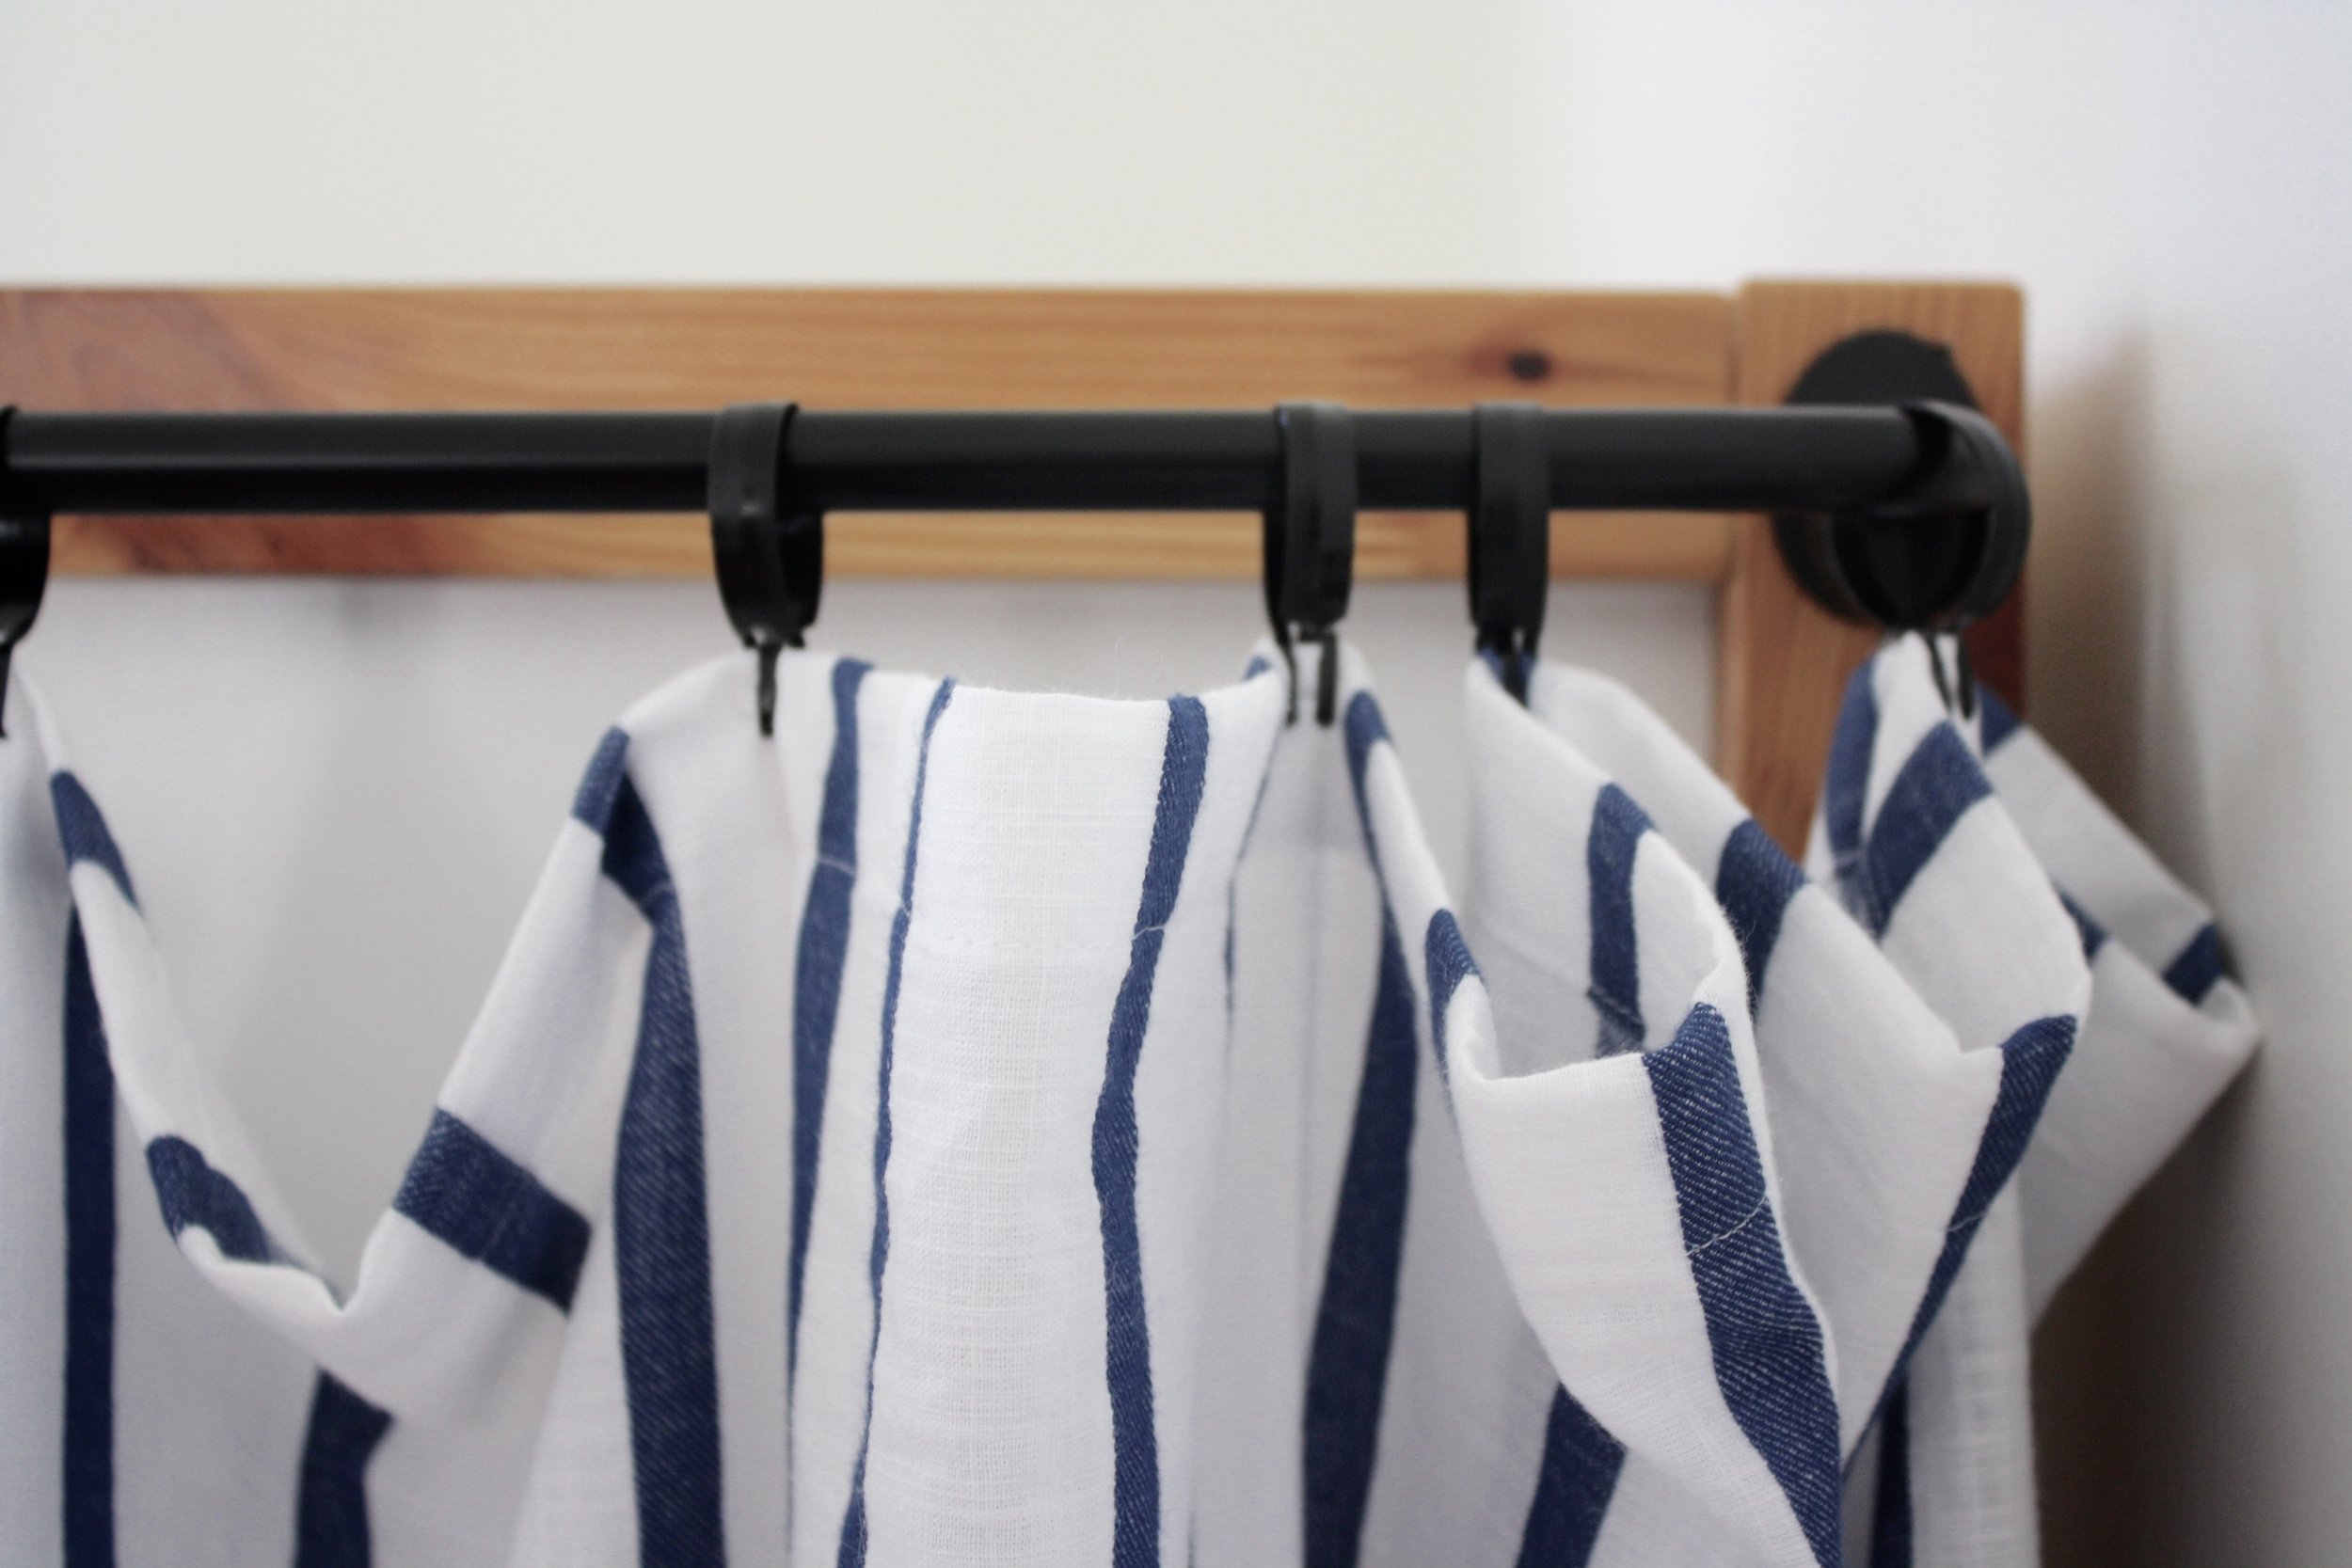
When I was planning the room makeover, I decided to keep the existing curtains. They are IKEA blackout curtains, and they truly transform the room from daylight to night at nap time. Any mom of young kids knows the value of a good blackout curtain! But the panels were …. super boring. I thought about giving them a tailored look with grosgrain ribbon in a sophisticated grid, but that just didn’t quite fit. But TASSELS! Totally fit the whimsical vibe. (Remember this moodboard?? There were some changes, but it’s still the “gist.”)
I priced out tassels, both individually or on a strip, at craft stores, Walmart, and on Amazon. For what I wanted, the price would be a minimum of $75, or as high as $200!!!
* gulp *
Given that the pre-made options were crazy expensive and didn’t come in the exact colors I wanted, I decided to make them.

I found a simple tassel kit at Walmart for $4. It comes with three wooden tassel forms, and you just wrap / tie the tassels on the form per the handy instructions that come with the kit. I chose to use a relatively thin crochet thread from Hobby Lobby in three different greens. Be aware that the thread weight will greatly impact how long the tassels take to make! I knew I wanted the look a thin thread would give, so went ahead with it. I used the smallest form from the kit and made two inch tassels. The total cost for all my supplies was in the ballpark of $12.
208 does not sound like that many tassels. BUT IT IS. I actually made 210, but then had 2 left over. I watched a LOT of Suits episodes while I wrapped tassels. I suppose this week is brought to you by Amazon Prime Video. Except not really because I don’t have any sponsors. But I definitely BINGED Suits! And ate a lot of chocolate. There is way too much chocolate readily available this time of year.

I even took my tassel making on the road. I went away with friends for a weekend getaway Friday - Sunday, and I tasseled in the car! I think I got a total of about 20 made while driving (I mean my friend was driving), so not sure it was really worth it…


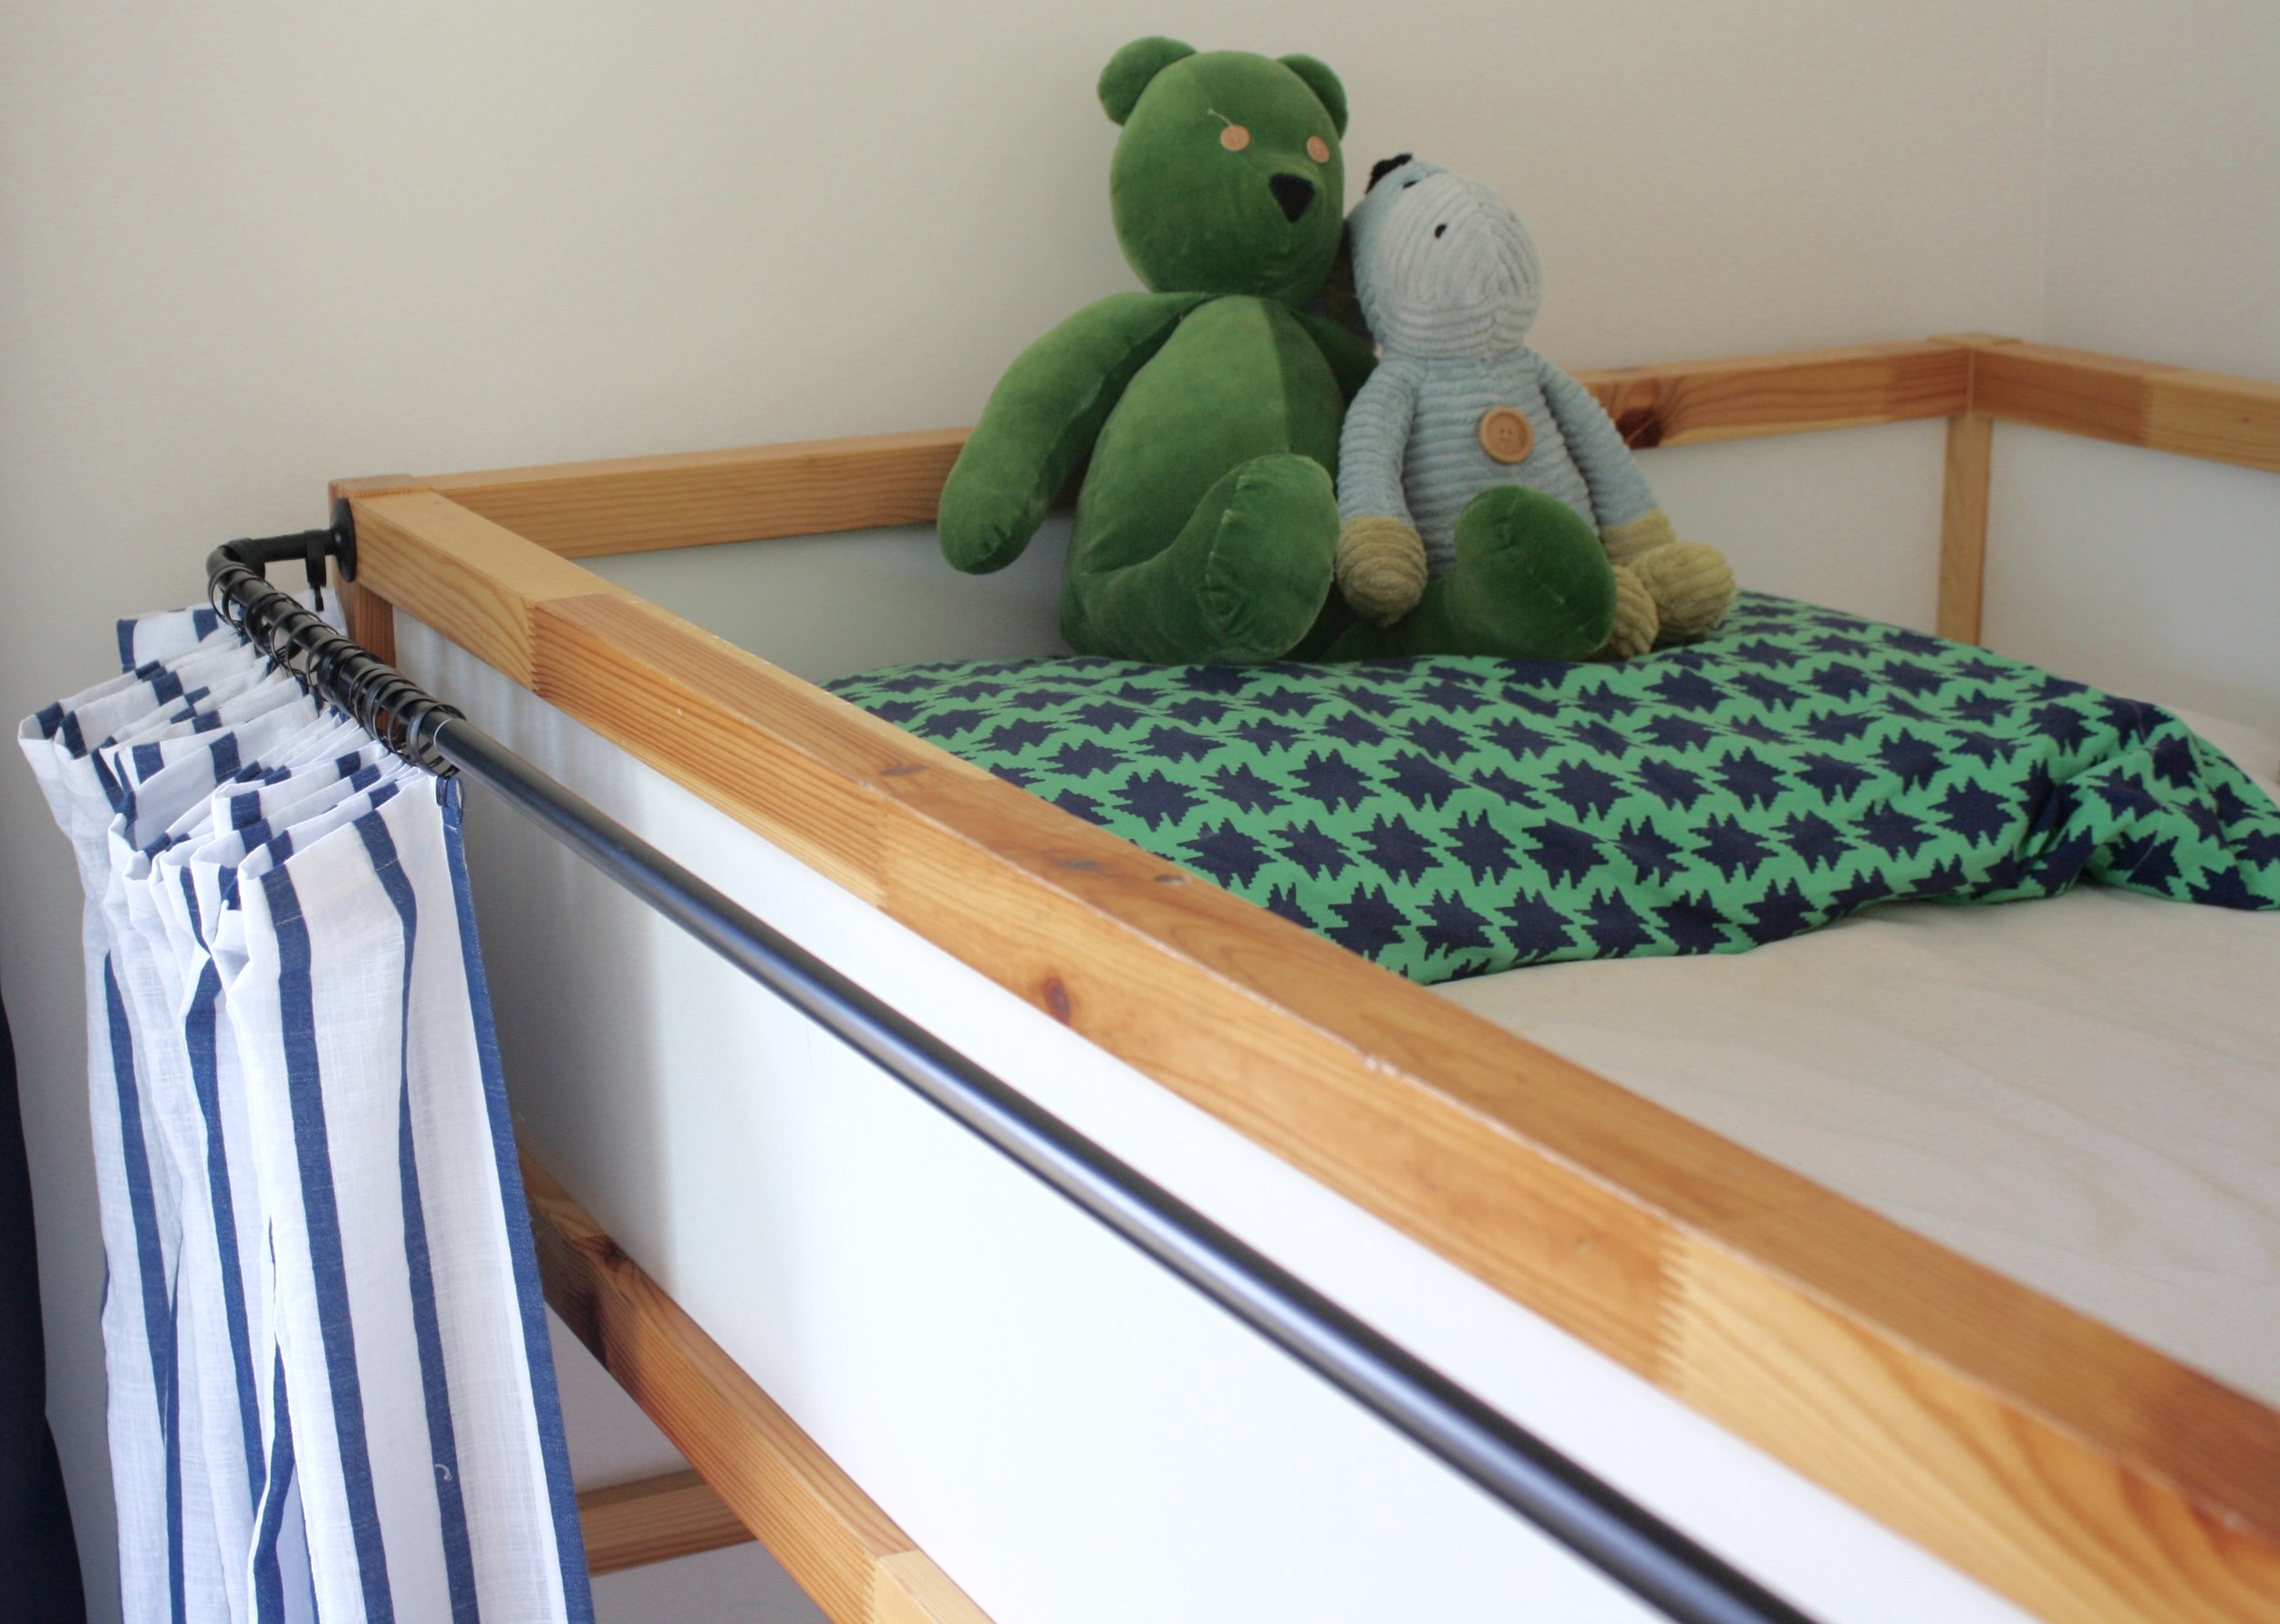
Congrats to me for thinking up the MOST TIME CONSUMING PROJECT EVER. Sewing on 208 individual tassels is no joke. 52 tassels per panel, split into 26 per edge. But look! All that work was worth it! I decided to mount the tassels on the front of the curtain, rather than hanging off the edge, and love the visibility and movement.
These curtains came with IKEA pleating tape already sewn on, so hanging them is incredibly easy, and it gives them a tailored look. If you have curtains without pleating tape IKEA sells it for $4.99 (3” x 122”).

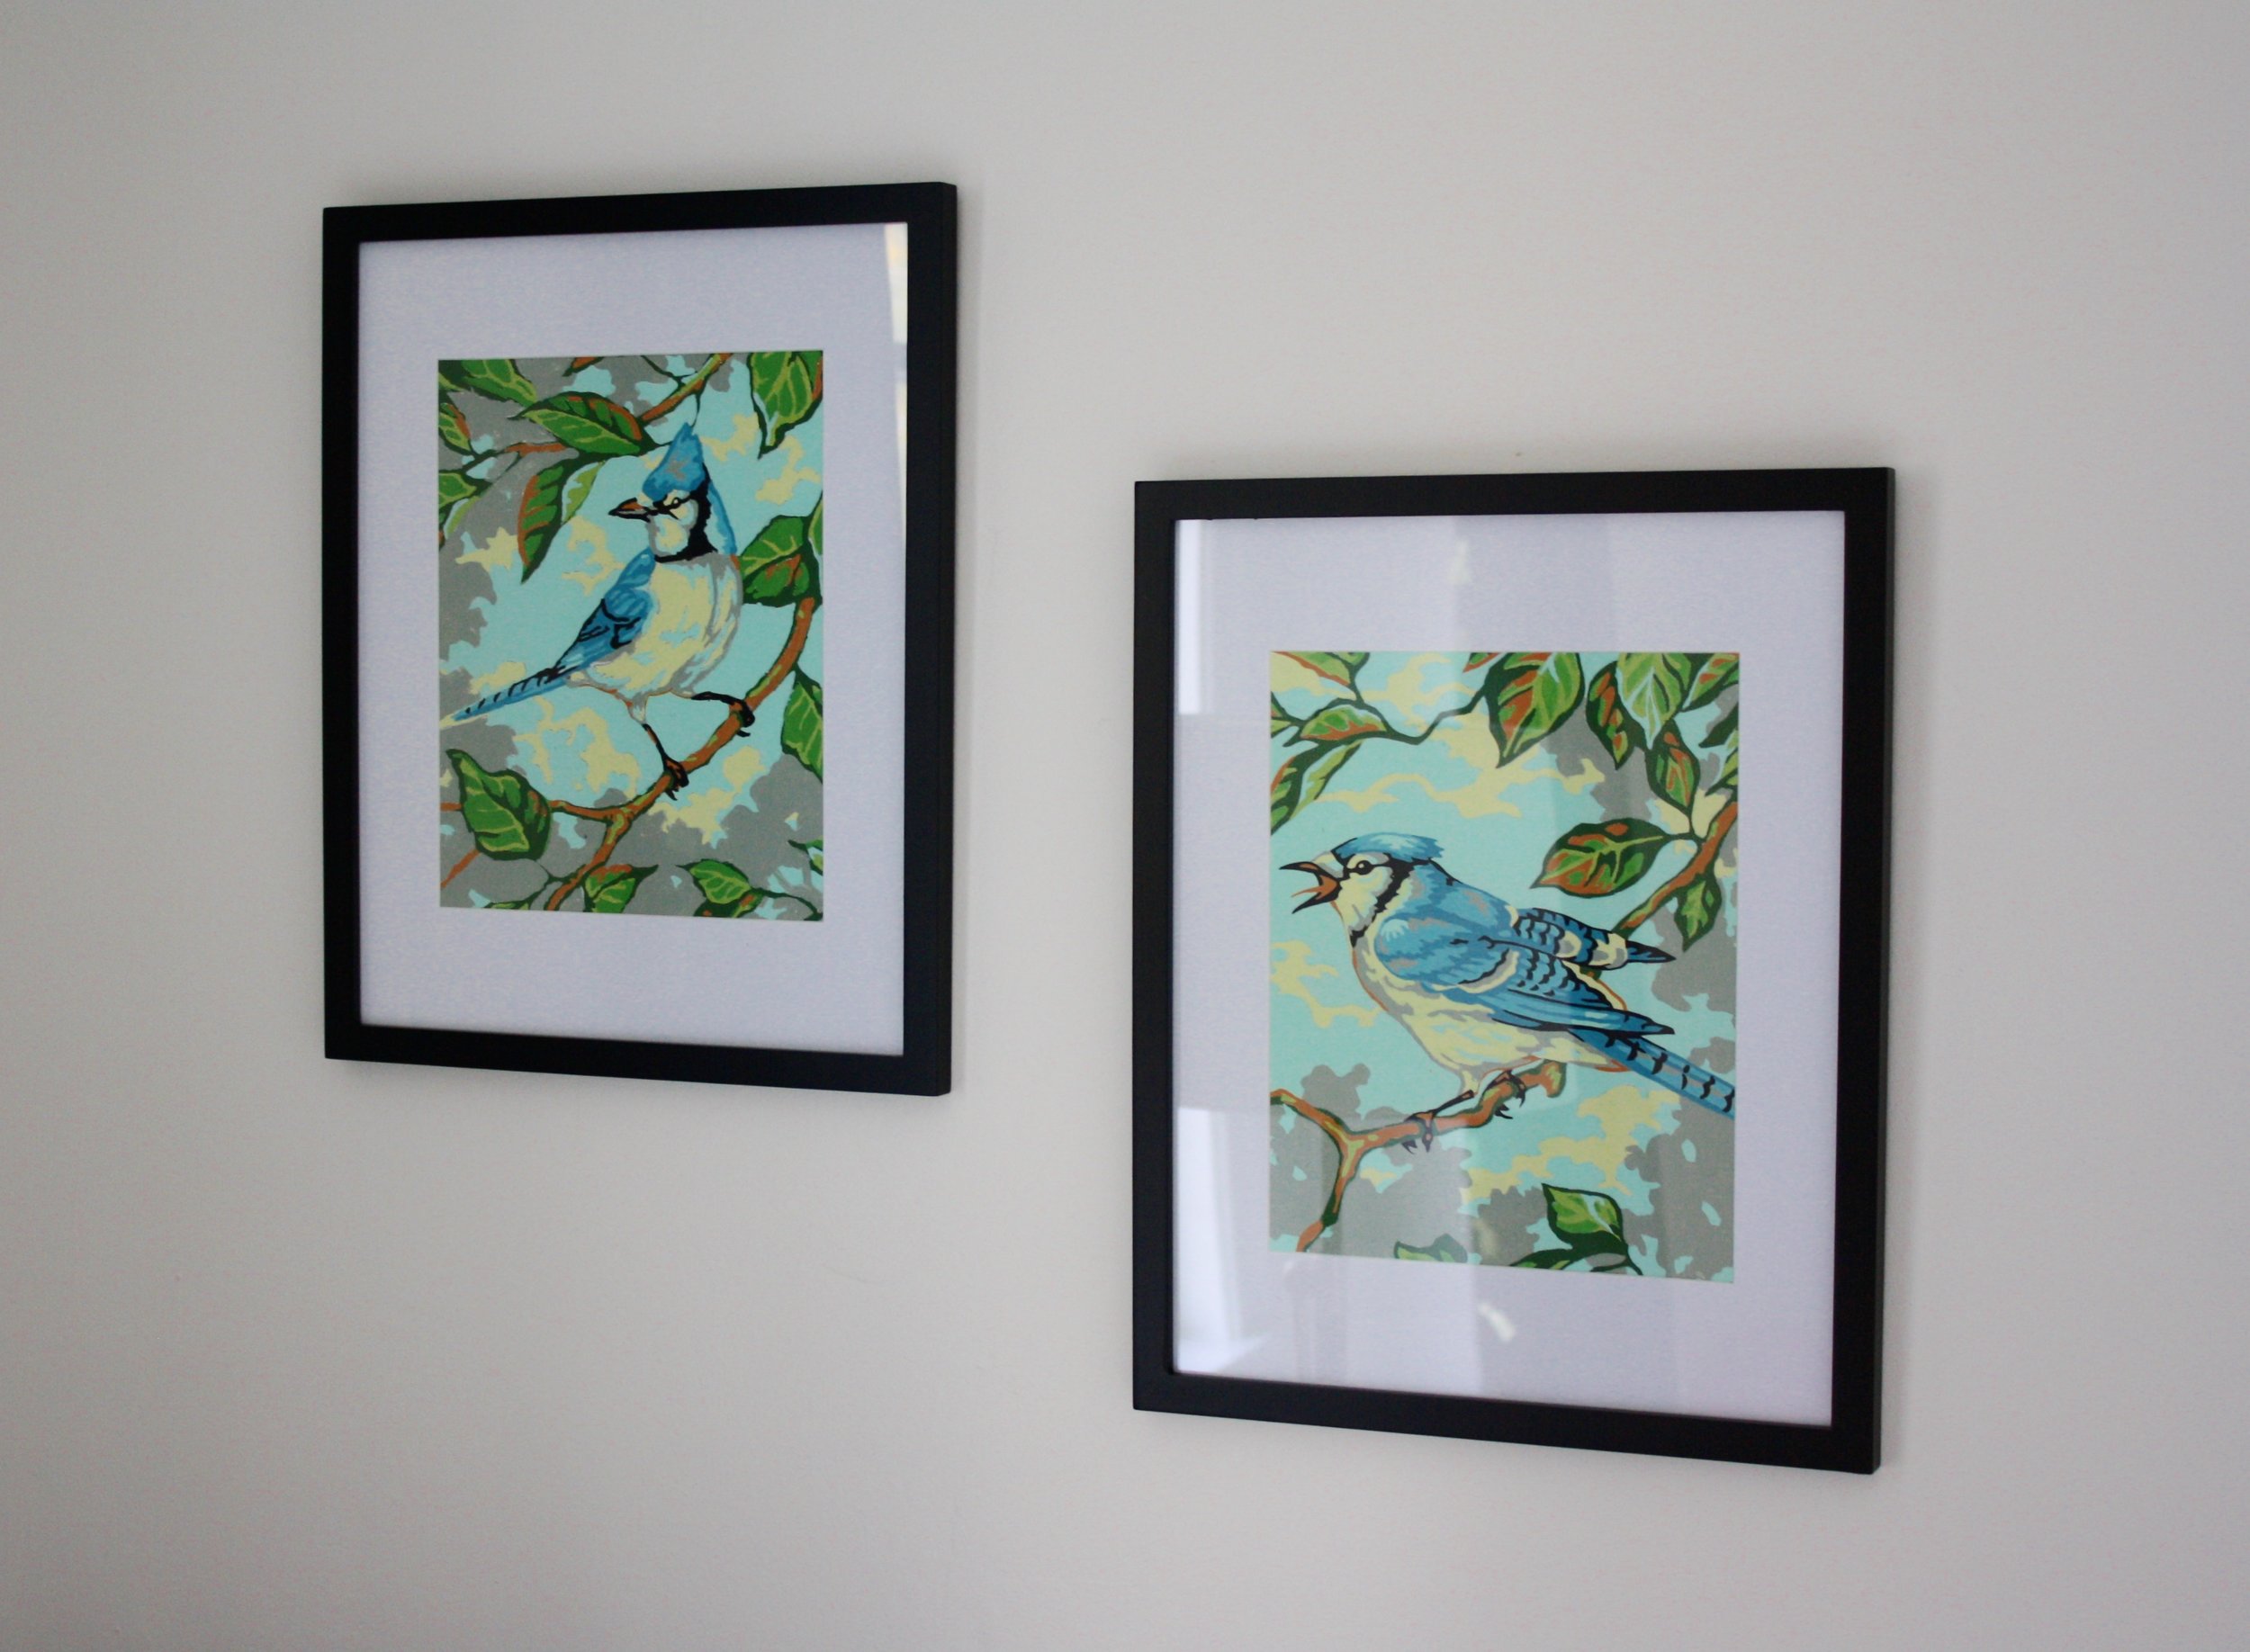
A couple years ago I was in Goodwill when I spotted a set of two bird paint-by-number paintings. For $1 each! I snatched those up, and they have been sitting gathering dust ever since. I didn’t know if the boys really cared to have them in their room, so I asked my 7 year old.
“I TREASURE those paintings!”

Two $9 frames from Walmart later, they are finally hanging right where they belong. Can’t argue with “treasure!” I think I have a thing for paint-by-numbers. In moderation! Our younger girls have one in their room as well, and it’s in my top #5 out of the art in our home.
This next week is going to be a whirlwind! I’m finishing the KALLAX unit tomorrow, finalizing art, sewing pillow covers, and creating the ceiling installation. Chaos, but FUN! Add in a couple consults and I’m going to be RUNNING for the next week. All good things, and I love to be busy!

Don’t forget to check out the Featured Designers and the other Guest Participants by clicking on the link below! And for more frequent updates, be sure to follow Dawson Interiors on Instagram and Facebook.