Art That Matters

When I started the One Room Challenge, I didn’t have a concrete plan for the art in the boys room. My only requirement was that all the art have personal significance, which is usually my criteria for hanging art. That leaves the options pretty wide open! I could do art related to their hobbies, our family, books they love, favorite animals, landscapes, or anything else I could think of that meant something to at least one of the boys.

 
IMG_6331.JPG
 

My initial idea was to make the large statement art piece a map. Specifically, a vintage map that included the Bar Harbor, Maine waterways on it, since our favorite vacation spot is just off the coast on Swans Island. I looked EVERYWHERE for a vintage map. They were all too large, too small, didn’t include Swans Island, weren’t a great color combo, or were EXPENSIVE. So I moved on to other ideas.

 
IMG_6557.jpg
 

One idea was to print a photo we had taken on vacation, but I wanted to explore all my other possibilities first. I was very close to pulling the trigger on a sailboat watercolor from an etsy seller (giving a nod to our favorite oceanside vacation spot). But then was torn between the sailboat and a cool image of the Red Sox Stadium (both boys LOVE baseball), so didn’t purchase either.

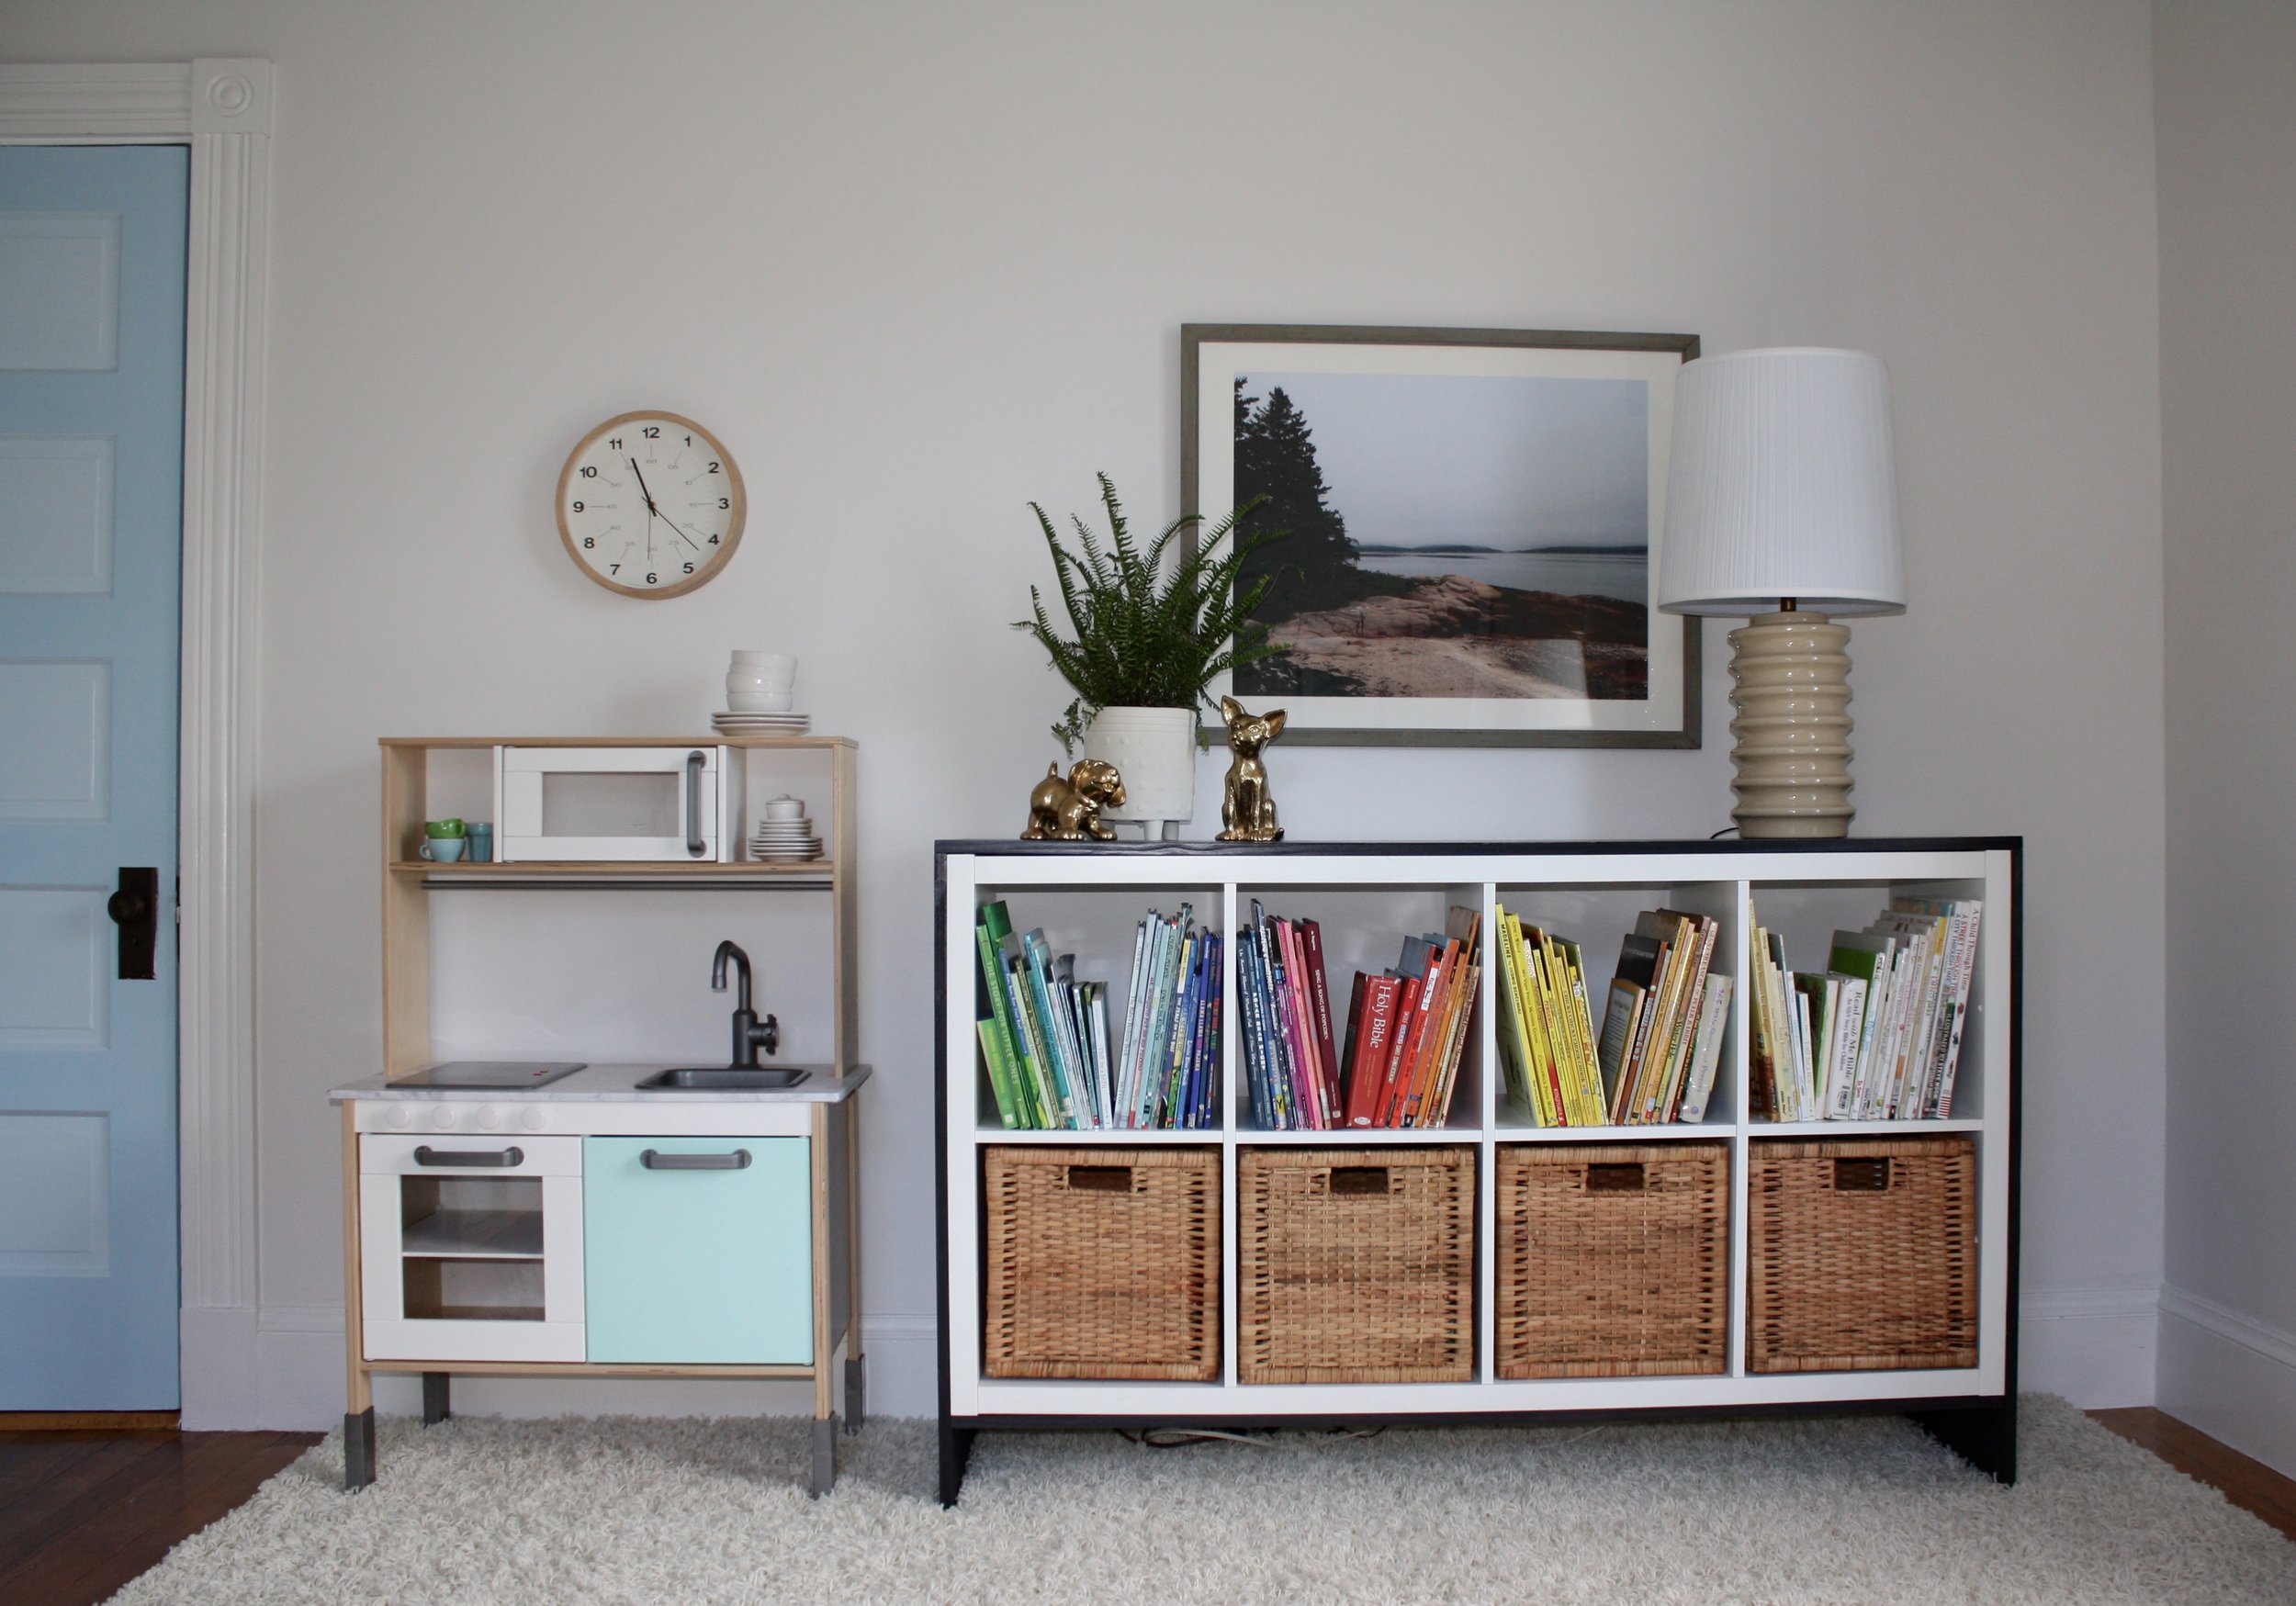
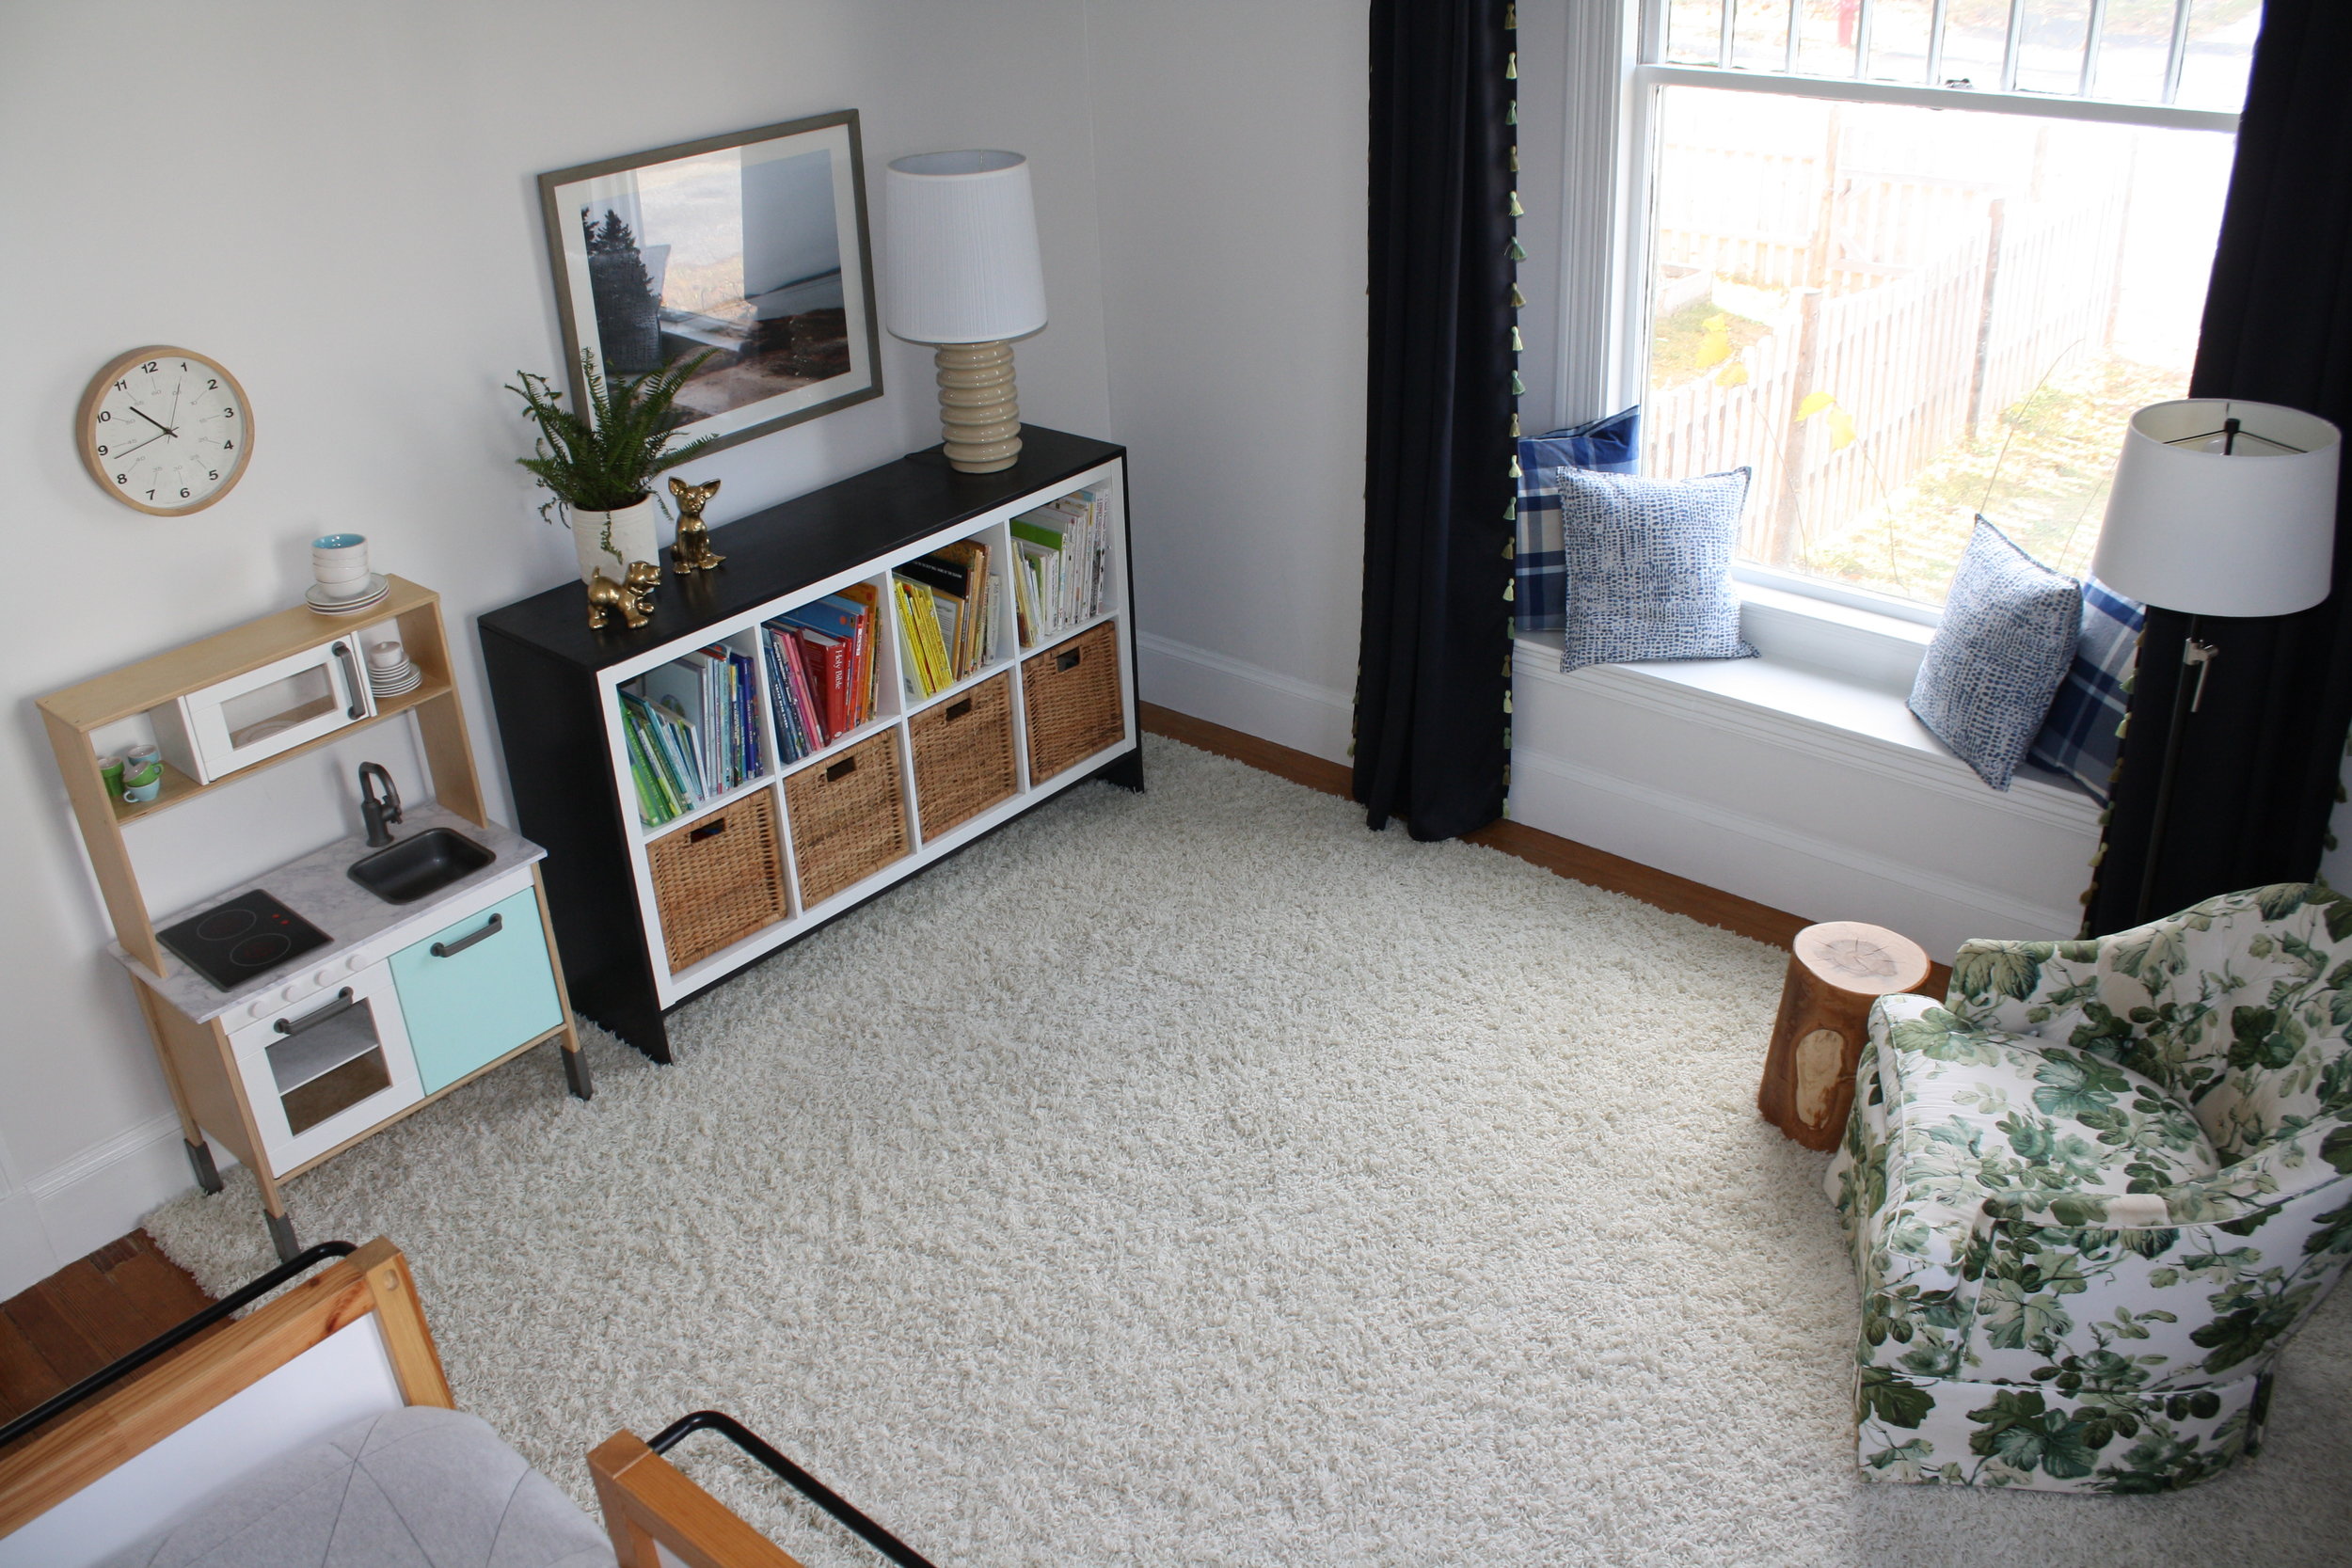
In the end, I decided a slightly moody landscape from our vacation on Swans Island was the right choice. The sailboat would have felt too immature in a couple years, while this landscape will work in a toddler or teenagers room, and can even be moved into the main living spaces if the boys get tired of it.

 
IMG_5936.jpg
 

Tip: I had the photo printed as an indoor banner, instead of a poster, and it cost less than half what it would have for a 20x26 poster, coming in at only $12.

I considered buying a new frame, but decided to use one I had. The frame itself has significance, as it used to hold a charcoal sketch my great-grandmother drew. The charcoal sketch is a prized piece of artwork to me, but the mat and sketch had warped over the years, and need re-framing. So I rolled up the sketch until I have $ to reframe it, and used the vintage frame for the boys landscape. As it was an odd sized frame, I had a custom mat cut. I also had the poster dry-mounted to foam board, so the poster won’t warp.


This landscape is one of my very favorite things in the room… but so are a lot of other things. I have a long list of “favorites!”

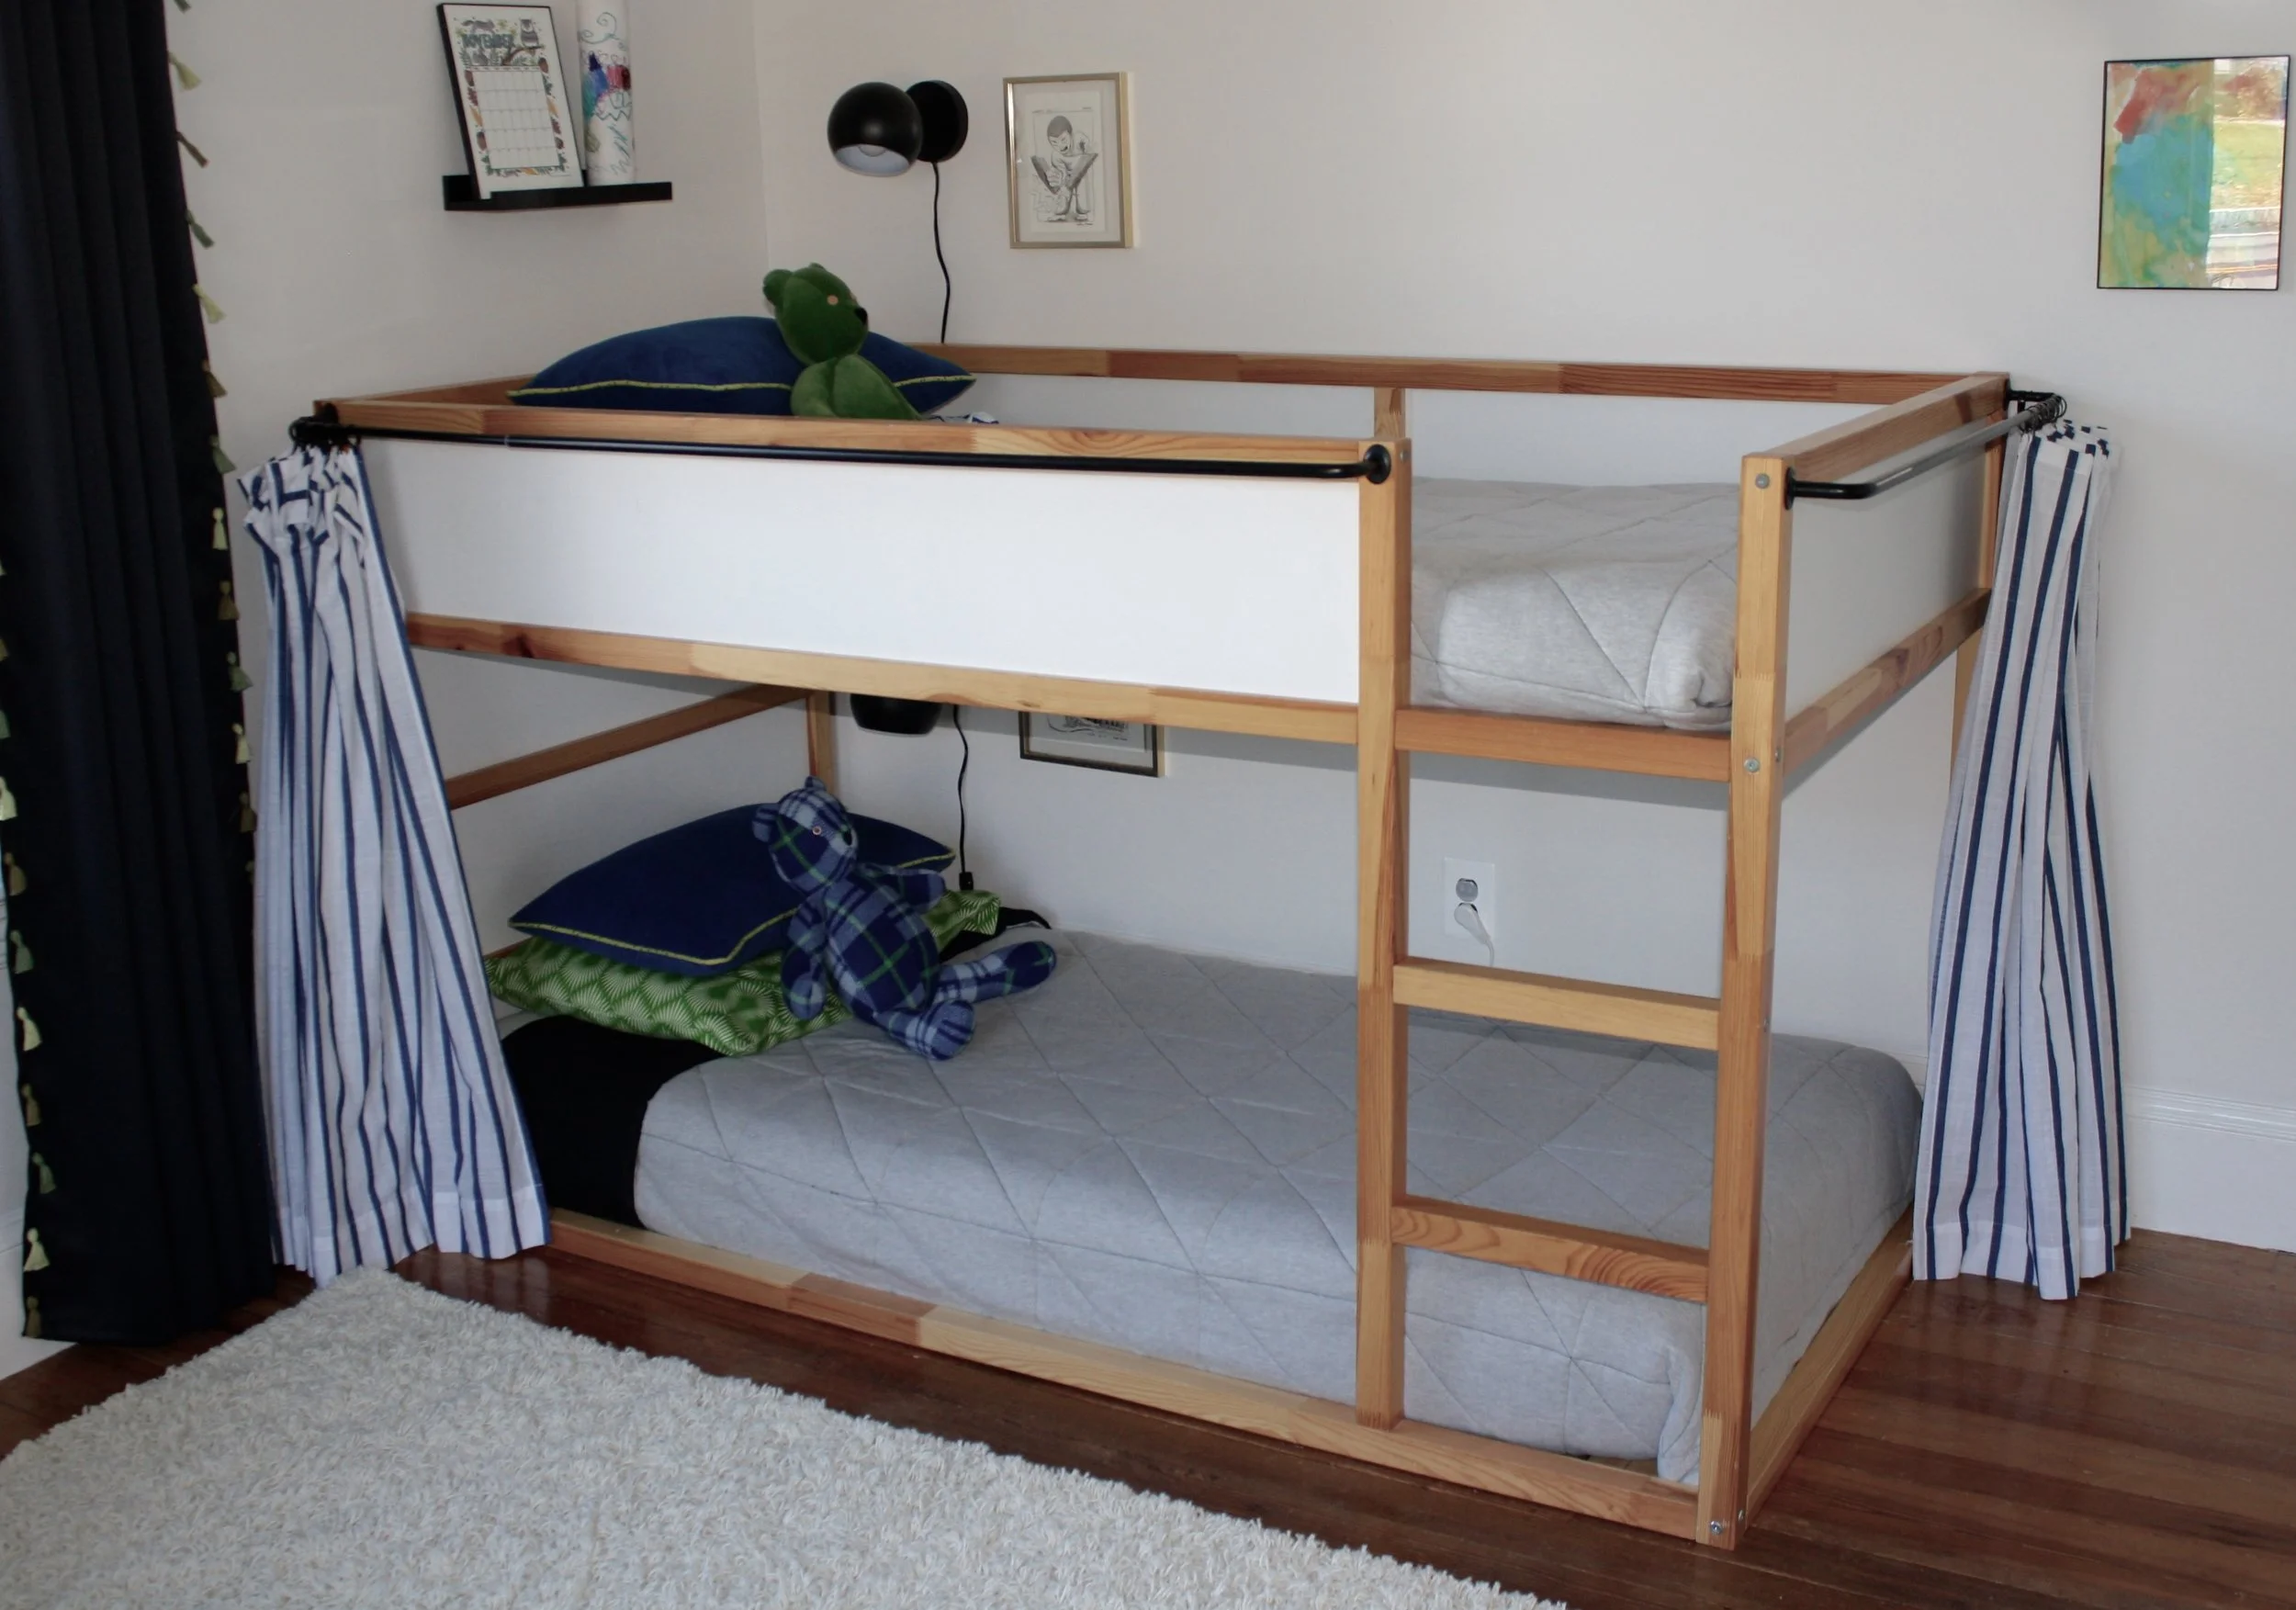
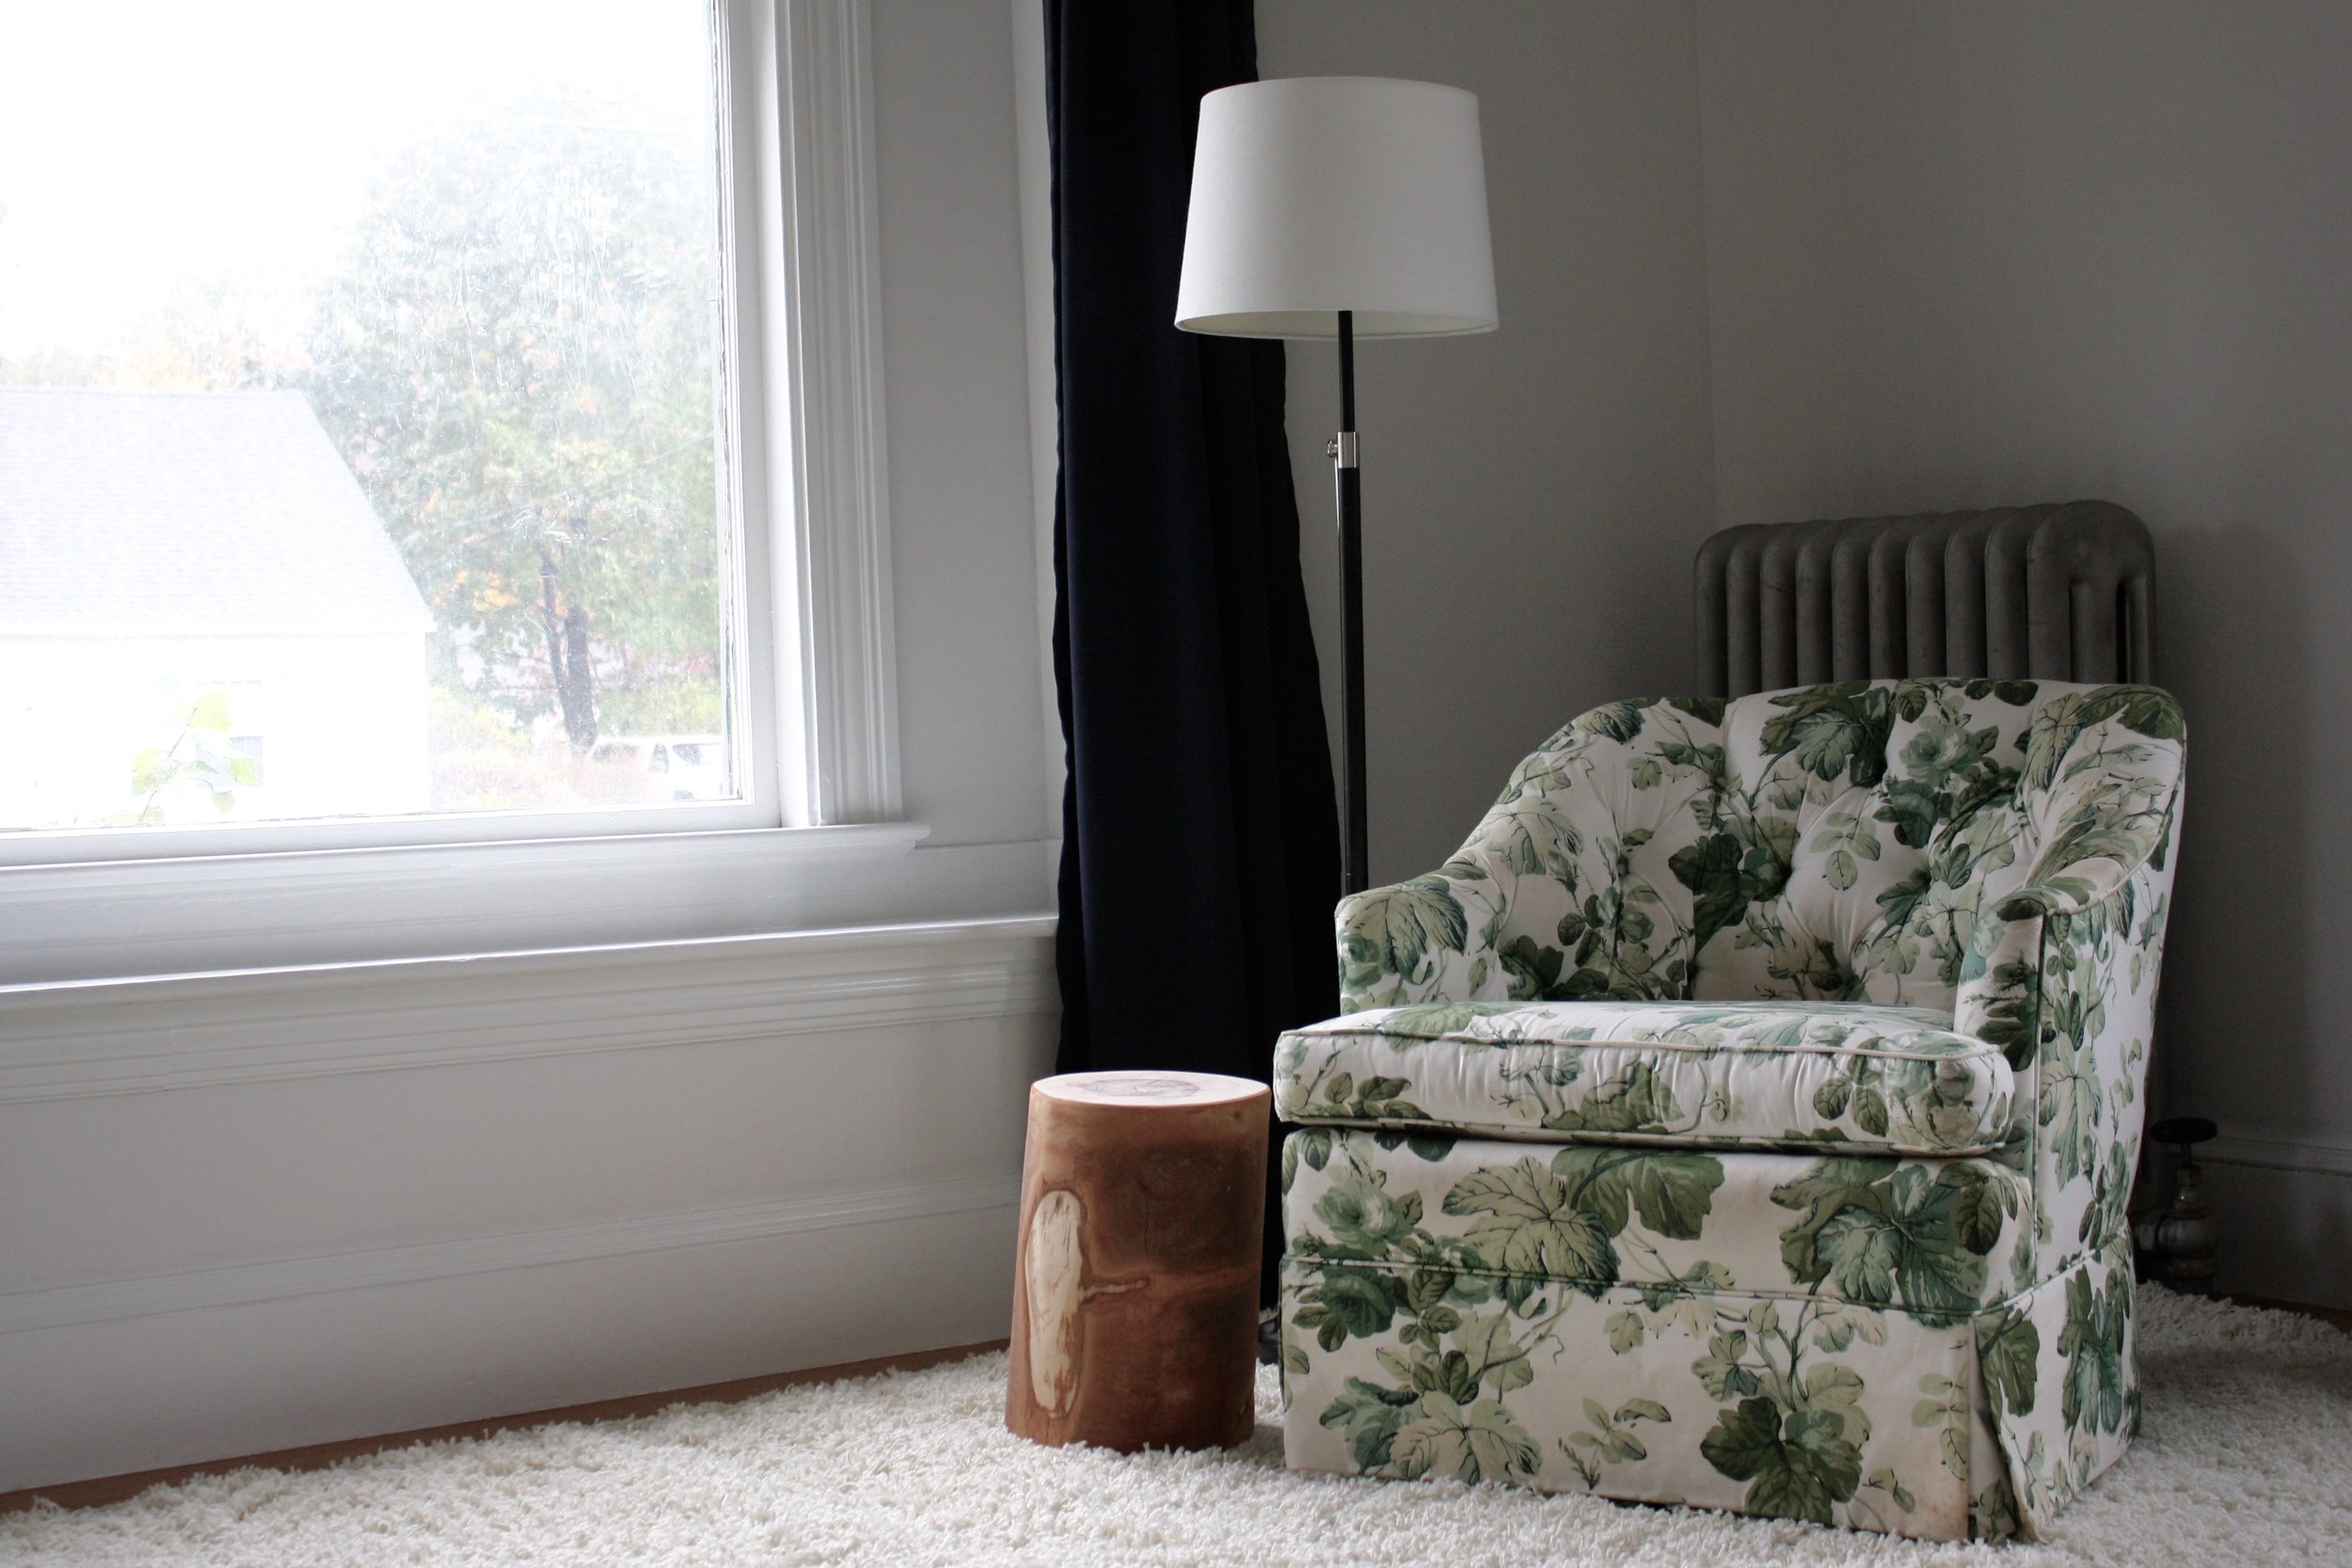
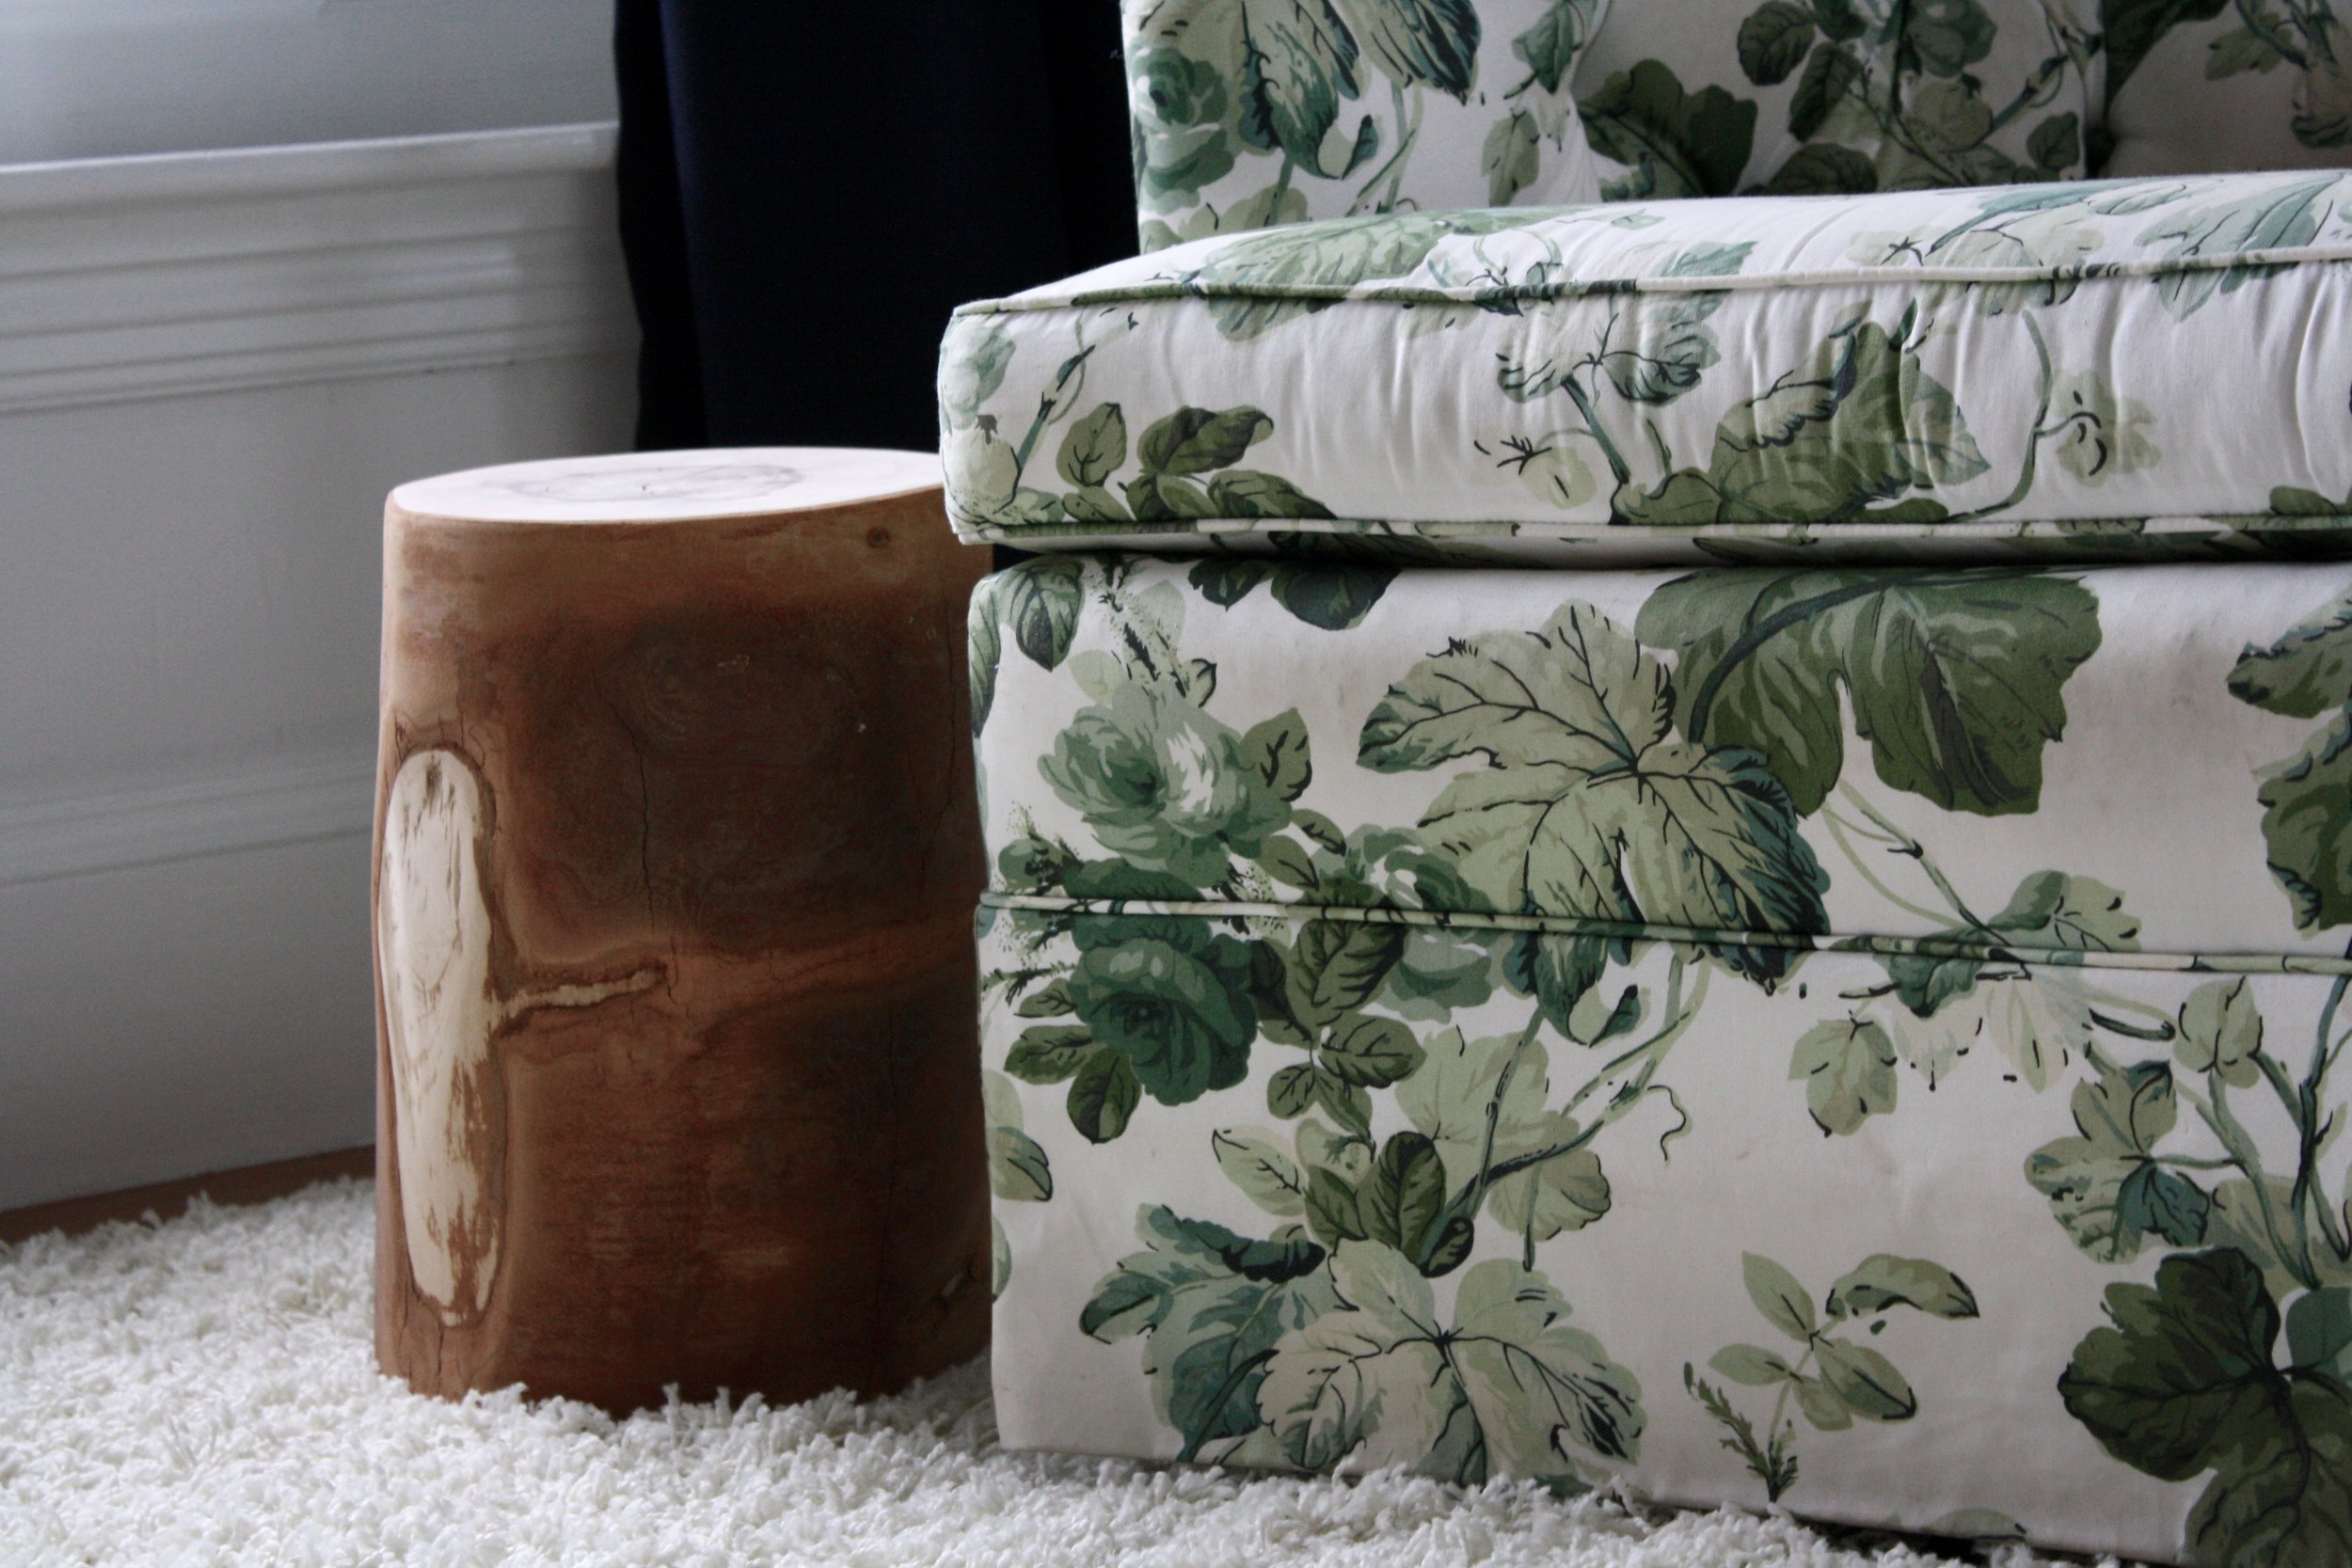
Not all the art in the room is high impact, but is just as special.

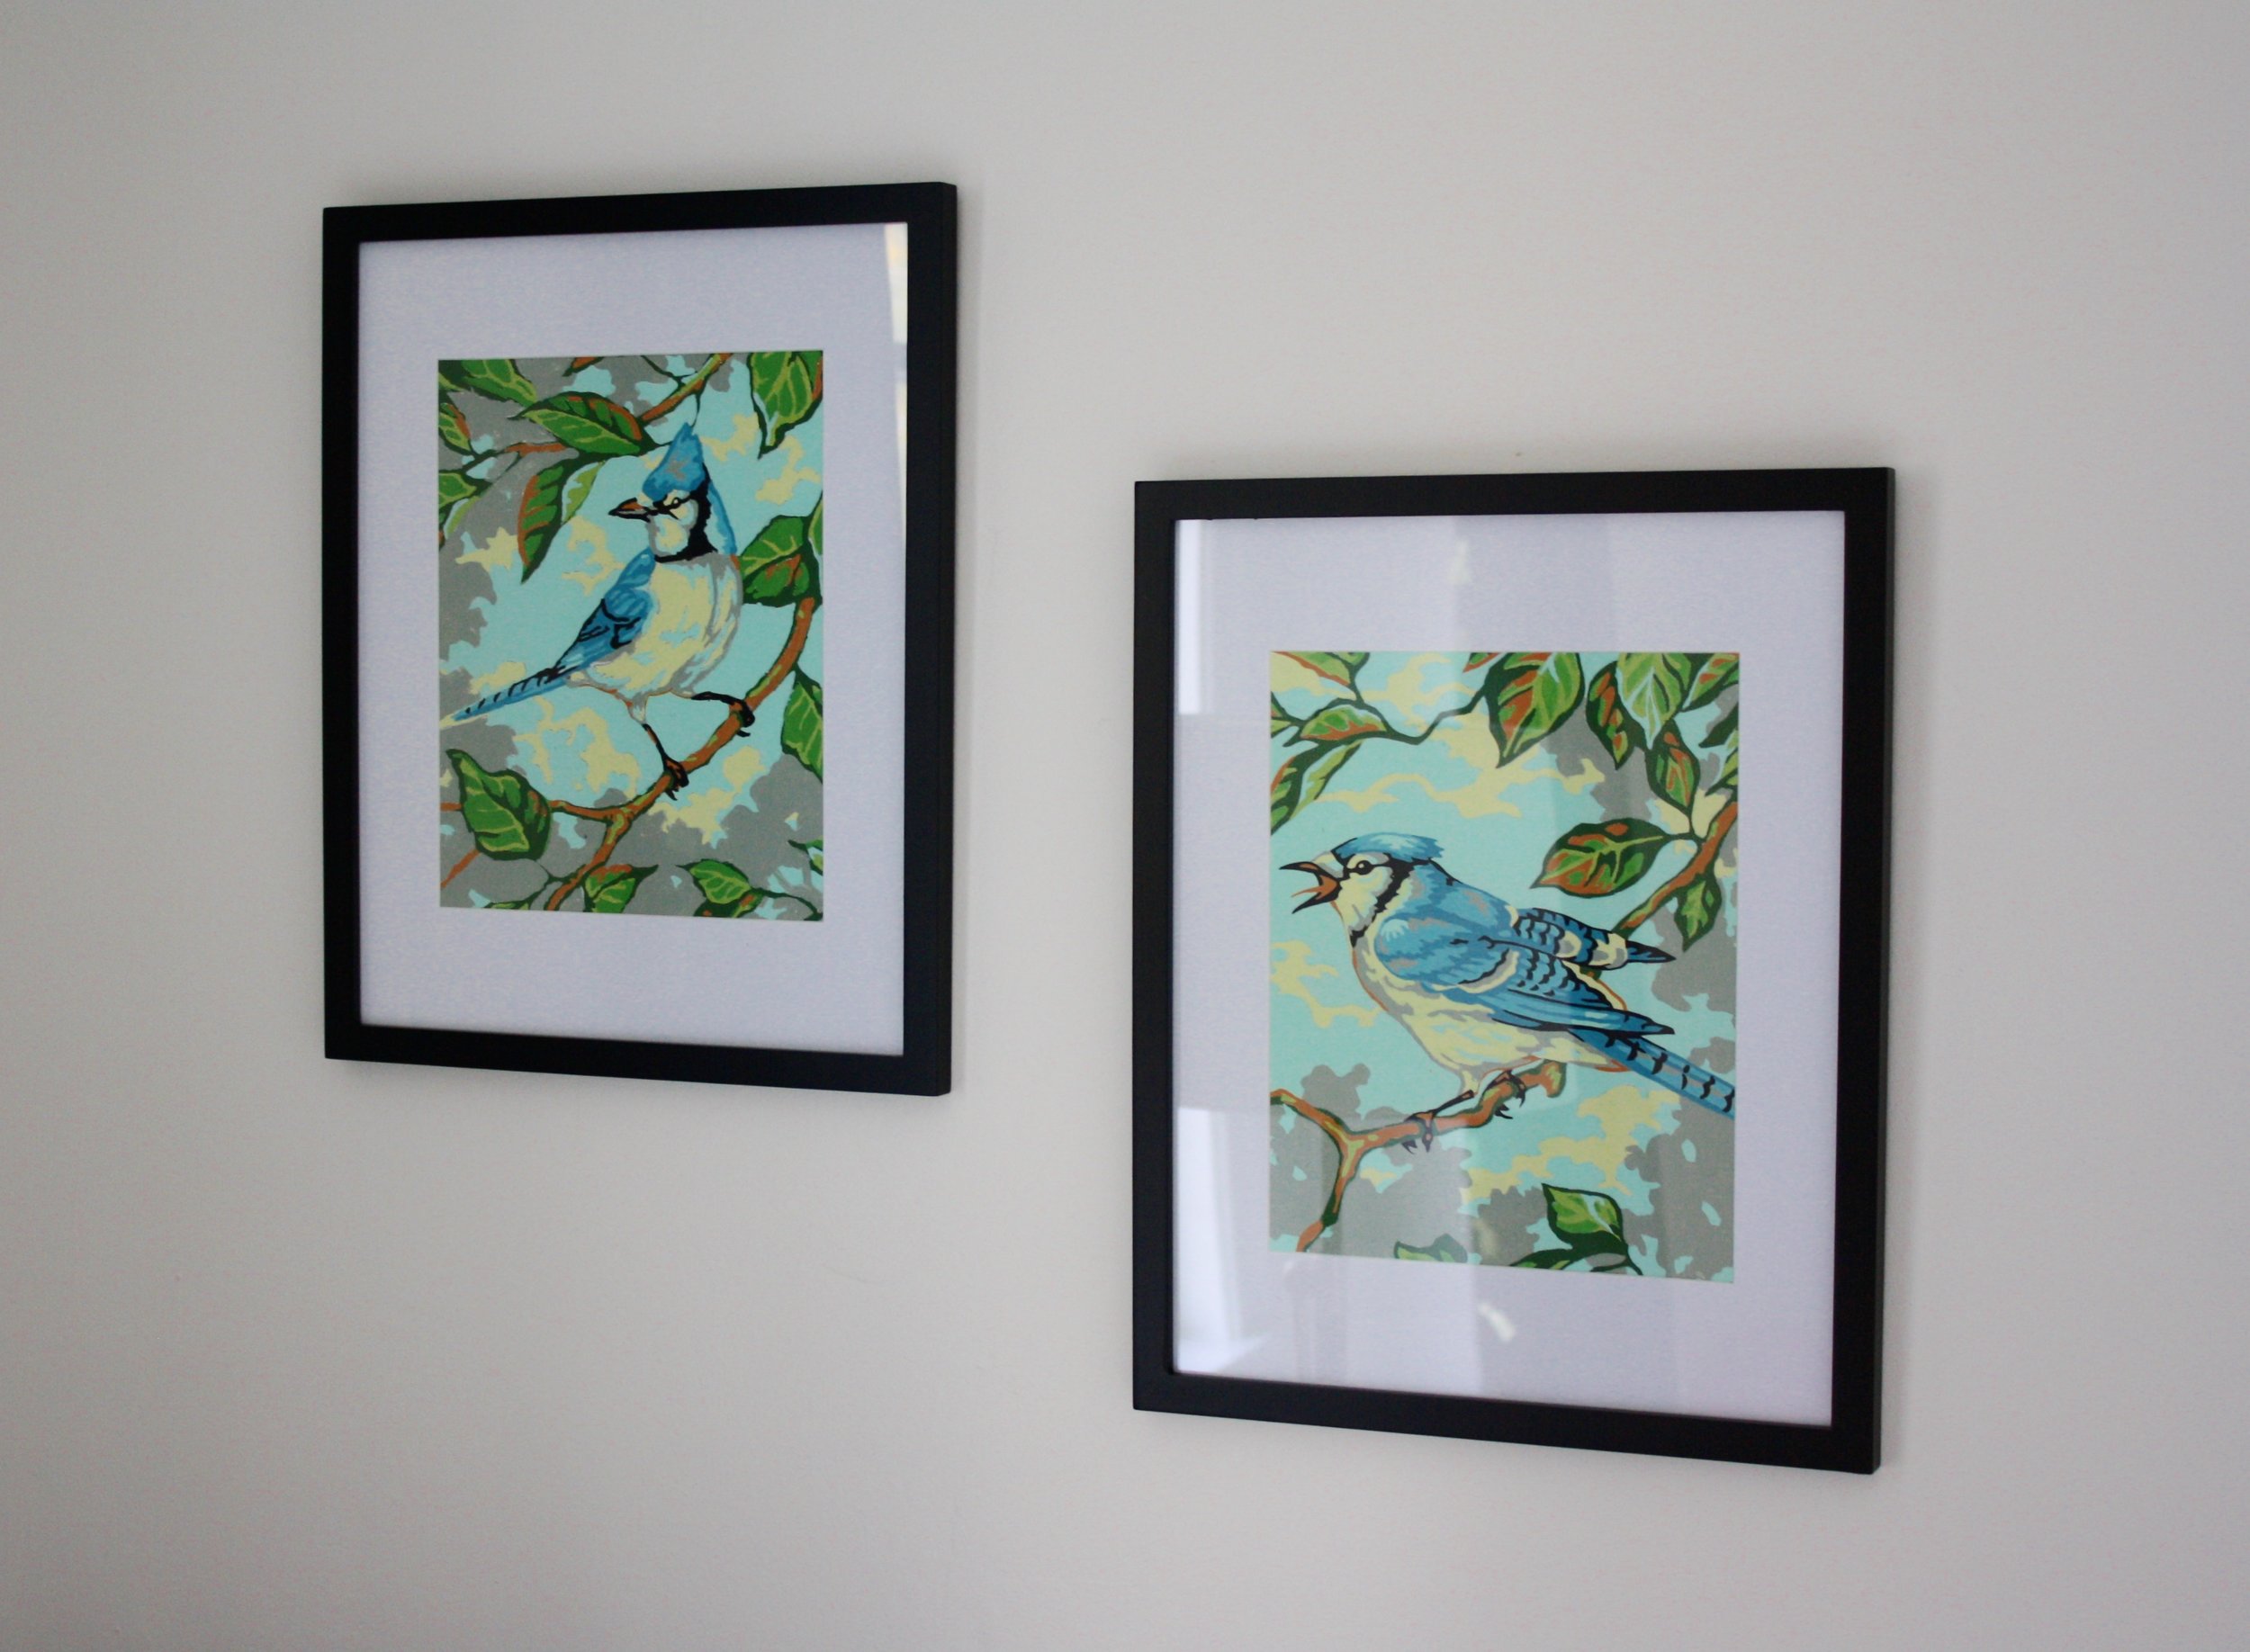
These paint by number birds were a thrift store purchase several years ago that my son fell in love with. They got freshened up with new matted frames for $8 from Walmart. The boys love to look out our sunroom windows and watch the birds in the spring, so now it’s spring in their room year round!

 
IMG_5762.jpg
 

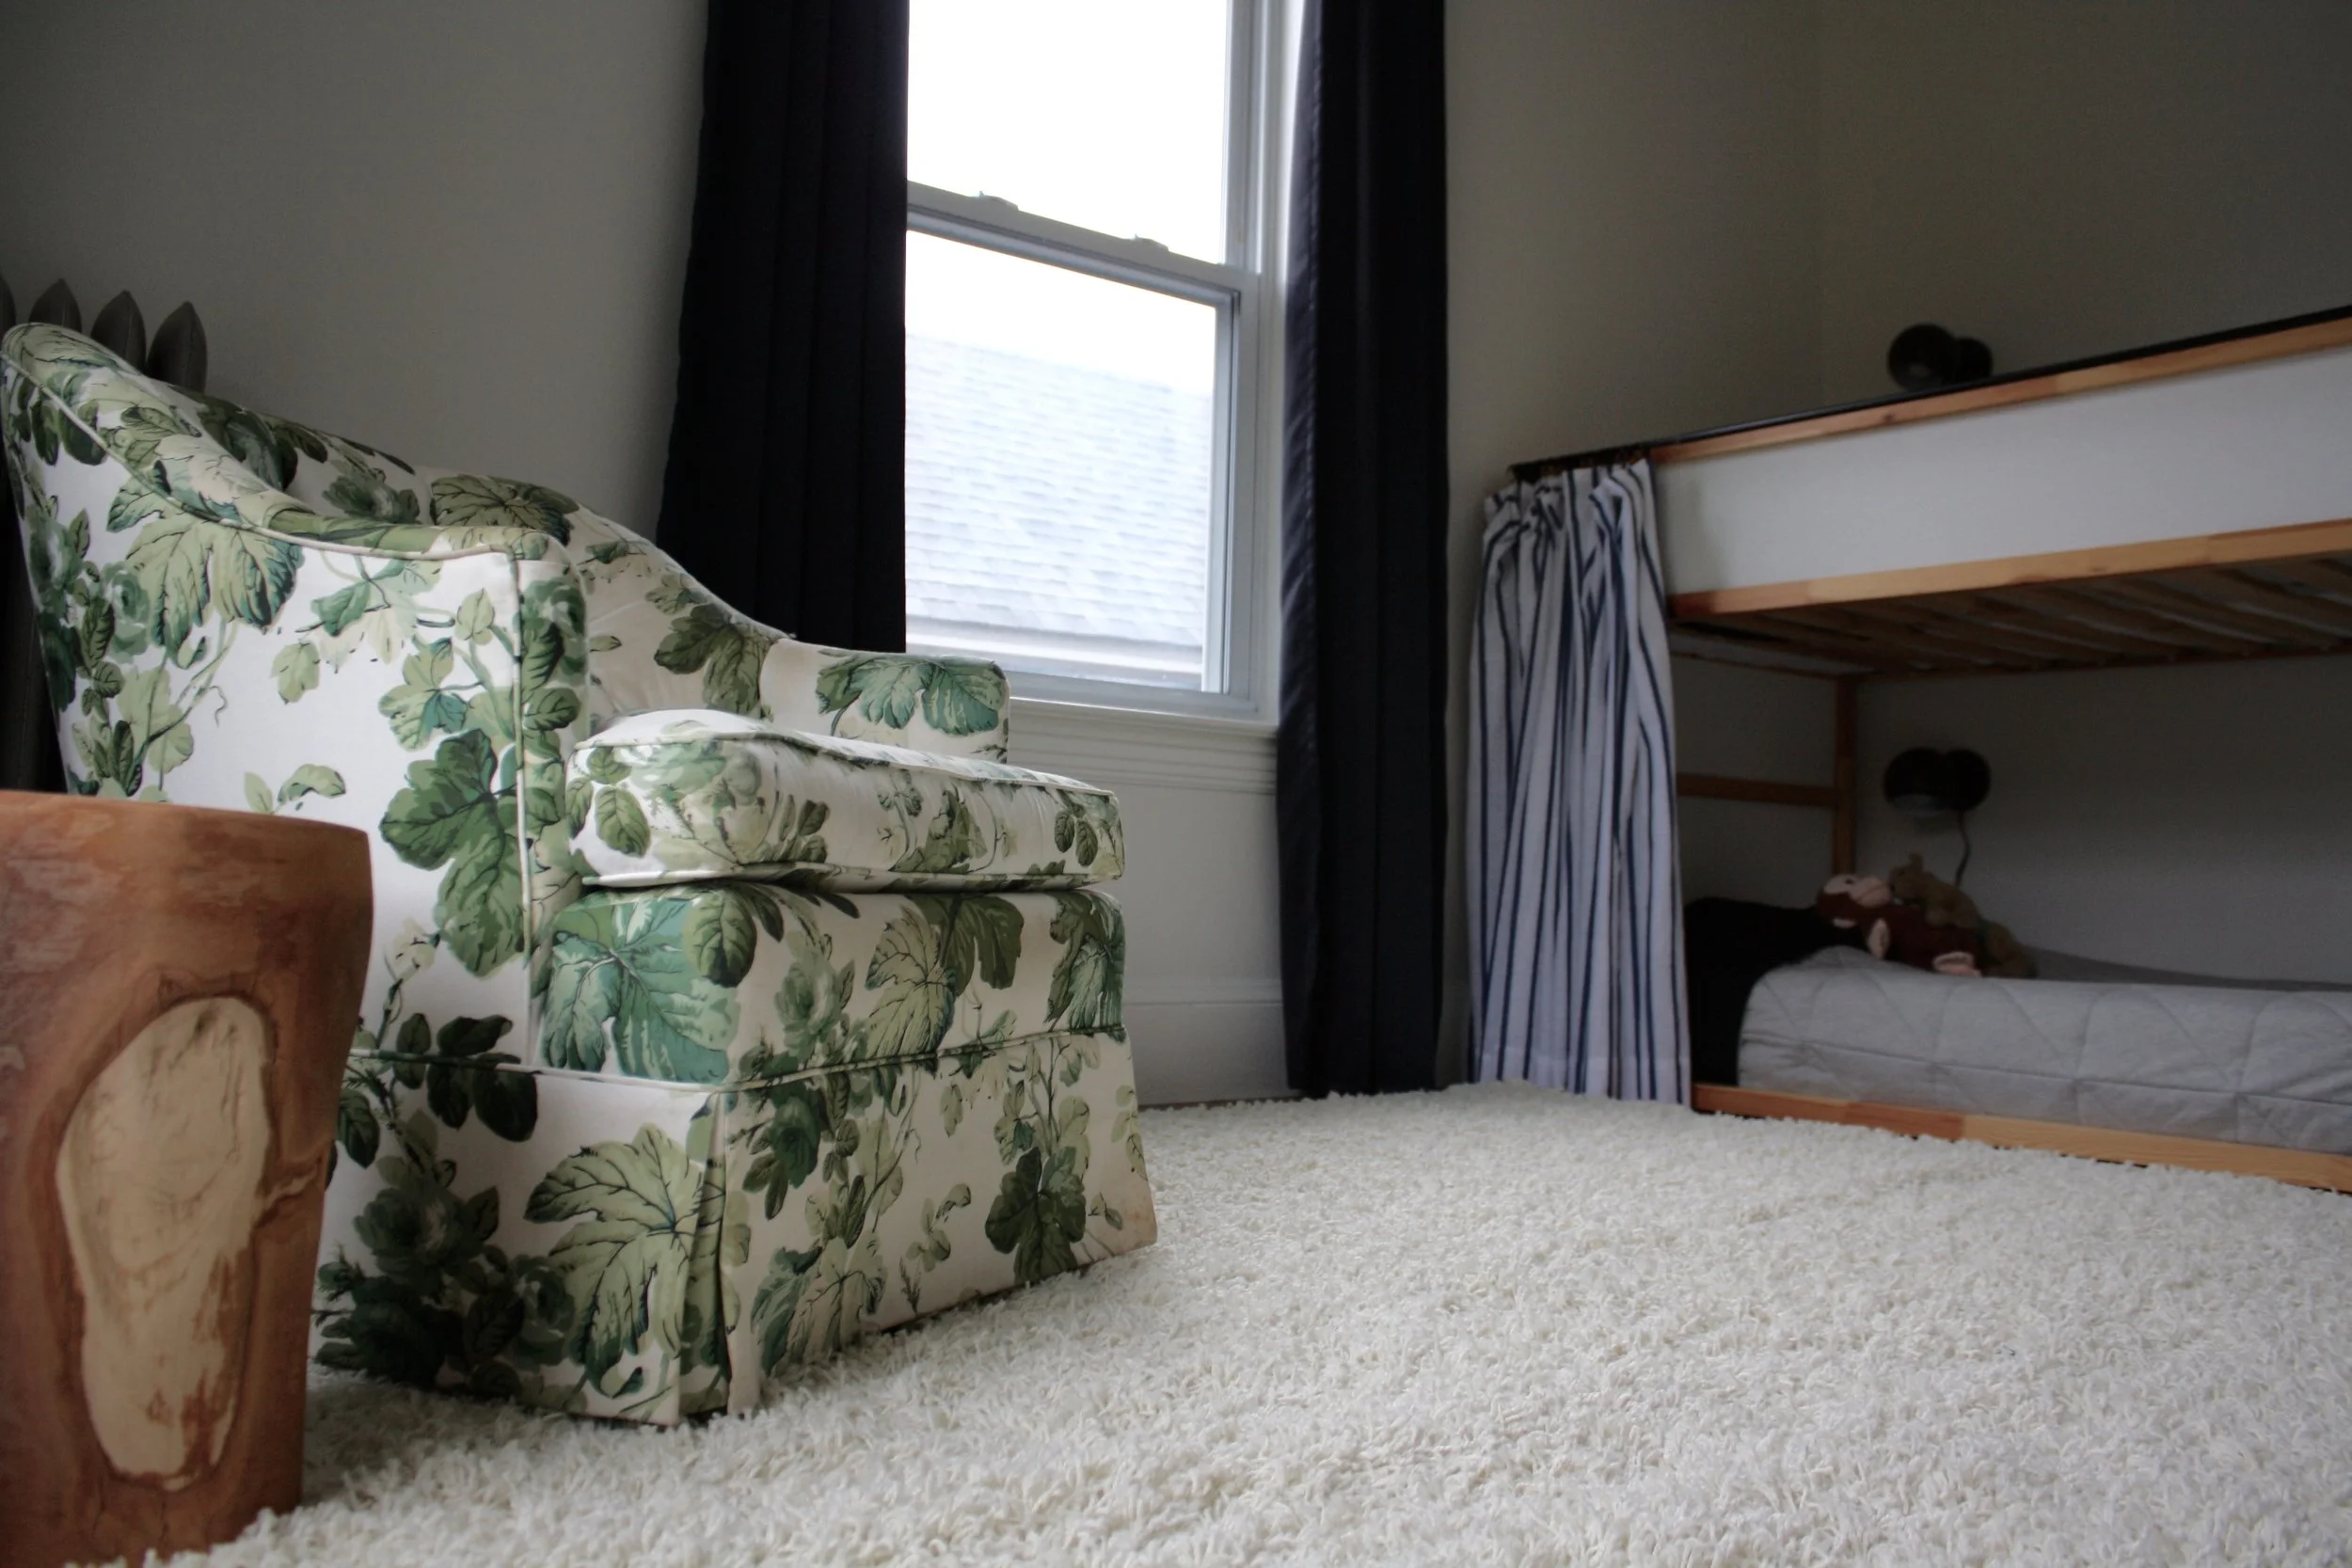
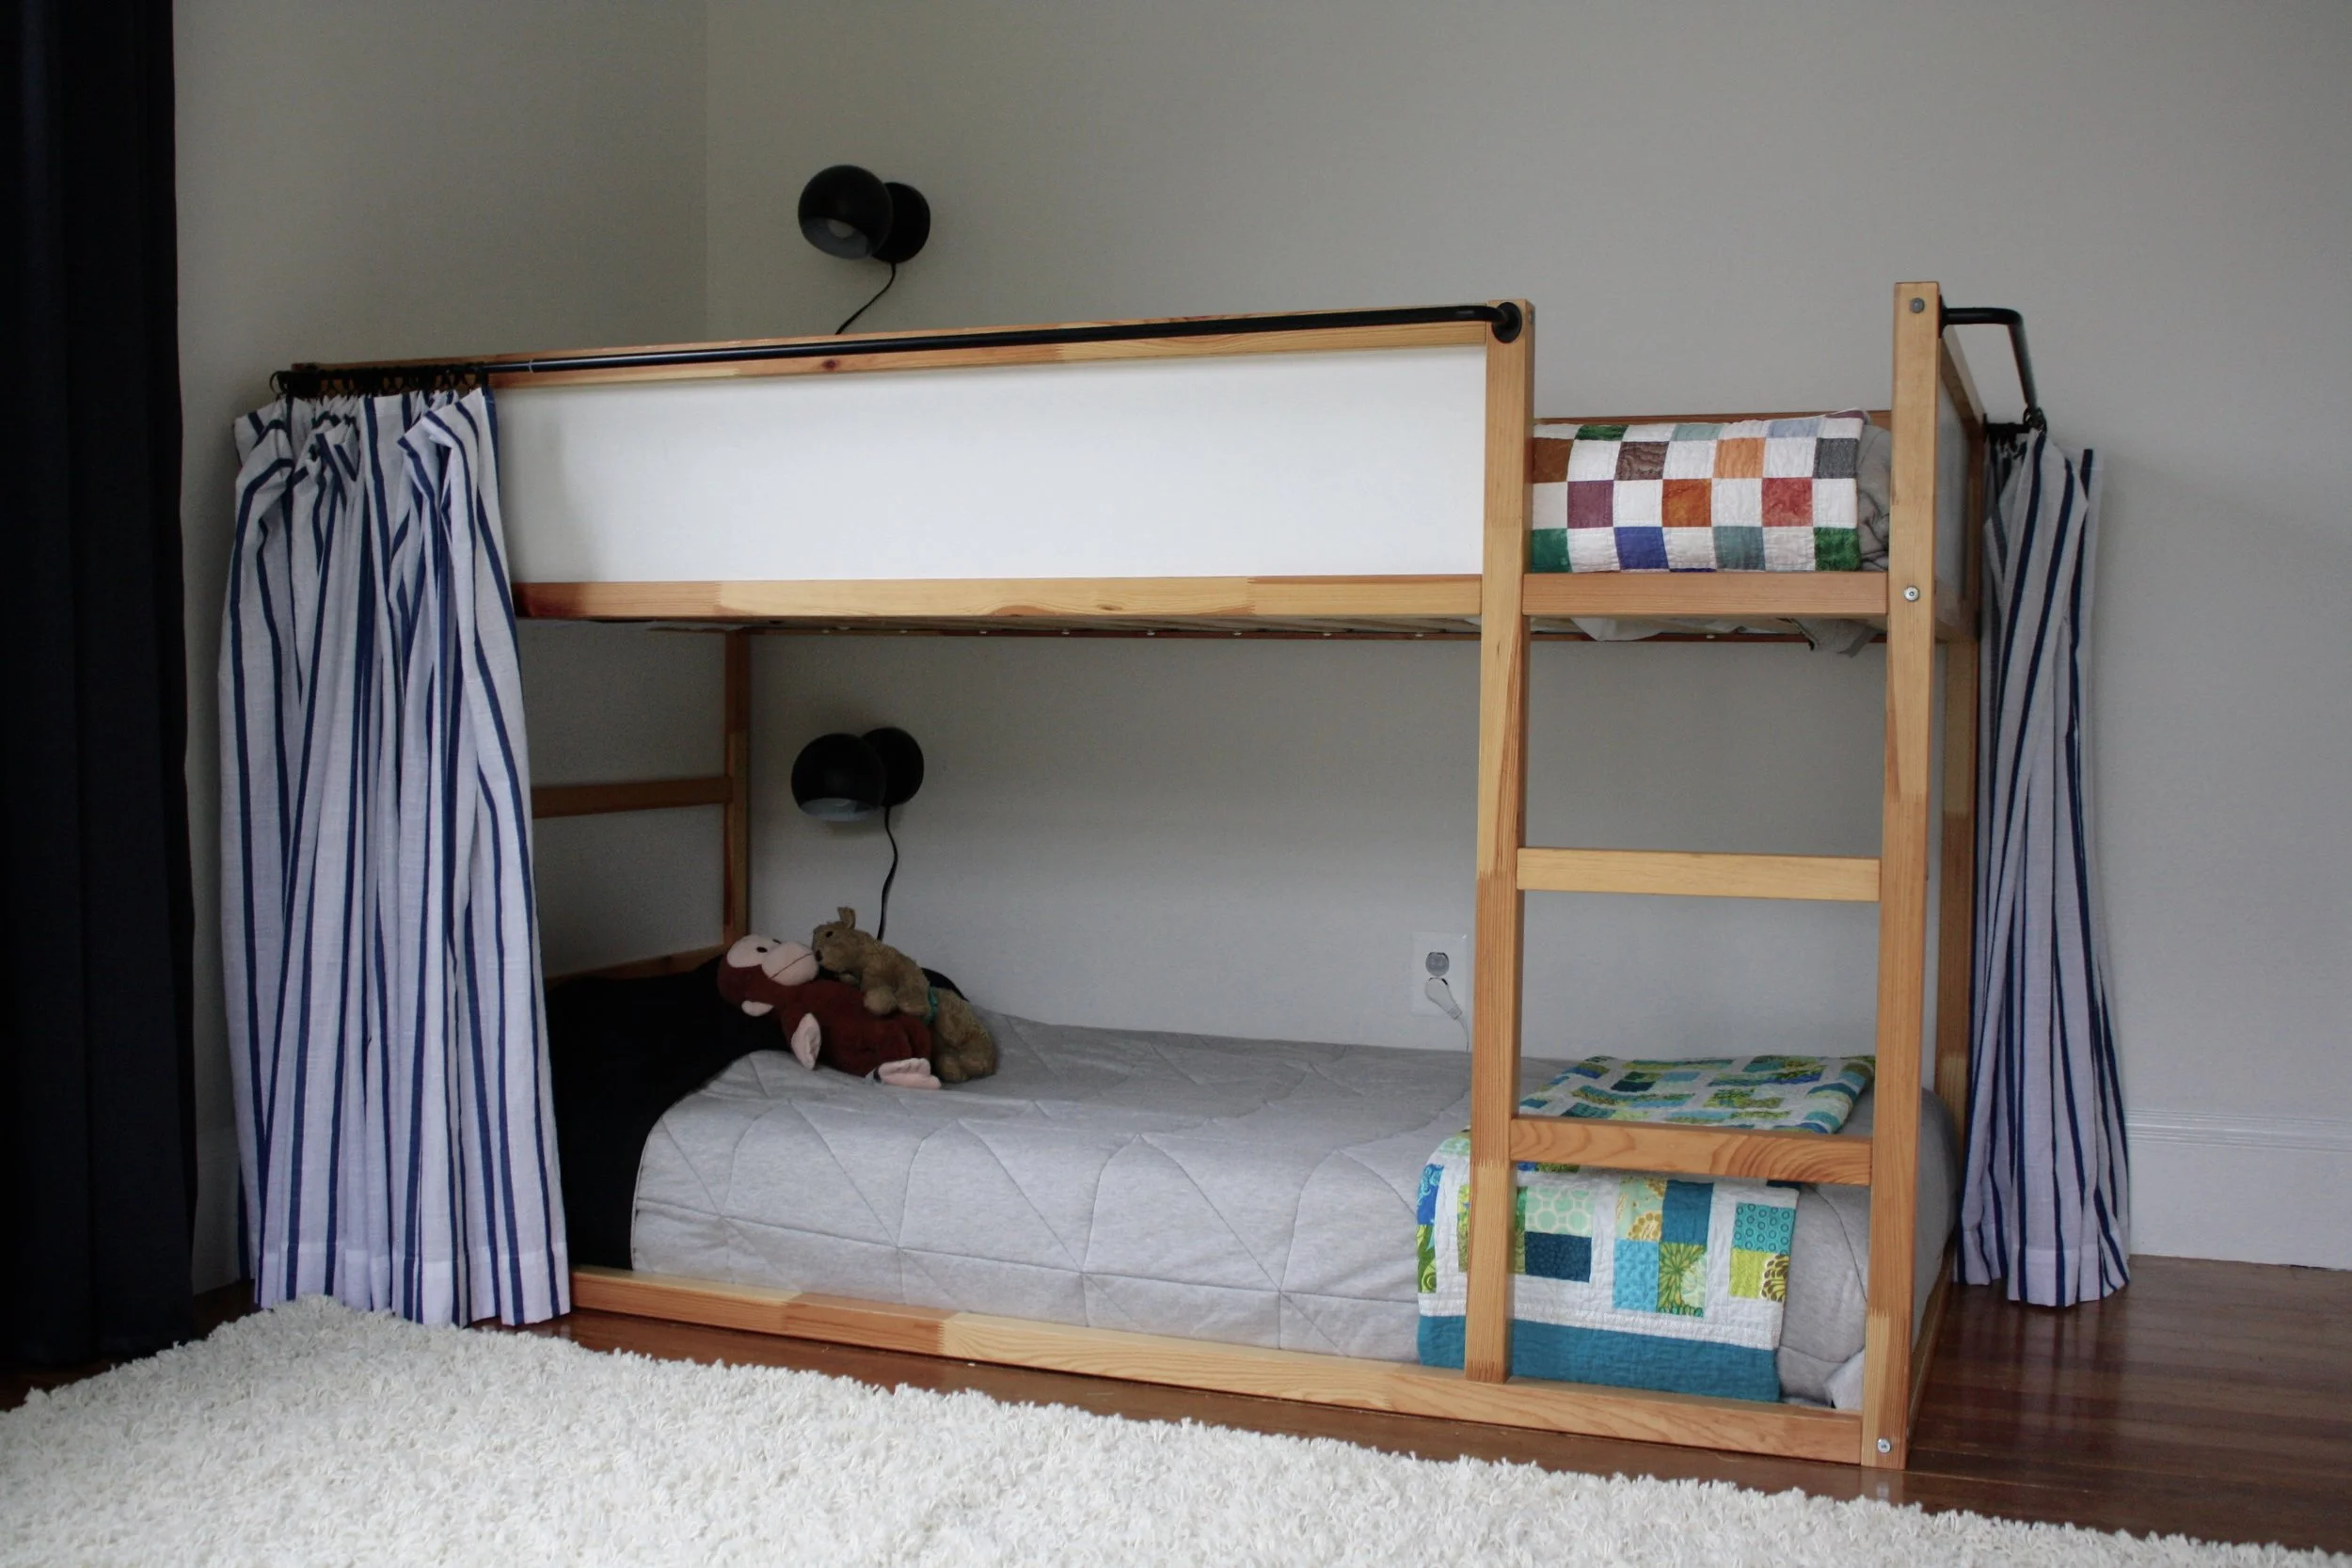
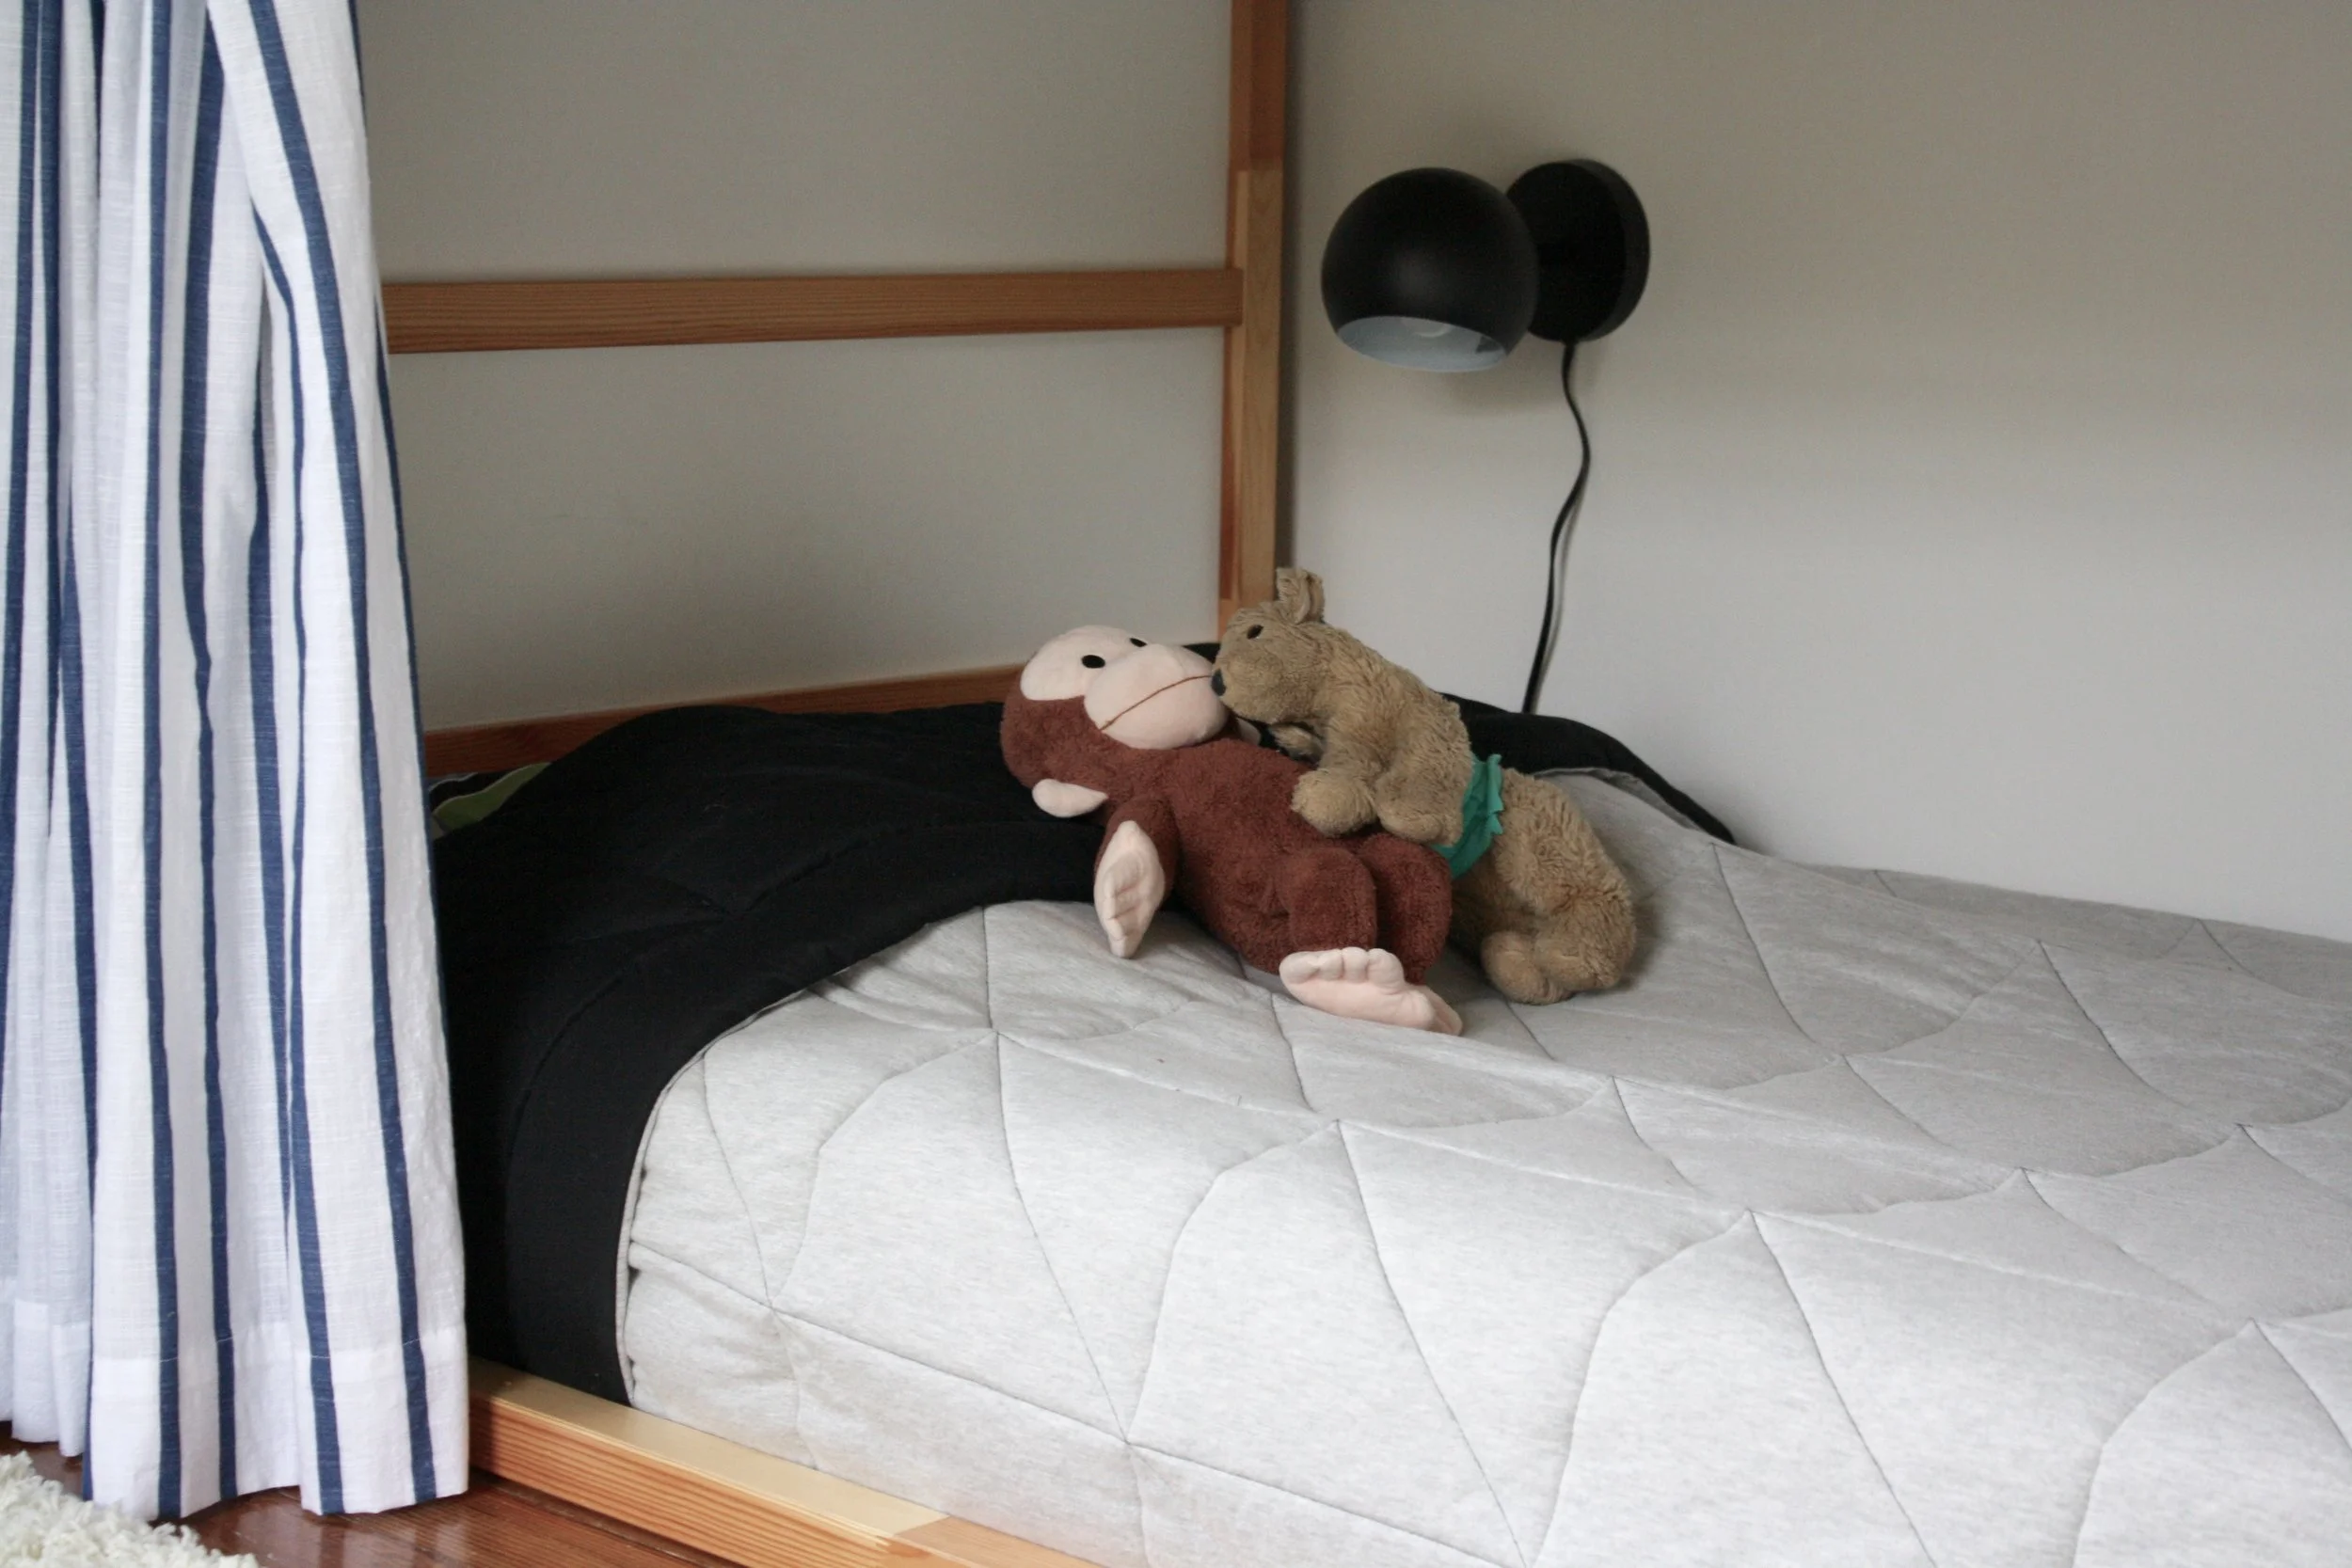
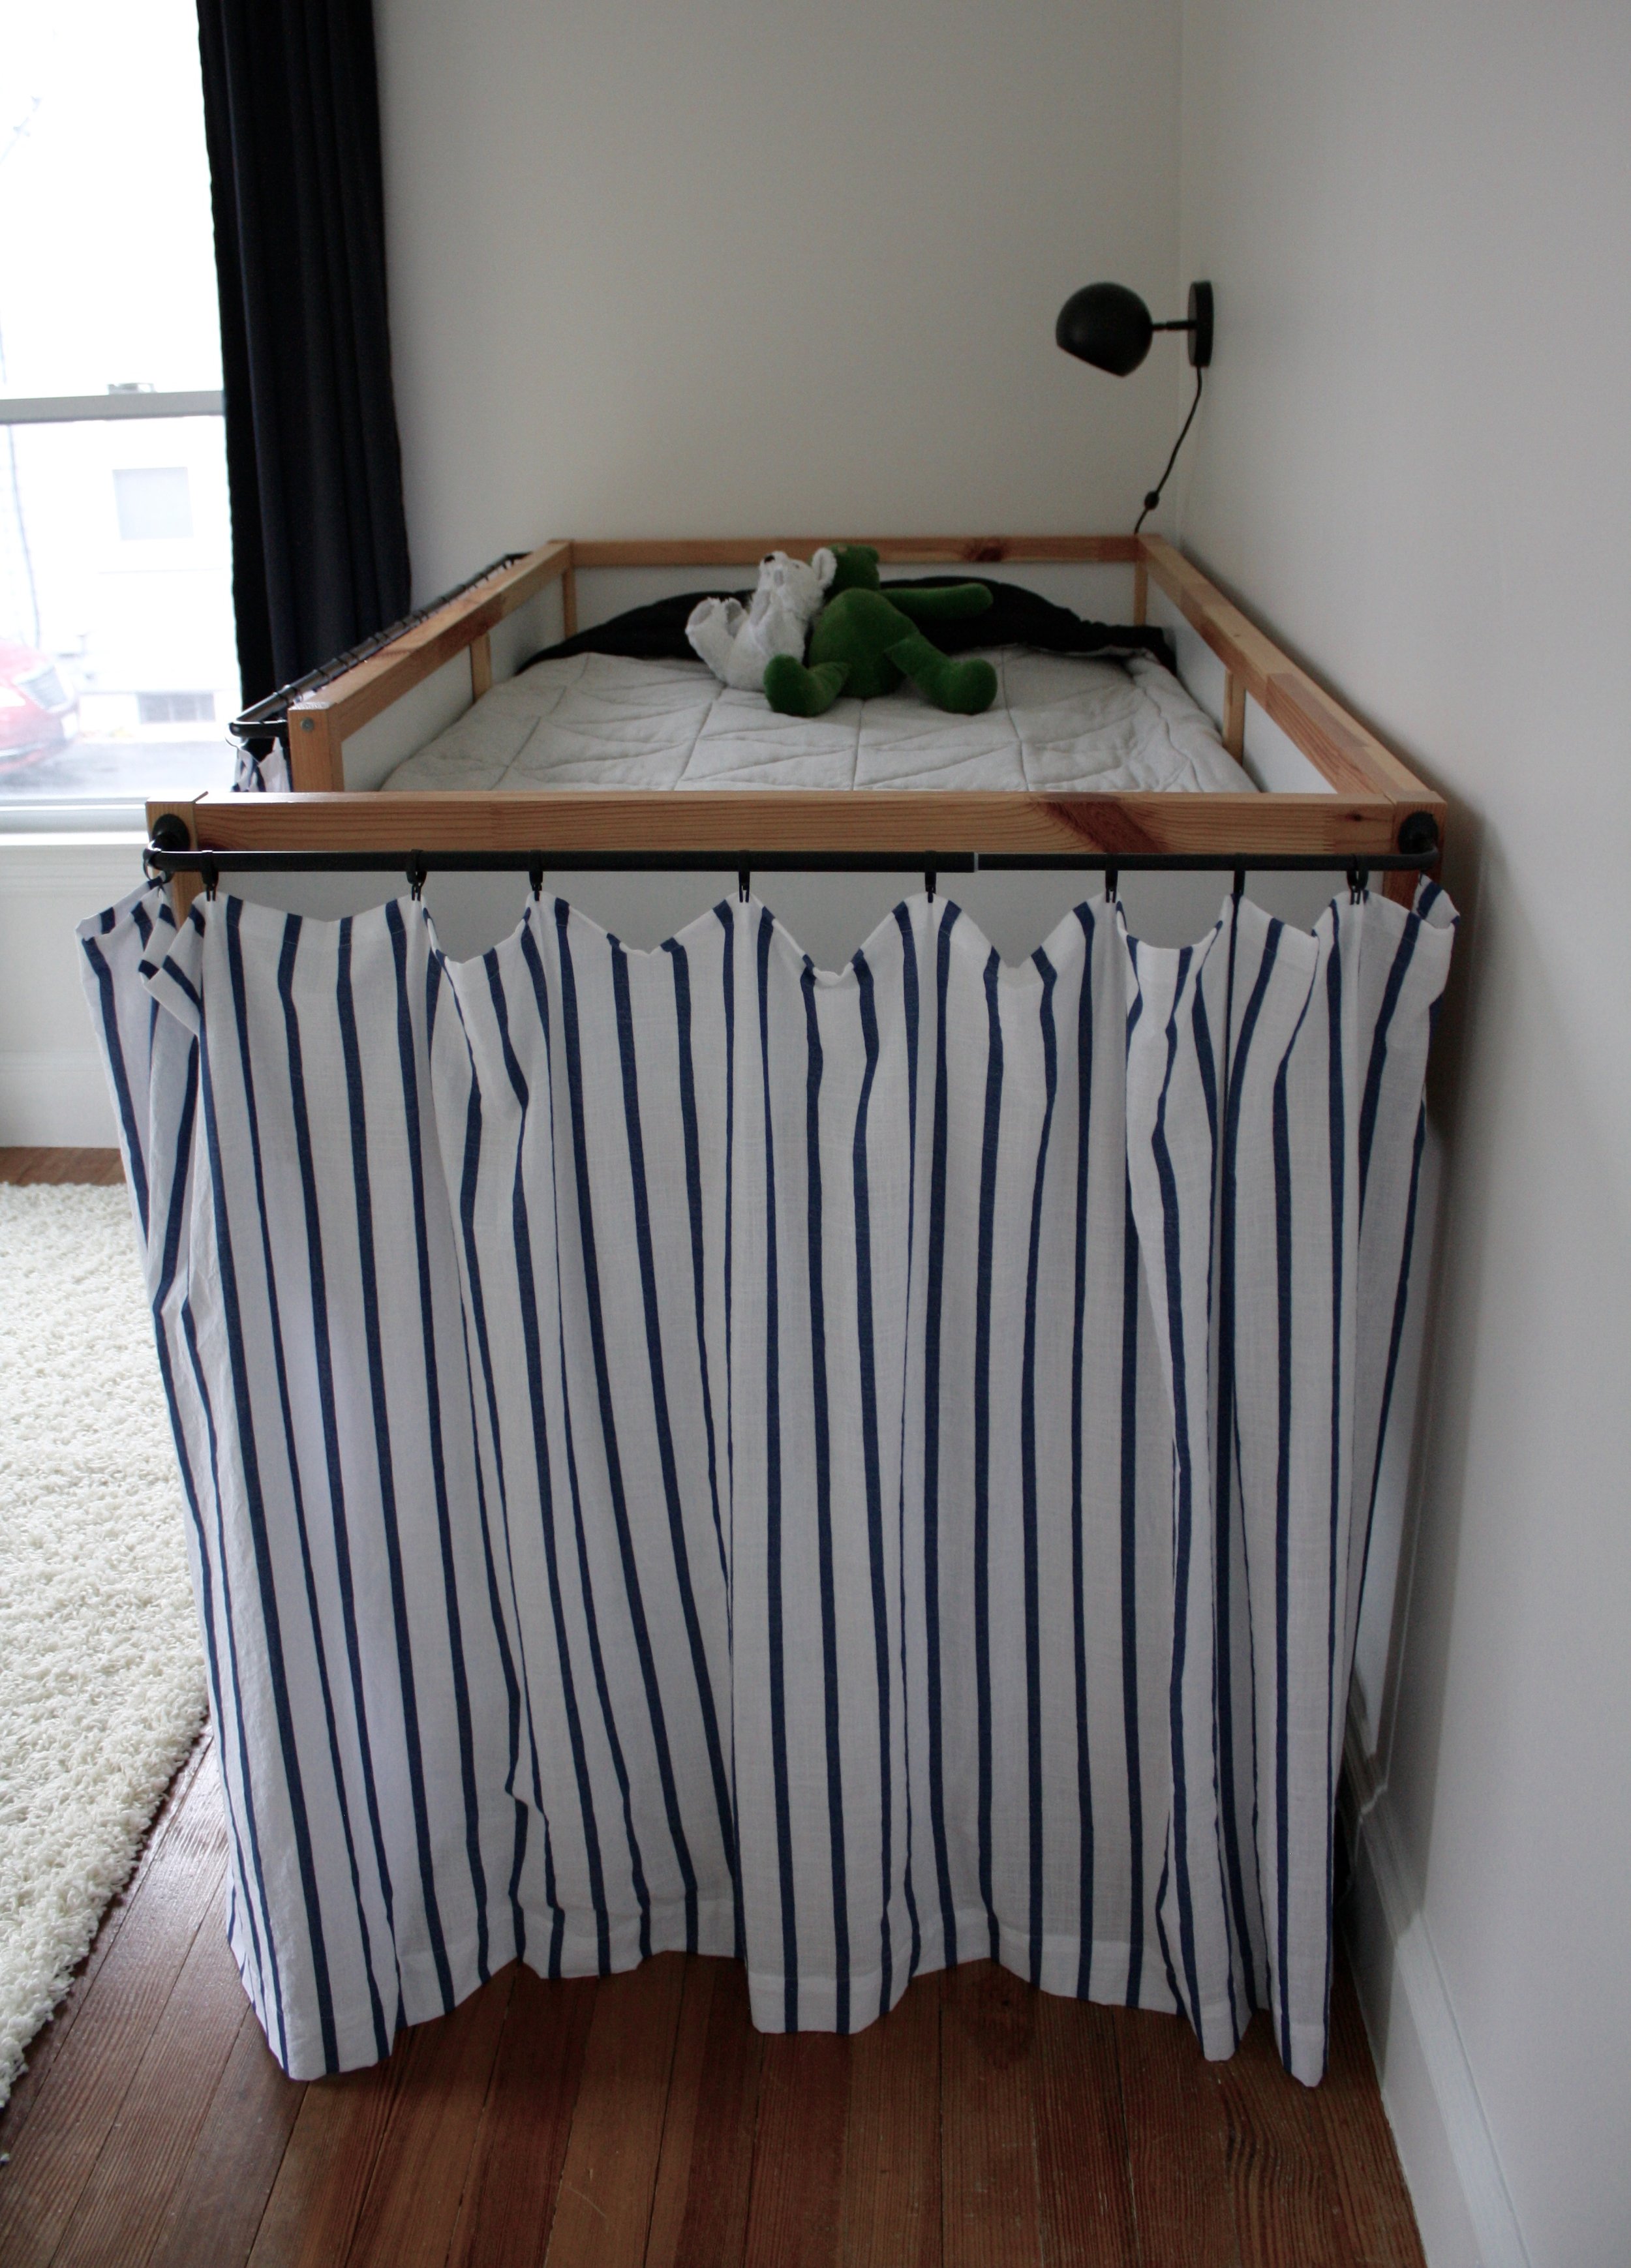
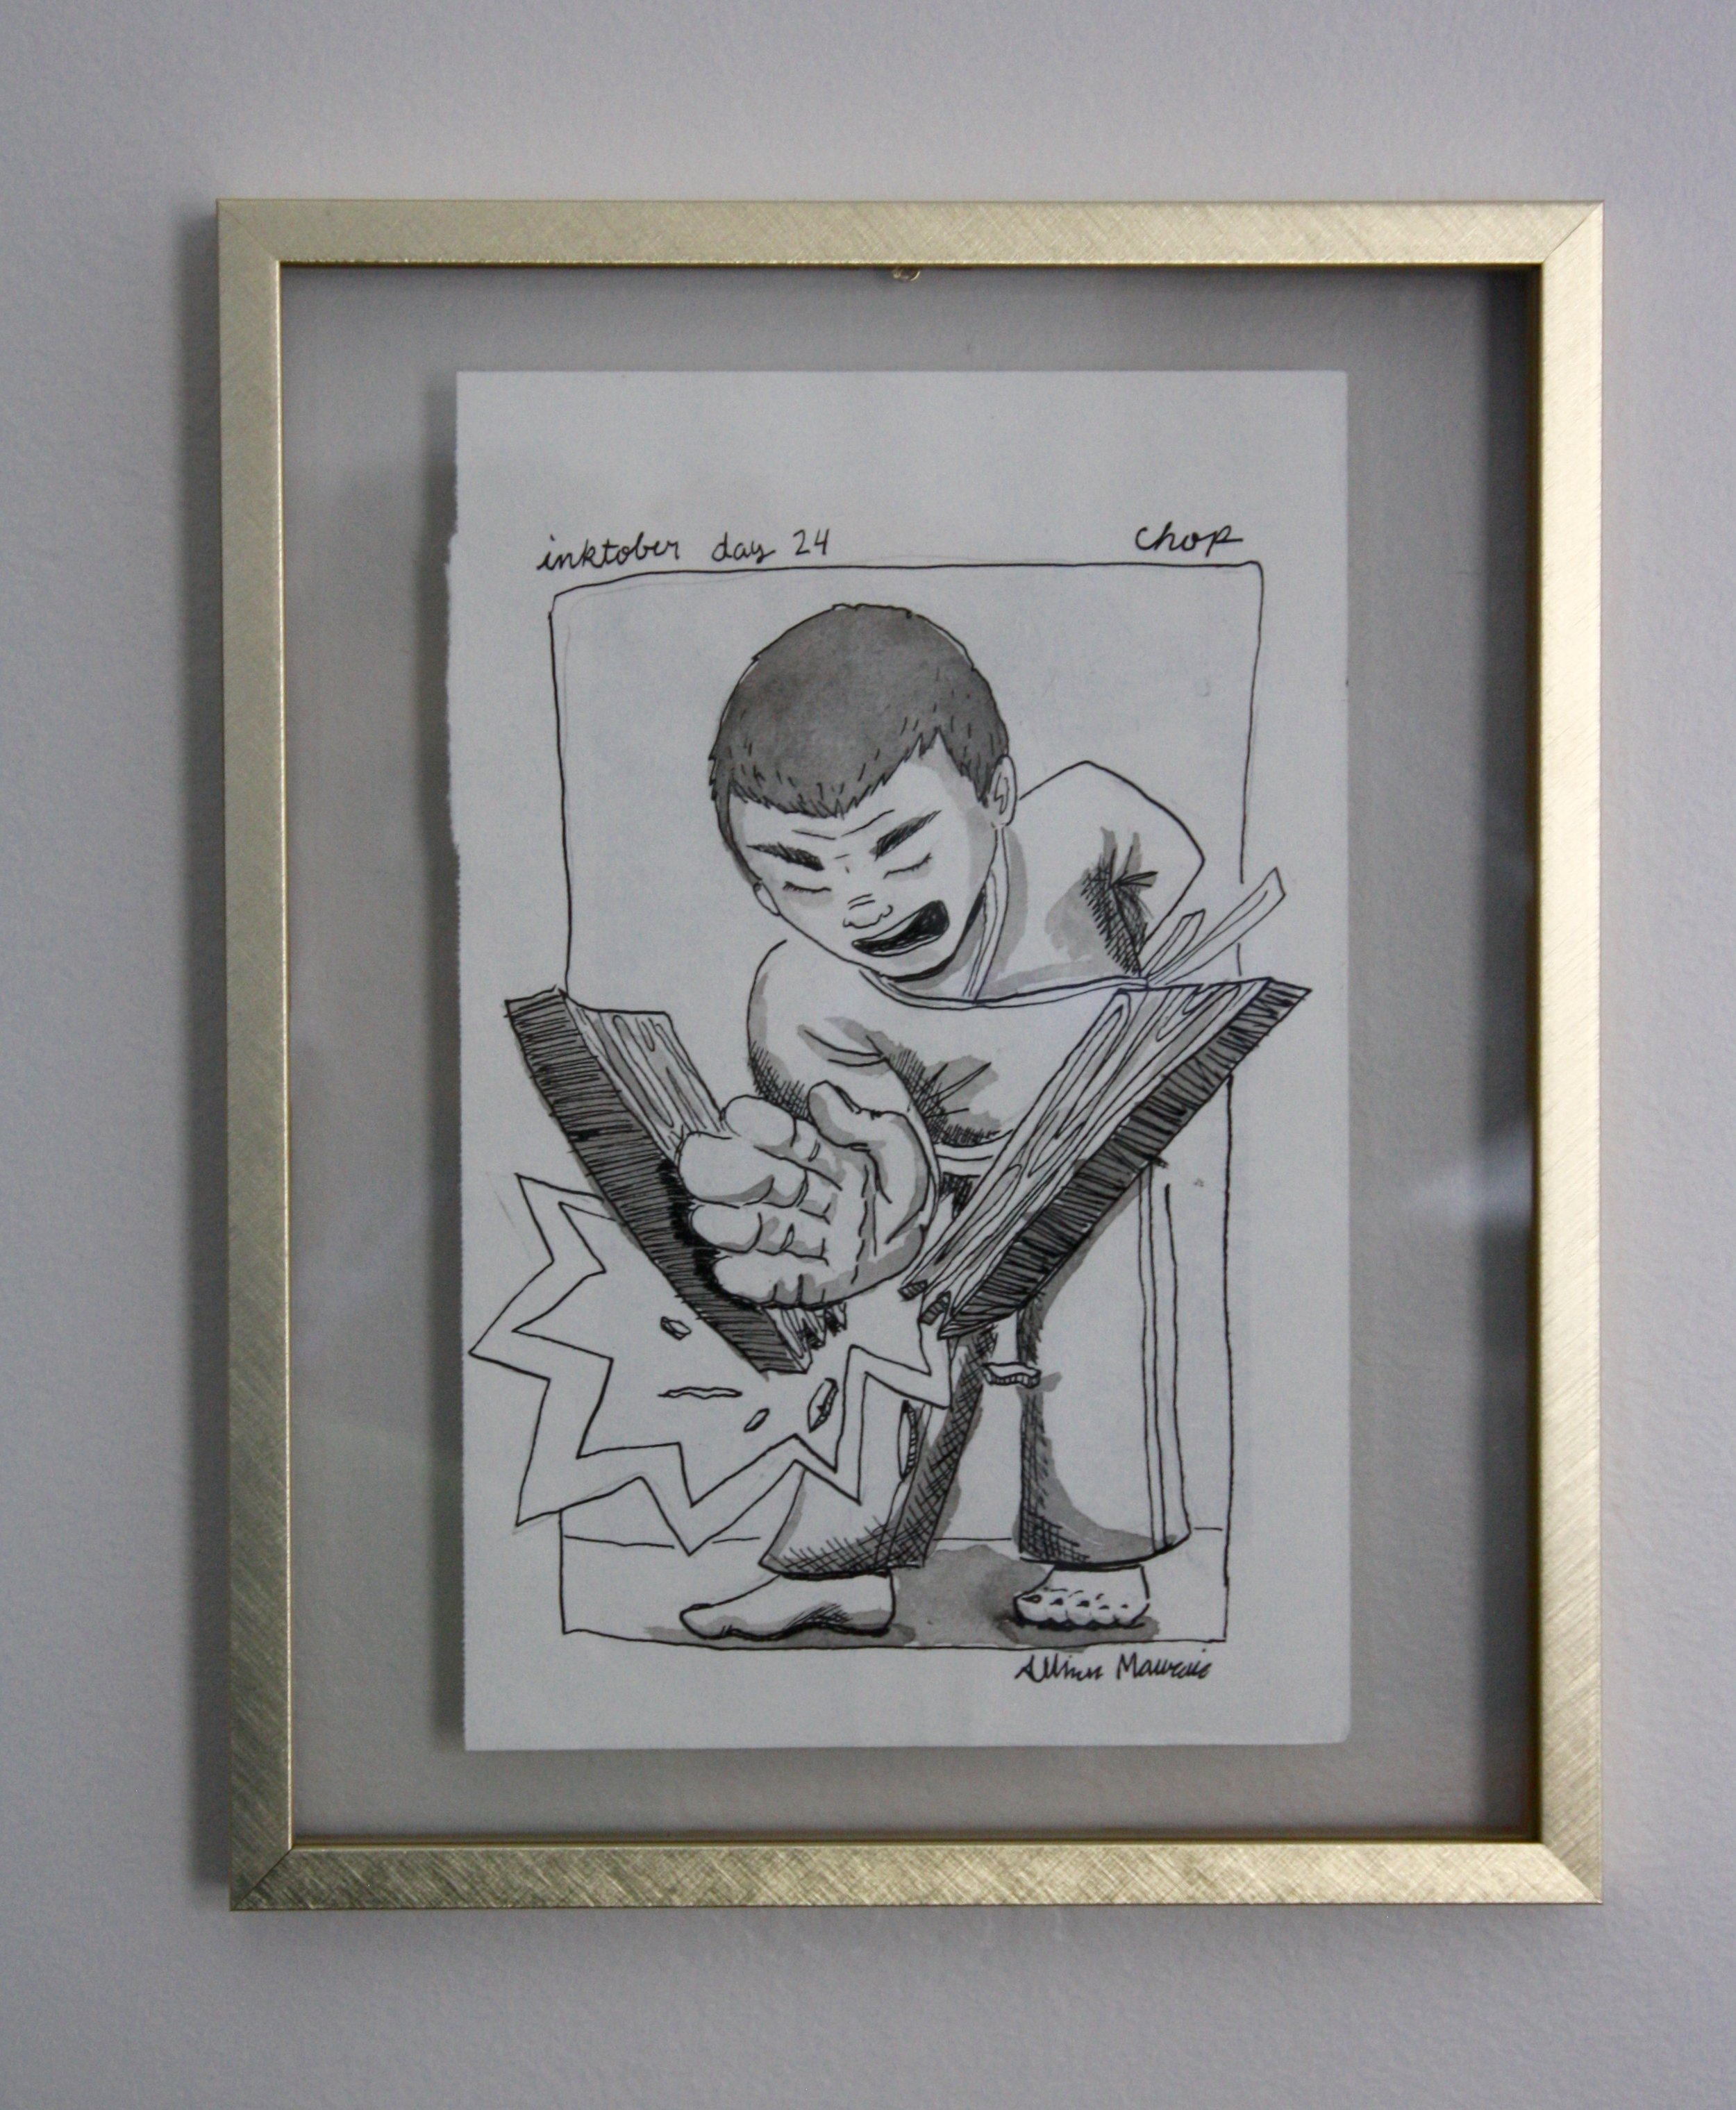
The timeframe for the One Room Challenge corresponded to my artist niece participating in “Ink-tober,” and she graciously agreed to dedicate the “Chop” and “Stretch” themed days to the boys. “Chop” became a Ninja for my 7 year old, and “Stretch” a cat for my now 4 year old, after they requested those two images for their bedside art. Framed in clear glass and brass frames, these pieces will eventually go with the boys when they grow up and move out (sniff, sniff).

 
IMG_5842.jpg
 
IMG_5843.jpg
 

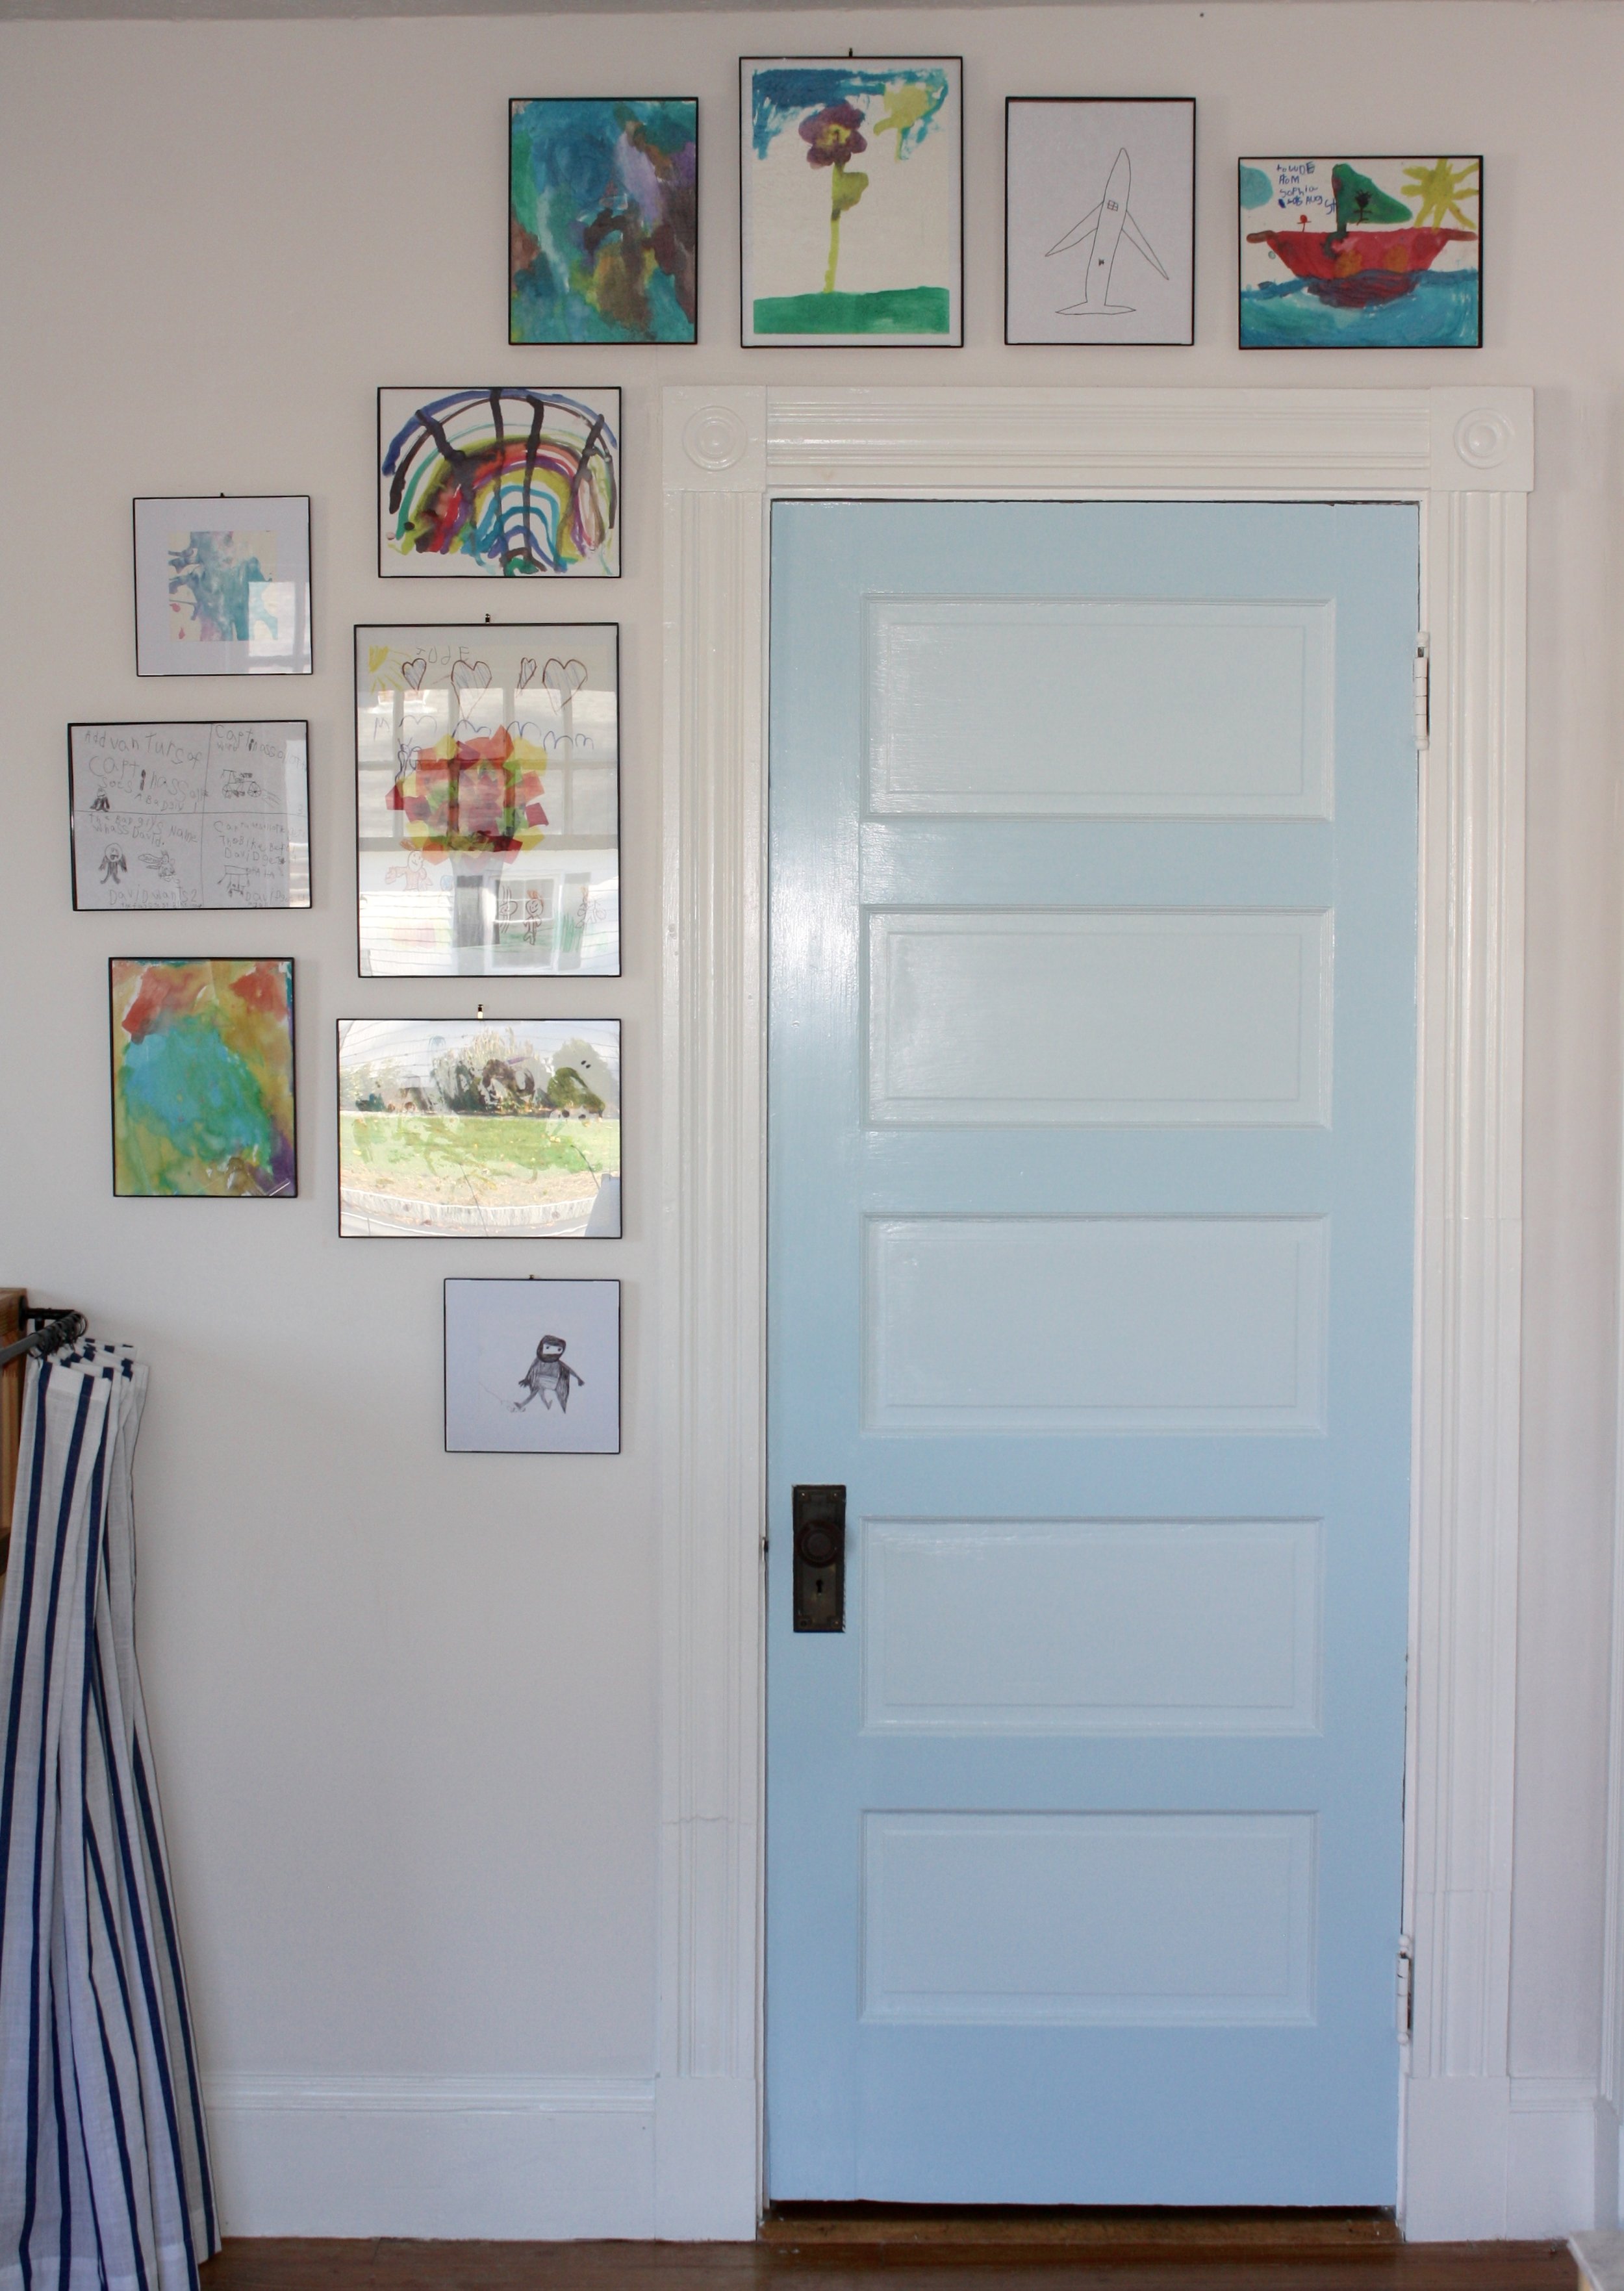
My older son asked for a way to display art that they create, so I initially planned to hang a couple pictures over each door in quick frames. As I neared the end of the Challenge, though, I started to think it would be too much to have art over the exit door with the bookshelf, kitchen, and landscape already on that wall. At the same time, I wanted to provide more space than just a couple frames for the boys to use. The waterfall of frames was born out of those two design challenges, and makes me smile every time I’m in their room. I purchased a variety of quick frames from Walmart, and cut out paper the size of each frame that I could tape up to figure out the arrangement I wanted on the wall. I ended up using exactly the frames I had bought, so that was one project that actually didn’t require return trips to the store!


Outside of the boys room, my very favorite art pieces in our home are paintings by my grandmother, a drawing by my niece, and an I-phone photo snapped at a baseball game. Not only are they timeless, but each has a significance that couldn’t be replaced for any amount of money.

There is absolutely nothing wrong with liking a piece of art in a store or gallery, and buying it to hang on your wall. Something off the shelf can absolutely have meaning! But personally, I like to try to think a little outside the box for artwork. It doesn’t have to cost a lot of money to have meaning, and guarantees that your art is one of a kind.

Veni, Vidi, Vici!

Week 6!!! The Whimsical Boys Room is COMPLETE!!! Somehow I actually finished on Monday, so I had a minute to catch my breath after sewing until midnight three nights running.

For anyone new to my blog or the One Room Challenge, it is a biannual decor and design event that takes place every spring and fall. This Fall 2018 Challenge marks its fourteenth season! Each Challenge there are 20 designers selected to transform a space, and they document their progress every Wednesday for 6 weeks. In addition, anyone with a blog can take part as a Guest Participant. Each Thursday the guests post links to their progress, inspiring and encouraging others as they participate. And that’s me, a Guest Participant! I made over my boys shared bedroom, giving it a touch of whimsey and lots of function.

Remember the tragic “Before” pictures? It was pretty much a dump-and-run situation. Holy Tornado, Batman!

 
IMG_5253.JPG
 
IMG_5257.JPG
 

And now the “After”…

 
IMG_5936.jpg
 
IMG_6217.jpg
 
IMG_5799.jpg
 
IMG_6234.jpg
 
IMG_6557.jpg
 
IMG_6322.jpg
 
IMG_6341.jpg
 
IMG_6525.jpg
 
IMG_6548.JPG
 
IMG_6069.jpg
 
IMG_6357.jpg
 
IMG_6446.JPG
 
IMG_6037.jpg
 
IMG_5951.jpg
 
IMG_6480.JPG
 

I’m not sure exactly what I expected from the One Room Challenge. Besides the obvious, I mean, which is having one room in our house be absolutely and completely finished. But I feel like there have been some added benefits that I didn’t anticipate. I have grown as a decorator and photographer, and gained confidence in my ability to work with a deadline. I’ve been reminded how much I enjoy mixing colors and patterns, using power tools, and incorporating as many personally significant details as I can into a room.

There have been a lot of “best” parts of participating in the One Room Challenge. Watching the boys play in their new room is definitely one of them!

 
IMG_5888.jpg
 

Lots more blog posts to come about the Whimsical Boys Room! I’ll share details about the art, pillows and other textiles, bedding, KALLAX bookcase, and more. Stick around, lots more goodies to come! Many thanks to Linda at the One Room Challenge for creating an amazing event that showcases so many wonderful designs. Check out all of the Featured Designers and Guest Participants at the link below.


As for what else is coming down the pike… lots of decor, staging, and more. Plus I’m already looking forward to the next One Room Challenge, coming up in Spring 2019. So stick around, I’m not going anywhere!


Much Ado About Tassels

This past week has flown by! I’m sure everyone participating in the One Room Challenge would say the same. But glory hallelujah, I’m done making tassels! The final total was 210, a little short of the 4 million it felt like.

For any new readers, the One Room Challenge is a biannual decor and design event that takes place every spring and fall. This Fall 2018 Challenge marks its fourteenth season! Each Challenge there are 20 designers selected to transform a space, and they document their progress every Wednesday for 6 weeks. In addition, anyone with a blog can take part as a Guest Participant. Each Thursday the guests post links to their progress, inspiring and encouraging others as they participate. And that’s me, a Guest Participant! I’m making over my boys shared bedroom, giving it a touch of whimsey and lots of function.

 
Screen Shot 2018-10-08 at 1.41.09 PM.png
 

When I was planning the room makeover, I decided to keep the existing curtains. They are IKEA blackout curtains, and they truly transform the room from daylight to night at nap time. Any mom of young kids knows the value of a good blackout curtain! But the panels were …. super boring. I thought about giving them a tailored look with grosgrain ribbon in a sophisticated grid, but that just didn’t quite fit. But TASSELS! Totally fit the whimsical vibe. (Remember this moodboard?? There were some changes, but it’s still the “gist.”)

I priced out tassels, both individually or on a strip, at craft stores, Walmart, and on Amazon. For what I wanted, the price would be a minimum of $75, or as high as $200!!!

* gulp *

Given that the pre-made options were crazy expensive and didn’t come in the exact colors I wanted, I decided to make them.

 
tassel maker.jpg
 

I found a simple tassel kit at Walmart for $4. It comes with three wooden tassel forms, and you just wrap / tie the tassels on the form per the handy instructions that come with the kit. I chose to use a relatively thin crochet thread from Hobby Lobby in three different greens. Be aware that the thread weight will greatly impact how long the tassels take to make! I knew I wanted the look a thin thread would give, so went ahead with it. I used the smallest form from the kit and made two inch tassels. The total cost for all my supplies was in the ballpark of $12.

208 does not sound like that many tassels. BUT IT IS. I actually made 210, but then had 2 left over. I watched a LOT of Suits episodes while I wrapped tassels. I suppose this week is brought to you by Amazon Prime Video. Except not really because I don’t have any sponsors. But I definitely BINGED Suits! And ate a lot of chocolate. There is way too much chocolate readily available this time of year.

 
tassels.jpg
 

I even took my tassel making on the road. I went away with friends for a weekend getaway Friday - Sunday, and I tasseled in the car! I think I got a total of about 20 made while driving (I mean my friend was driving), so not sure it was really worth it…

 
IMG_5746.jpg
 
IMG_5765.jpg
 

Congrats to me for thinking up the MOST TIME CONSUMING PROJECT EVER. Sewing on 208 individual tassels is no joke. 52 tassels per panel, split into 26 per edge. But look! All that work was worth it! I decided to mount the tassels on the front of the curtain, rather than hanging off the edge, and love the visibility and movement.

These curtains came with IKEA pleating tape already sewn on, so hanging them is incredibly easy, and it gives them a tailored look. If you have curtains without pleating tape IKEA sells it for $4.99 (3” x 122”).

 
IMG_5763.JPG
 

A couple years ago I was in Goodwill when I spotted a set of two bird paint-by-number paintings. For $1 each! I snatched those up, and they have been sitting gathering dust ever since. I didn’t know if the boys really cared to have them in their room, so I asked my 7 year old.

“I TREASURE those paintings!”

 
IMG_5762.jpg
 

Two $9 frames from Walmart later, they are finally hanging right where they belong. Can’t argue with “treasure!” I think I have a thing for paint-by-numbers. In moderation! Our younger girls have one in their room as well, and it’s in my top #5 out of the art in our home.

 
IMG_5750.jpg
 

This next week is going to be a whirlwind! I’m finishing the KALLAX unit tomorrow, finalizing art, sewing pillow covers, and creating the ceiling installation. Chaos, but FUN! Add in a couple consults and I’m going to be RUNNING for the next week. All good things, and I love to be busy!

 
IMG_5745.jpg
 

Don’t forget to check out the Featured Designers and the other Guest Participants by clicking on the link below! And for more frequent updates, be sure to follow Dawson Interiors on Instagram and Facebook.


So Many Tassels!

Can’t believe we are already wrapping up Week 4 of the One Room Challenge!

For any new readers, the One Room Challenge is a biannual decor and design event that takes place every spring and fall. This Fall 2018 Challenge marks its fourteenth season! Each Challenge there are 20 designers selected to transform a space, and they document their progress every Wednesday for 6 weeks. In addition, anyone with a blog can take part as a Guest Participant. Each Thursday the guests post links to their progress, inspiring and encouraging others as they participate. And that’s me, a Guest Participant! I’m making over my boys shared bedroom, giving it a touch of whimsey and lots of function.

Hi, I’m Laurel... wife to John, mom of FIVE, interior decorator and real estate stager in Auburn, Maine. Life is a tiny bit chaotic, but I love working with clients and helping transform houses into homes. This is my first One Room Challenge, and it’s been a blast!
 
IMG_5709.jpg
 

This has been a week of tiny little areas of progress, but no one giant thing completed. Although the giant cream colored shag rug I added to their room is just right, so third time’s the charm. (Does this one count as the third rug? The first was just my initial choice on the moodboard, but didn’t make it into the room. I guess you could argue it either way.)

With the shag rug in the room my three year old has been playing in his room more than ever before, building with blocks and cooking up a storm in the play kitchen. The boys actually playing in their room is one of my major goals of this makeover, so I’m pretty happy to see this change.

 
IMG_5679.jpg
 

The lights have bulbs! And a flat head extension cord! The boys love being able to read in bed. We read Bible stories in the lower bunk at bedtime the other night, and everyone got a huge kick out of cuddling up together.

 
IMG_5688.jpg
 

The biggest project to get finished up this week was the birch stump that will serve as a side table next to their reading chair. In May I decorated a wedding reception with, among other things, 10 birch stumps. I brought 6 home afterward (so heavy!!), and they have been drying out in my garage ever since.

 
IMG_5696.jpg
 

This weekend I selected one for the boys room, and set it on a stool outside to peel the bark. I hacked at it in a fairly unsafe way with my husband’s multi-tool knife until I got the many layers of bark off. I almost-not-quite got a blister, so it’s going to be a while before I peel another stump.

The next step was sanding, and I first used 80 grit, then 150, then 220 to finish it up. I used a 5-inch radius palm sander, and completed sanding in less than an hour. All told it was about a 3 hour project. I’m not going to seal it at this point, because there is a further layer that I’ll remove when it dries out even more (probably a spring project). Then I’ll oil or poly it… if you’ve ever peeled a stump please comment and let me know how you sealed it!

 
IMG_5700.jpg
 

Tassels. So many tassels. So many, in fact, that it’s the title for this blog post, despite the fact that I have yet to take a picture of said tassels. I am going to trim the sides of the existing blackout curtains with tassels, and am making three different green colors with crochet thread. It’s going to be very fun. And now you know what I’ll be working on tonight when I finish this blog post.

 
IMG_5741.jpg
 

The KALLAX unit has seen steady progress, though I’m STILL not done with it. But I’ve applied multiple layers of poly to the wood and I should be ready to “built” it this weekend. I love how the color came out, and can’t wait to show you all! Crossing fingers for a successful IKEA hack…

 
IMG_5681.jpg
 

I took a trek to a second Target to pick up the second comforter, and my youngest is thrilled with his cozy blanket. The oldest commandeered the first one immediately upon purchase, so the little guy had been waiting for a couple weeks.

 
IMG_5690.jpg
 

I’ve been vacillating about my art plans for the room, but am pretty sure I have it nailed down now. It is all very personal and significant to the boys, and I’m looking forward to getting it on the walls in the next week or so. The boys will be so excited about a couple surprises I have planned!

I realized today that I hadn’t taken any pictures with the bed curtains closed, and it’s one of my favorite details of the whole room. Check it out!

 
IMG_5722.jpg
 
IMG_5725.jpg
 
IMG_5728.jpg
 
IMG_5717.jpg


On to Week 5, time to really rock and roll!! Be sure to follow me on Instagram to keep up on One Room Challenge updates, and check out the featured designers and my fellow guests at the link below!