So Many Tassels!

Can’t believe we are already wrapping up Week 4 of the One Room Challenge!

For any new readers, the One Room Challenge is a biannual decor and design event that takes place every spring and fall. This Fall 2018 Challenge marks its fourteenth season! Each Challenge there are 20 designers selected to transform a space, and they document their progress every Wednesday for 6 weeks. In addition, anyone with a blog can take part as a Guest Participant. Each Thursday the guests post links to their progress, inspiring and encouraging others as they participate. And that’s me, a Guest Participant! I’m making over my boys shared bedroom, giving it a touch of whimsey and lots of function.

Hi, I’m Laurel... wife to John, mom of FIVE, interior decorator and real estate stager in Auburn, Maine. Life is a tiny bit chaotic, but I love working with clients and helping transform houses into homes. This is my first One Room Challenge, and it’s been a blast!
 
IMG_5709.jpg
 

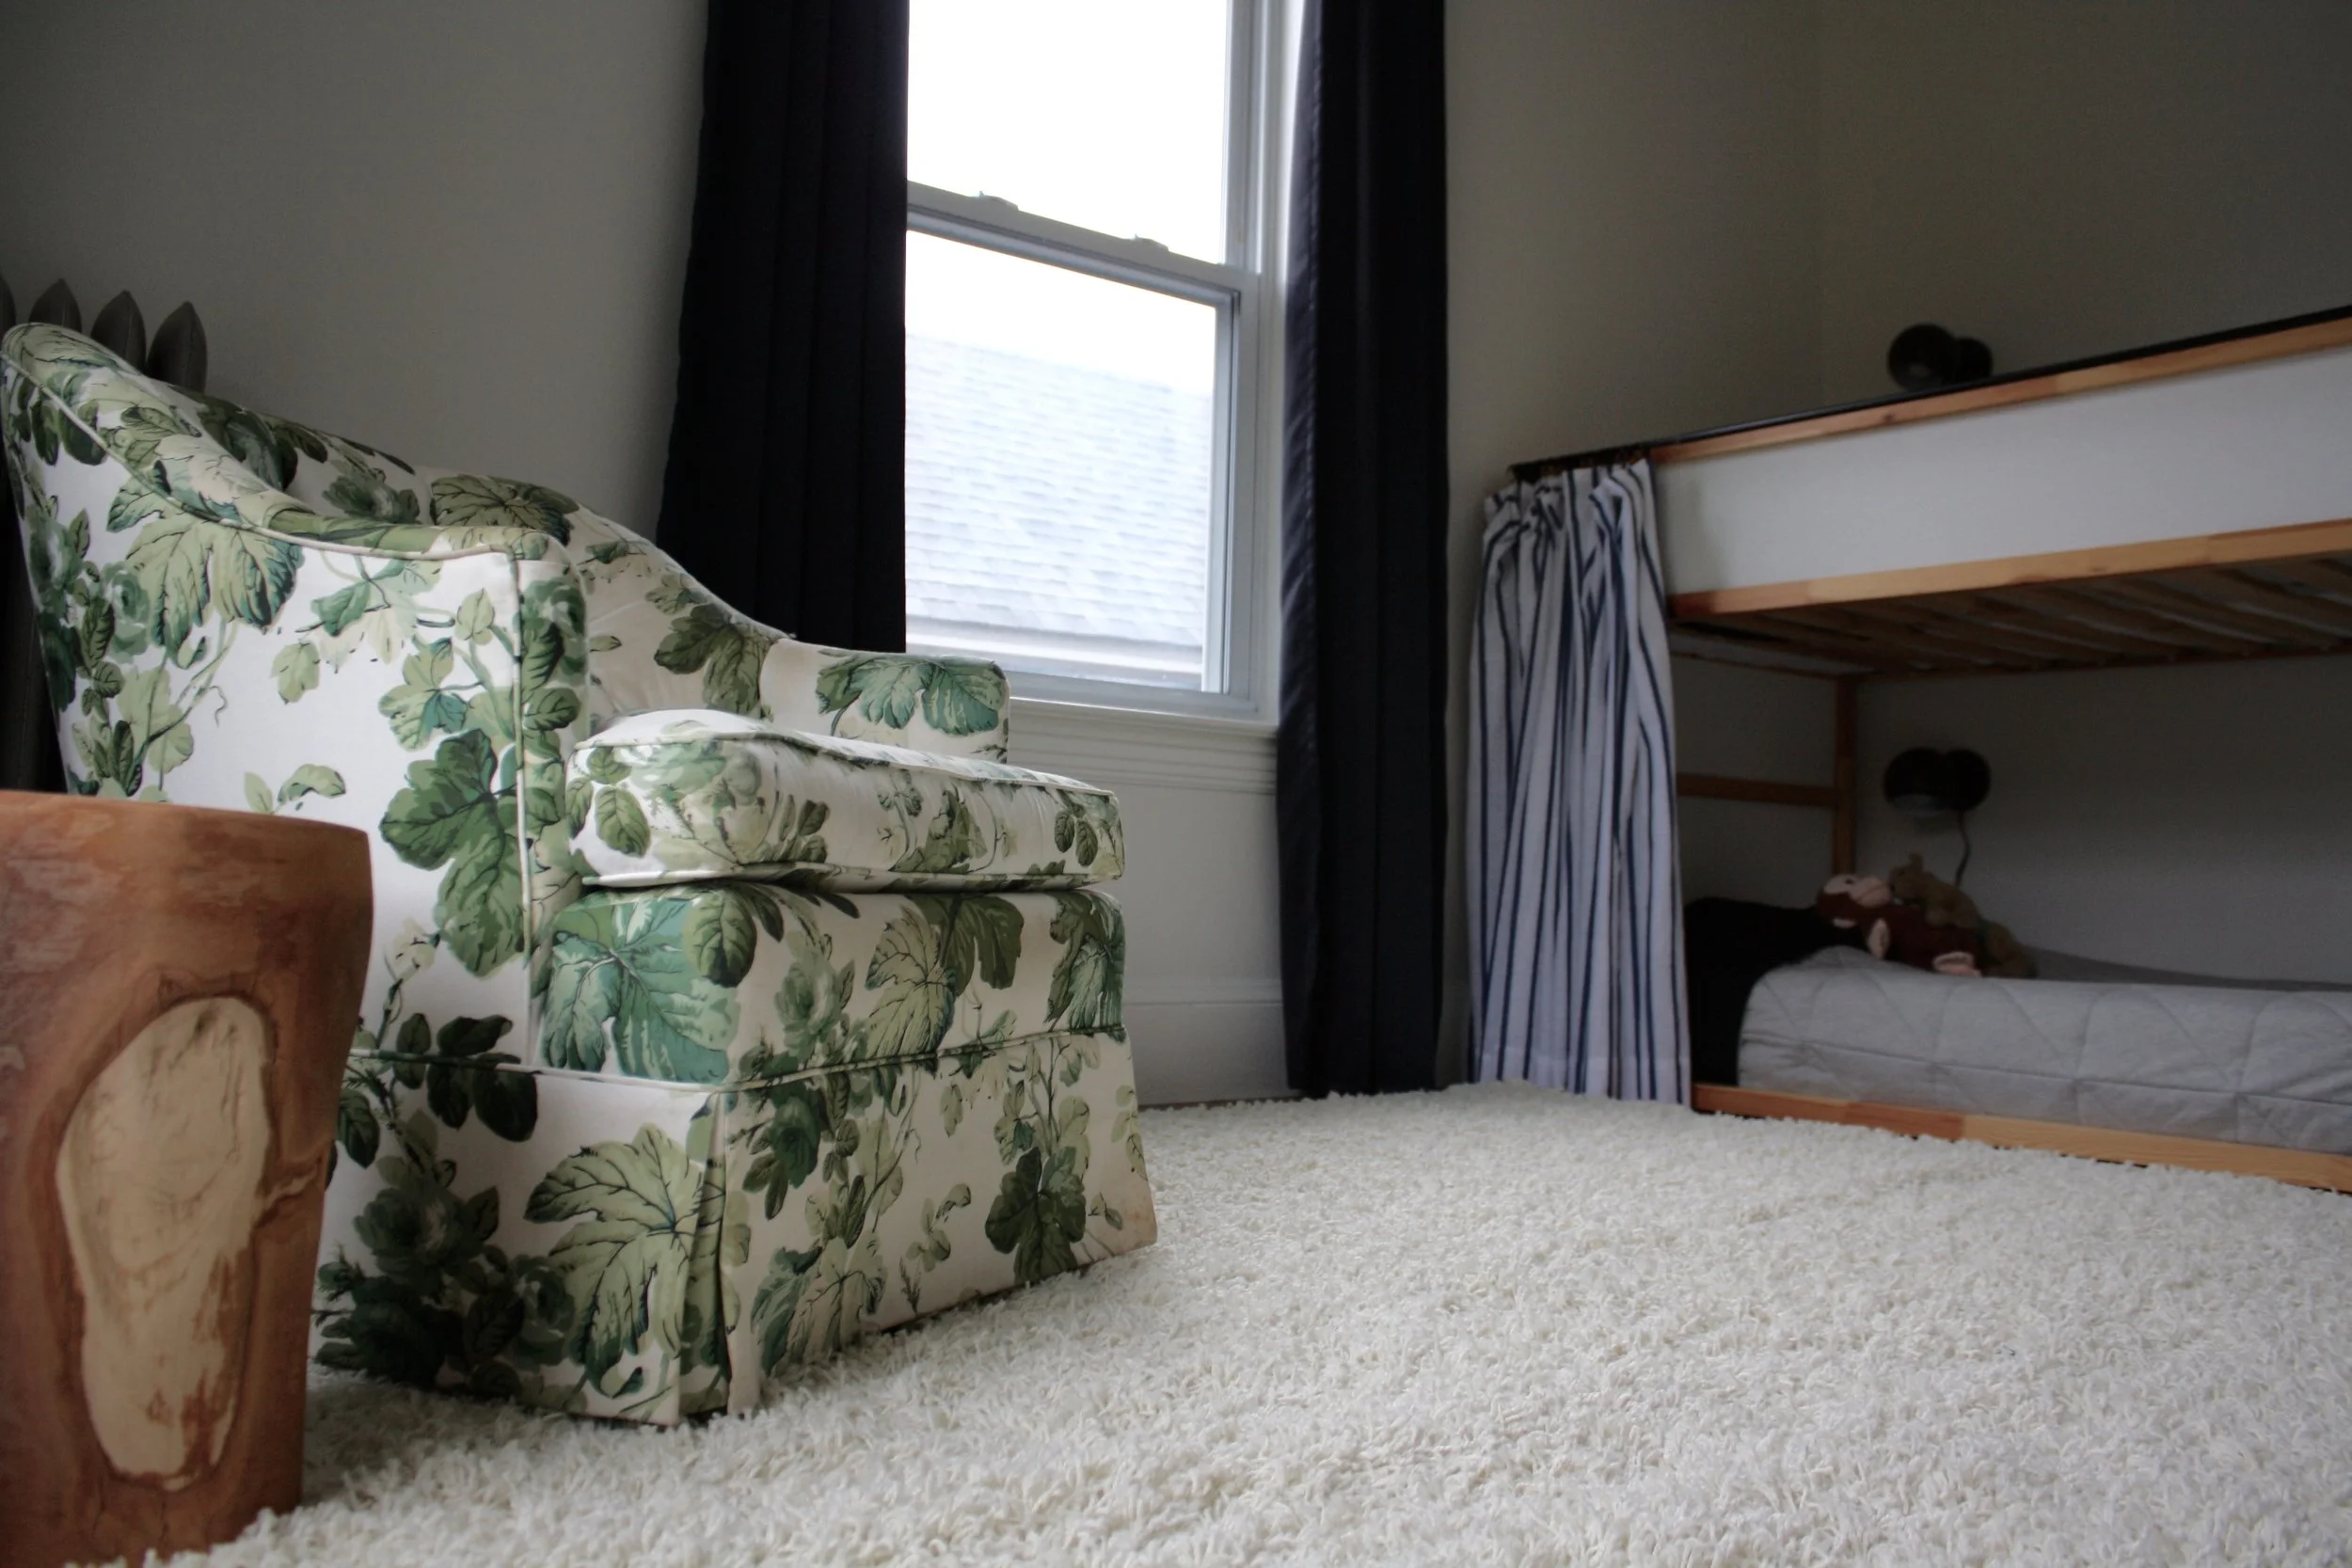
This has been a week of tiny little areas of progress, but no one giant thing completed. Although the giant cream colored shag rug I added to their room is just right, so third time’s the charm. (Does this one count as the third rug? The first was just my initial choice on the moodboard, but didn’t make it into the room. I guess you could argue it either way.)

With the shag rug in the room my three year old has been playing in his room more than ever before, building with blocks and cooking up a storm in the play kitchen. The boys actually playing in their room is one of my major goals of this makeover, so I’m pretty happy to see this change.

 
IMG_5679.jpg
 

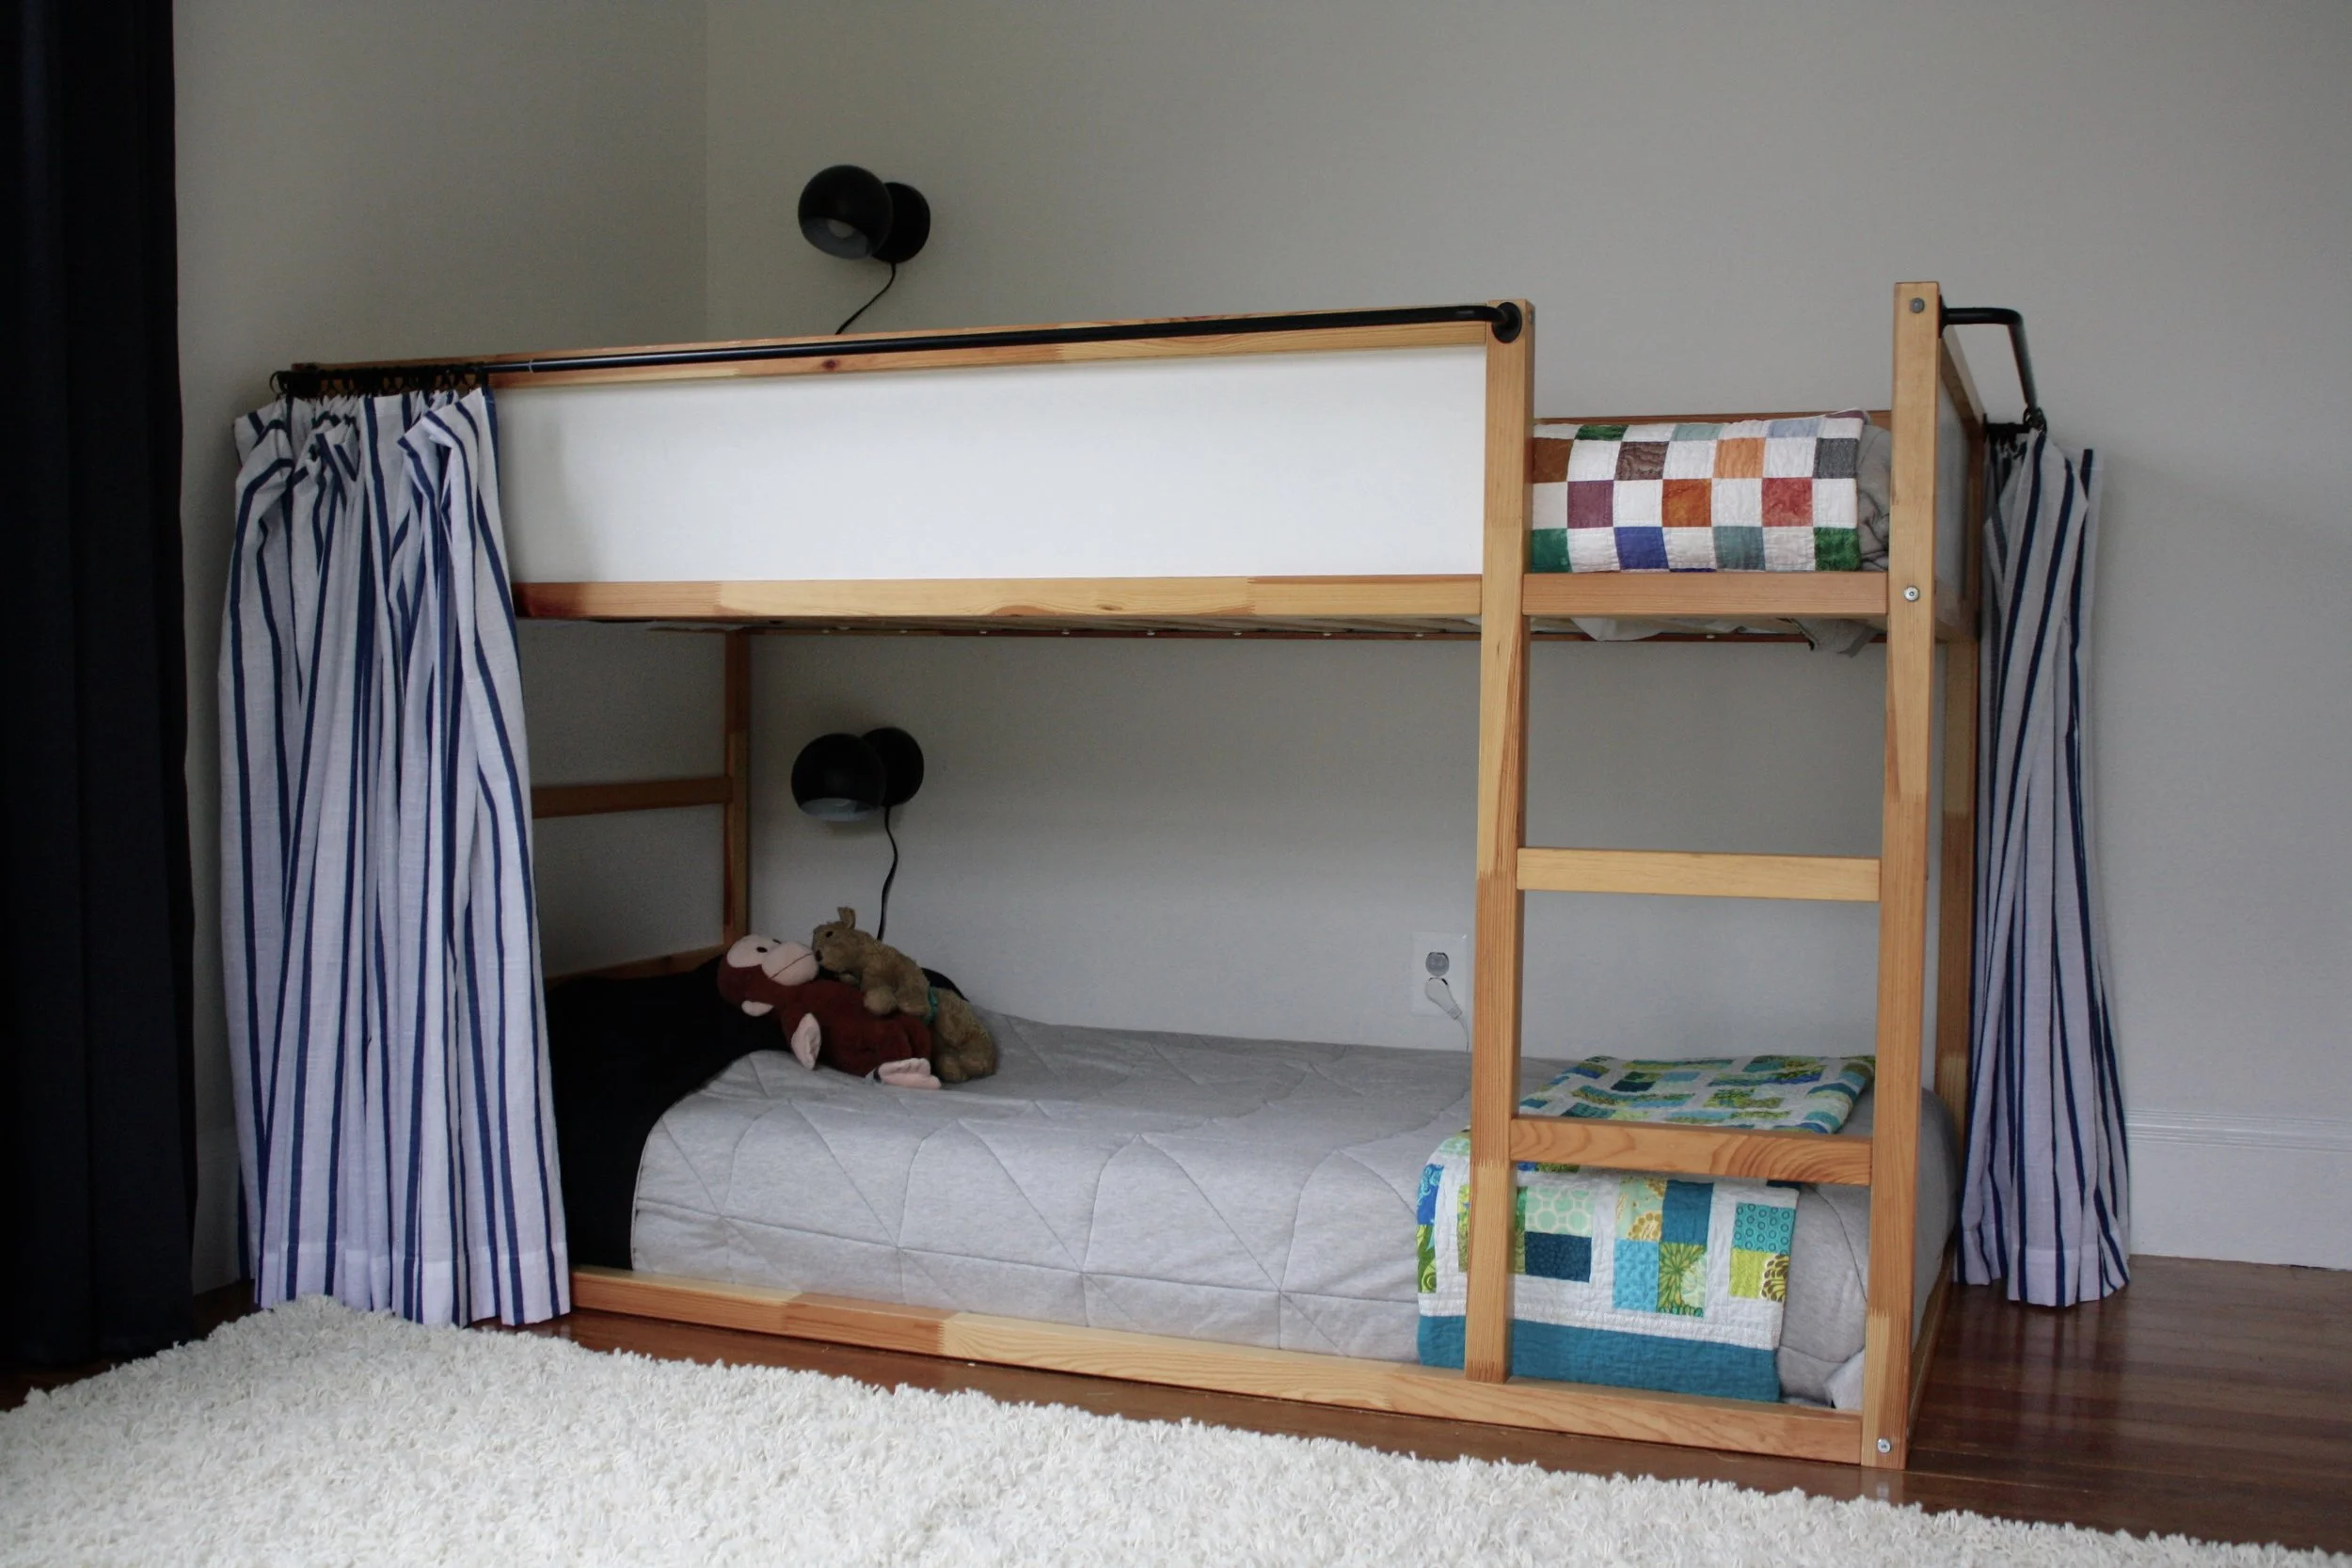
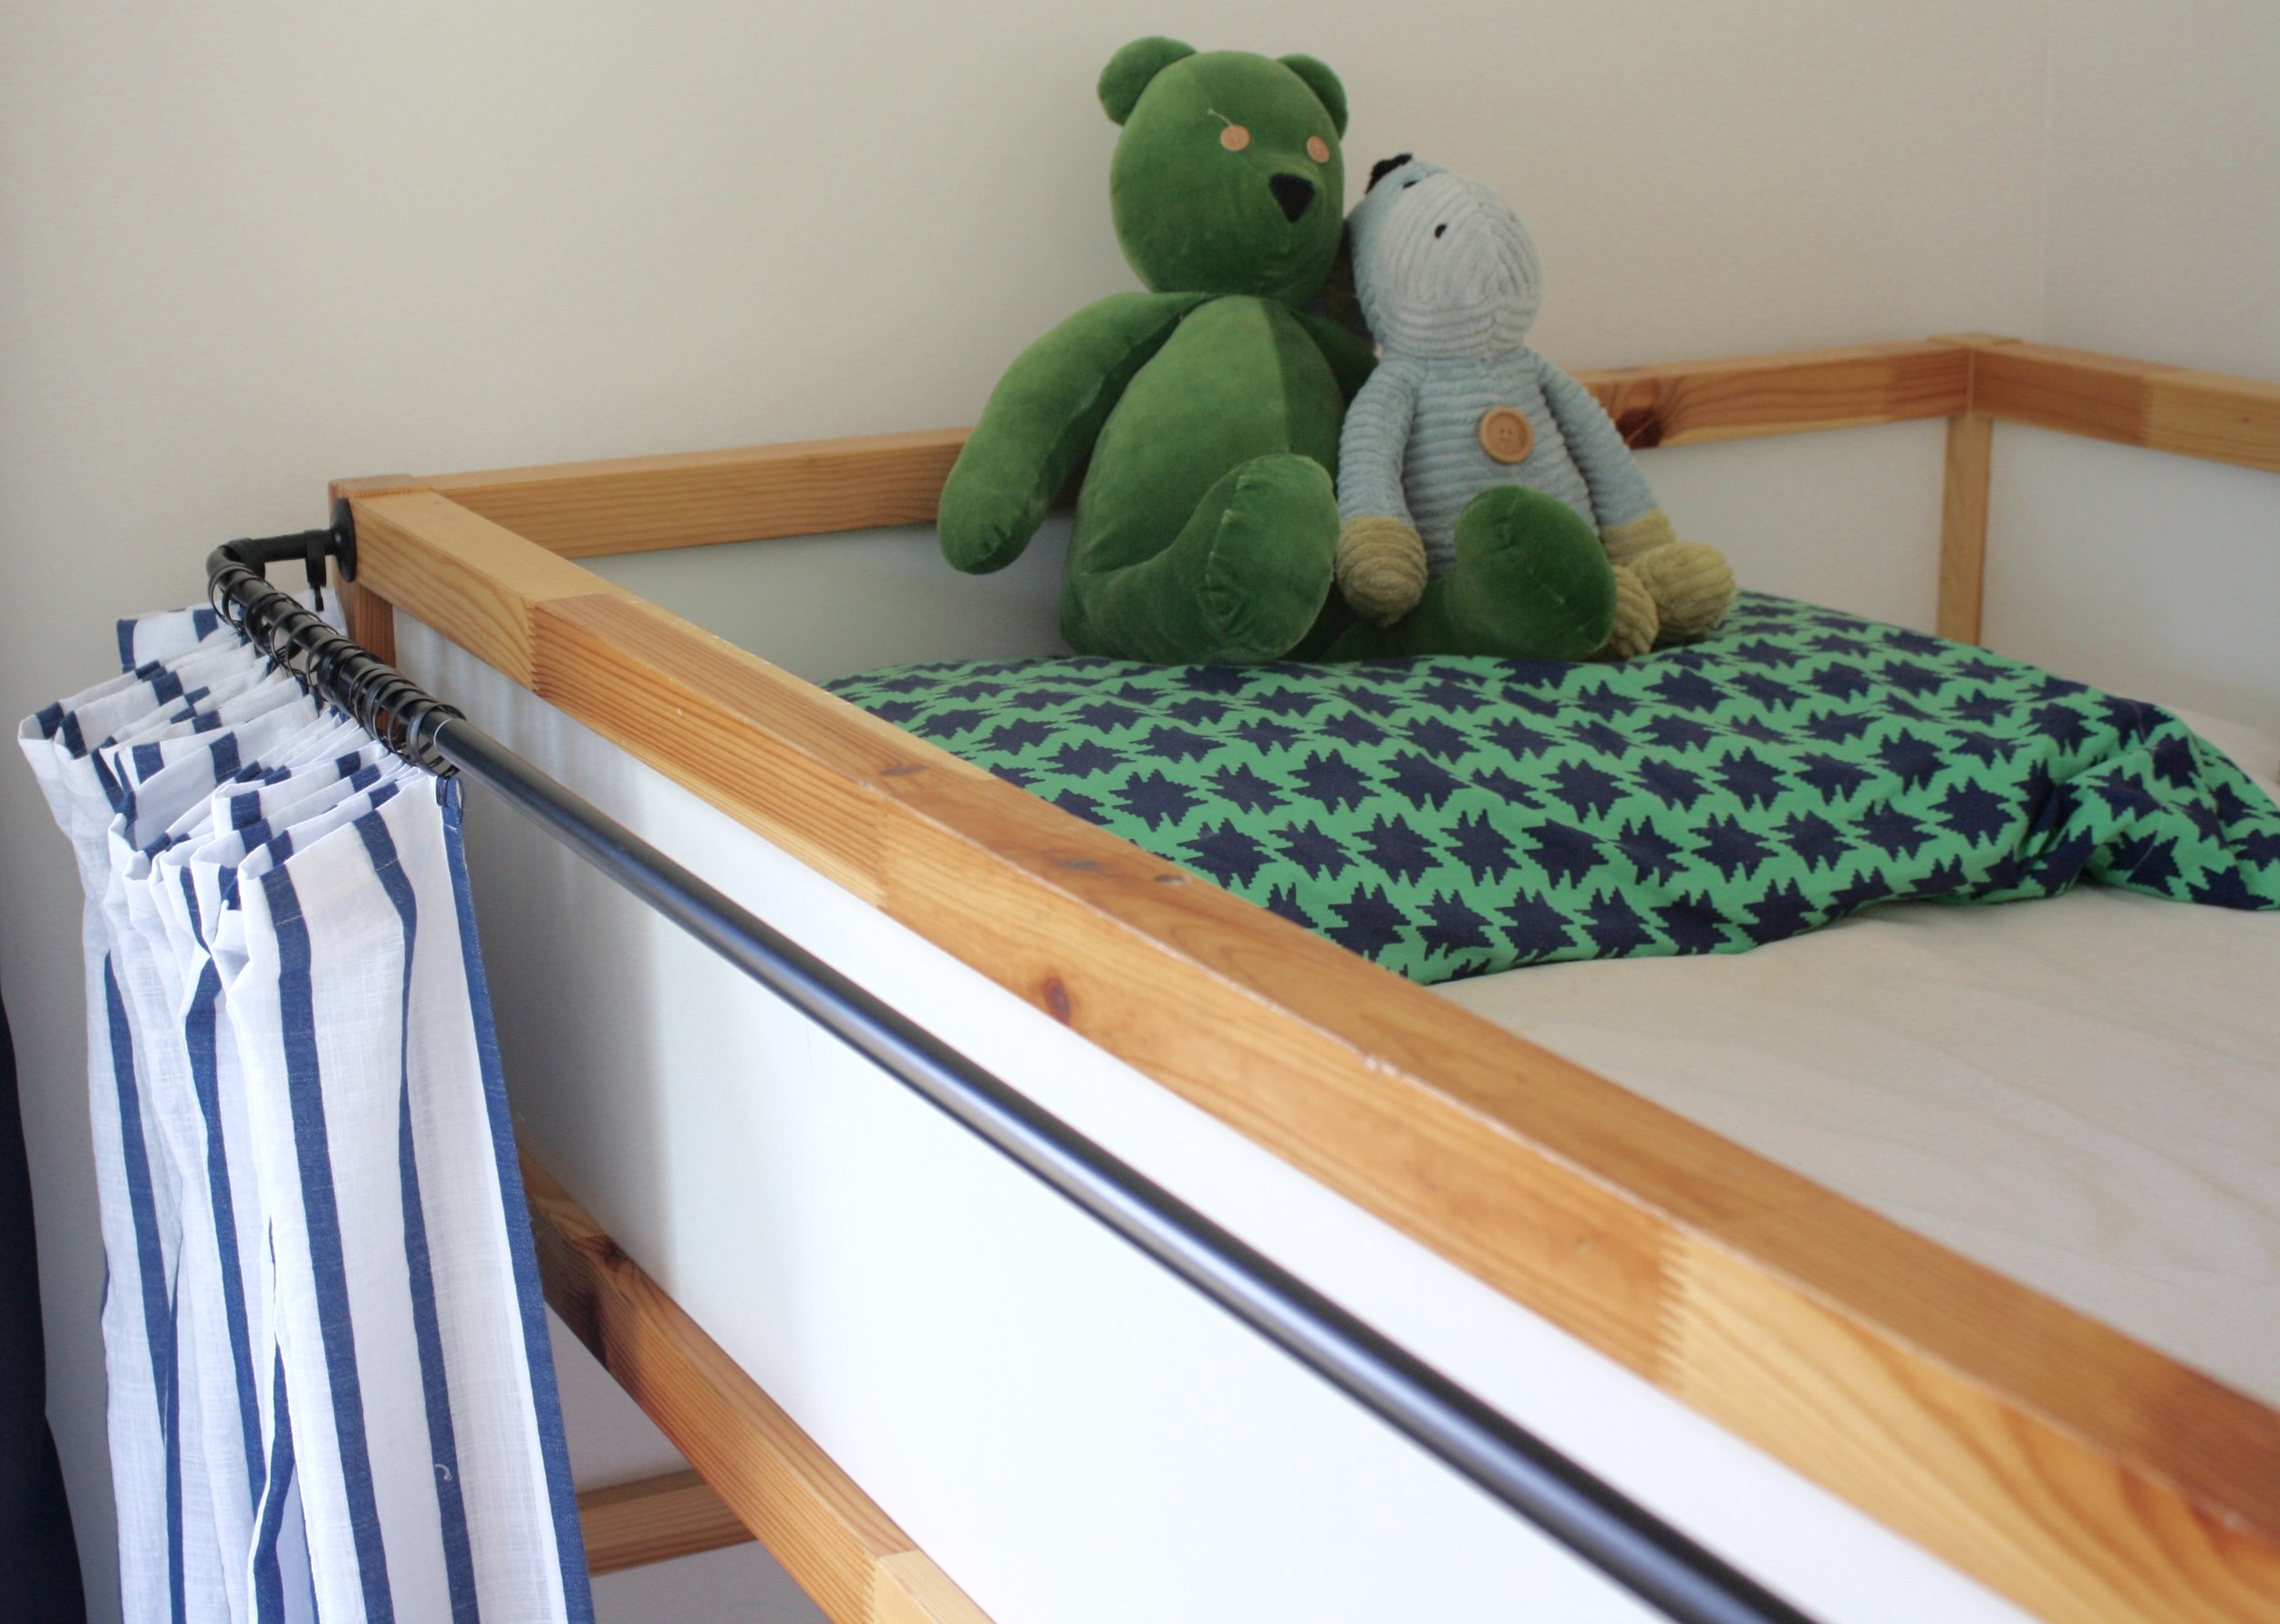
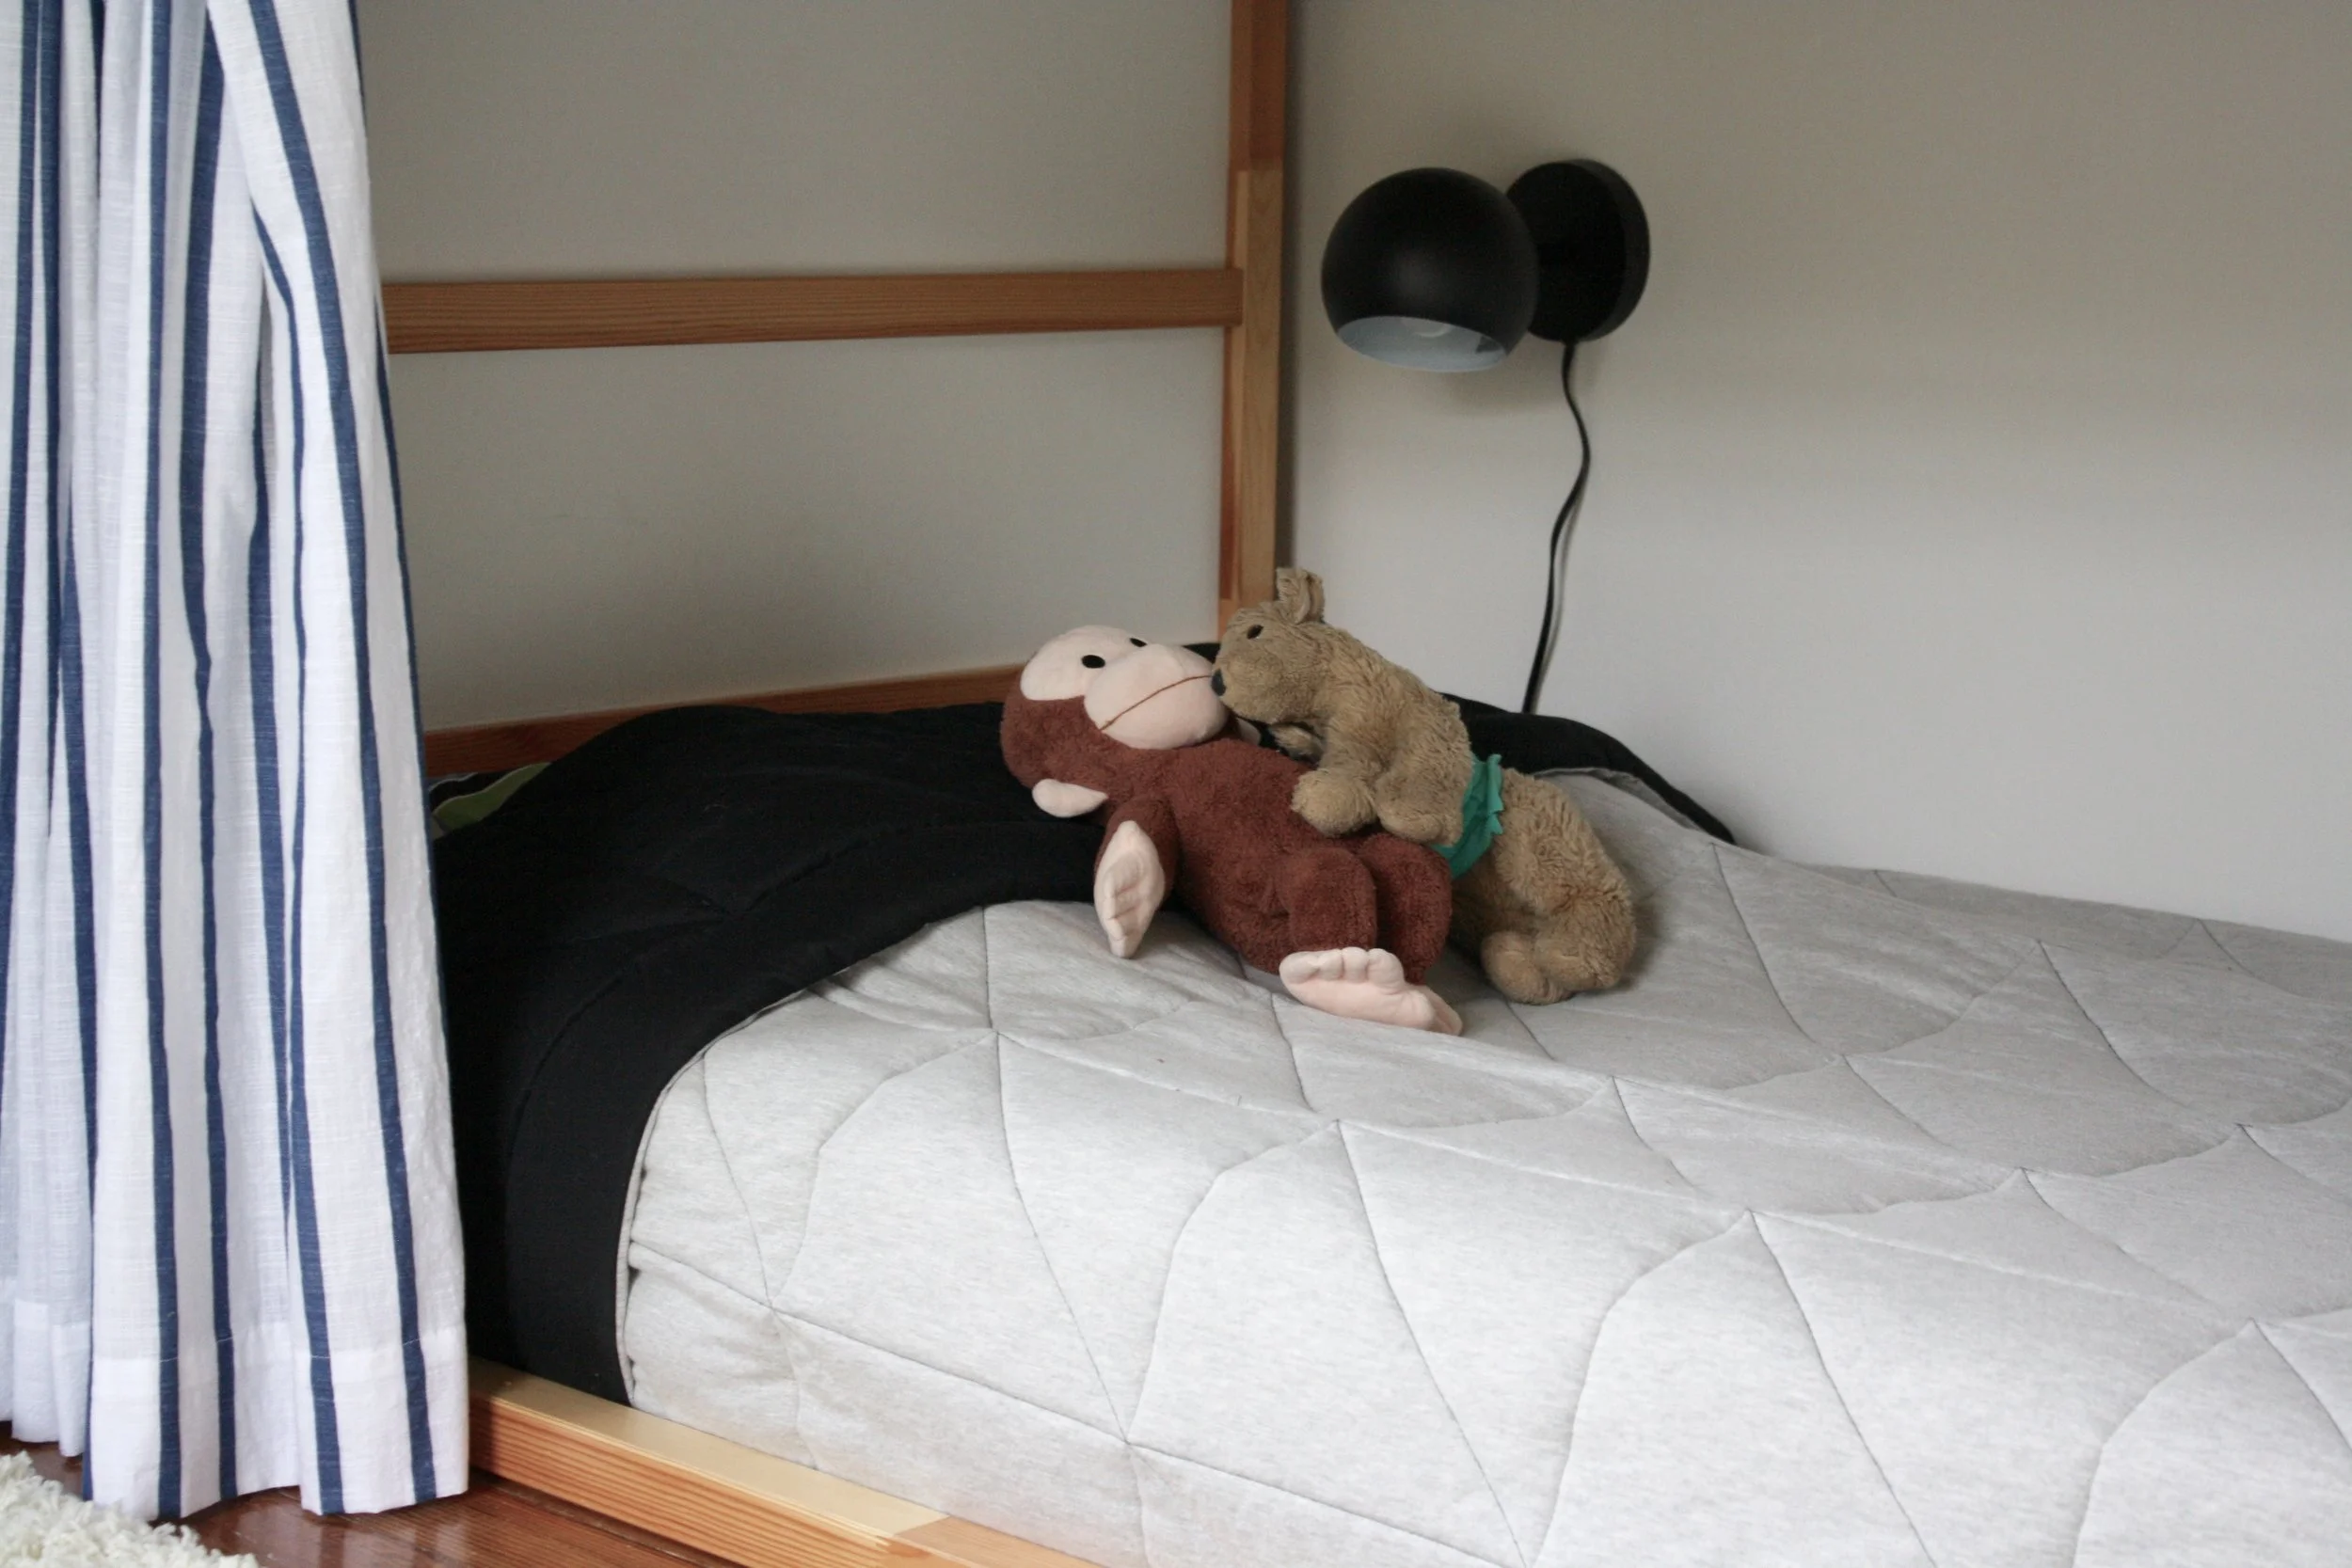
The lights have bulbs! And a flat head extension cord! The boys love being able to read in bed. We read Bible stories in the lower bunk at bedtime the other night, and everyone got a huge kick out of cuddling up together.

 
IMG_5688.jpg
 

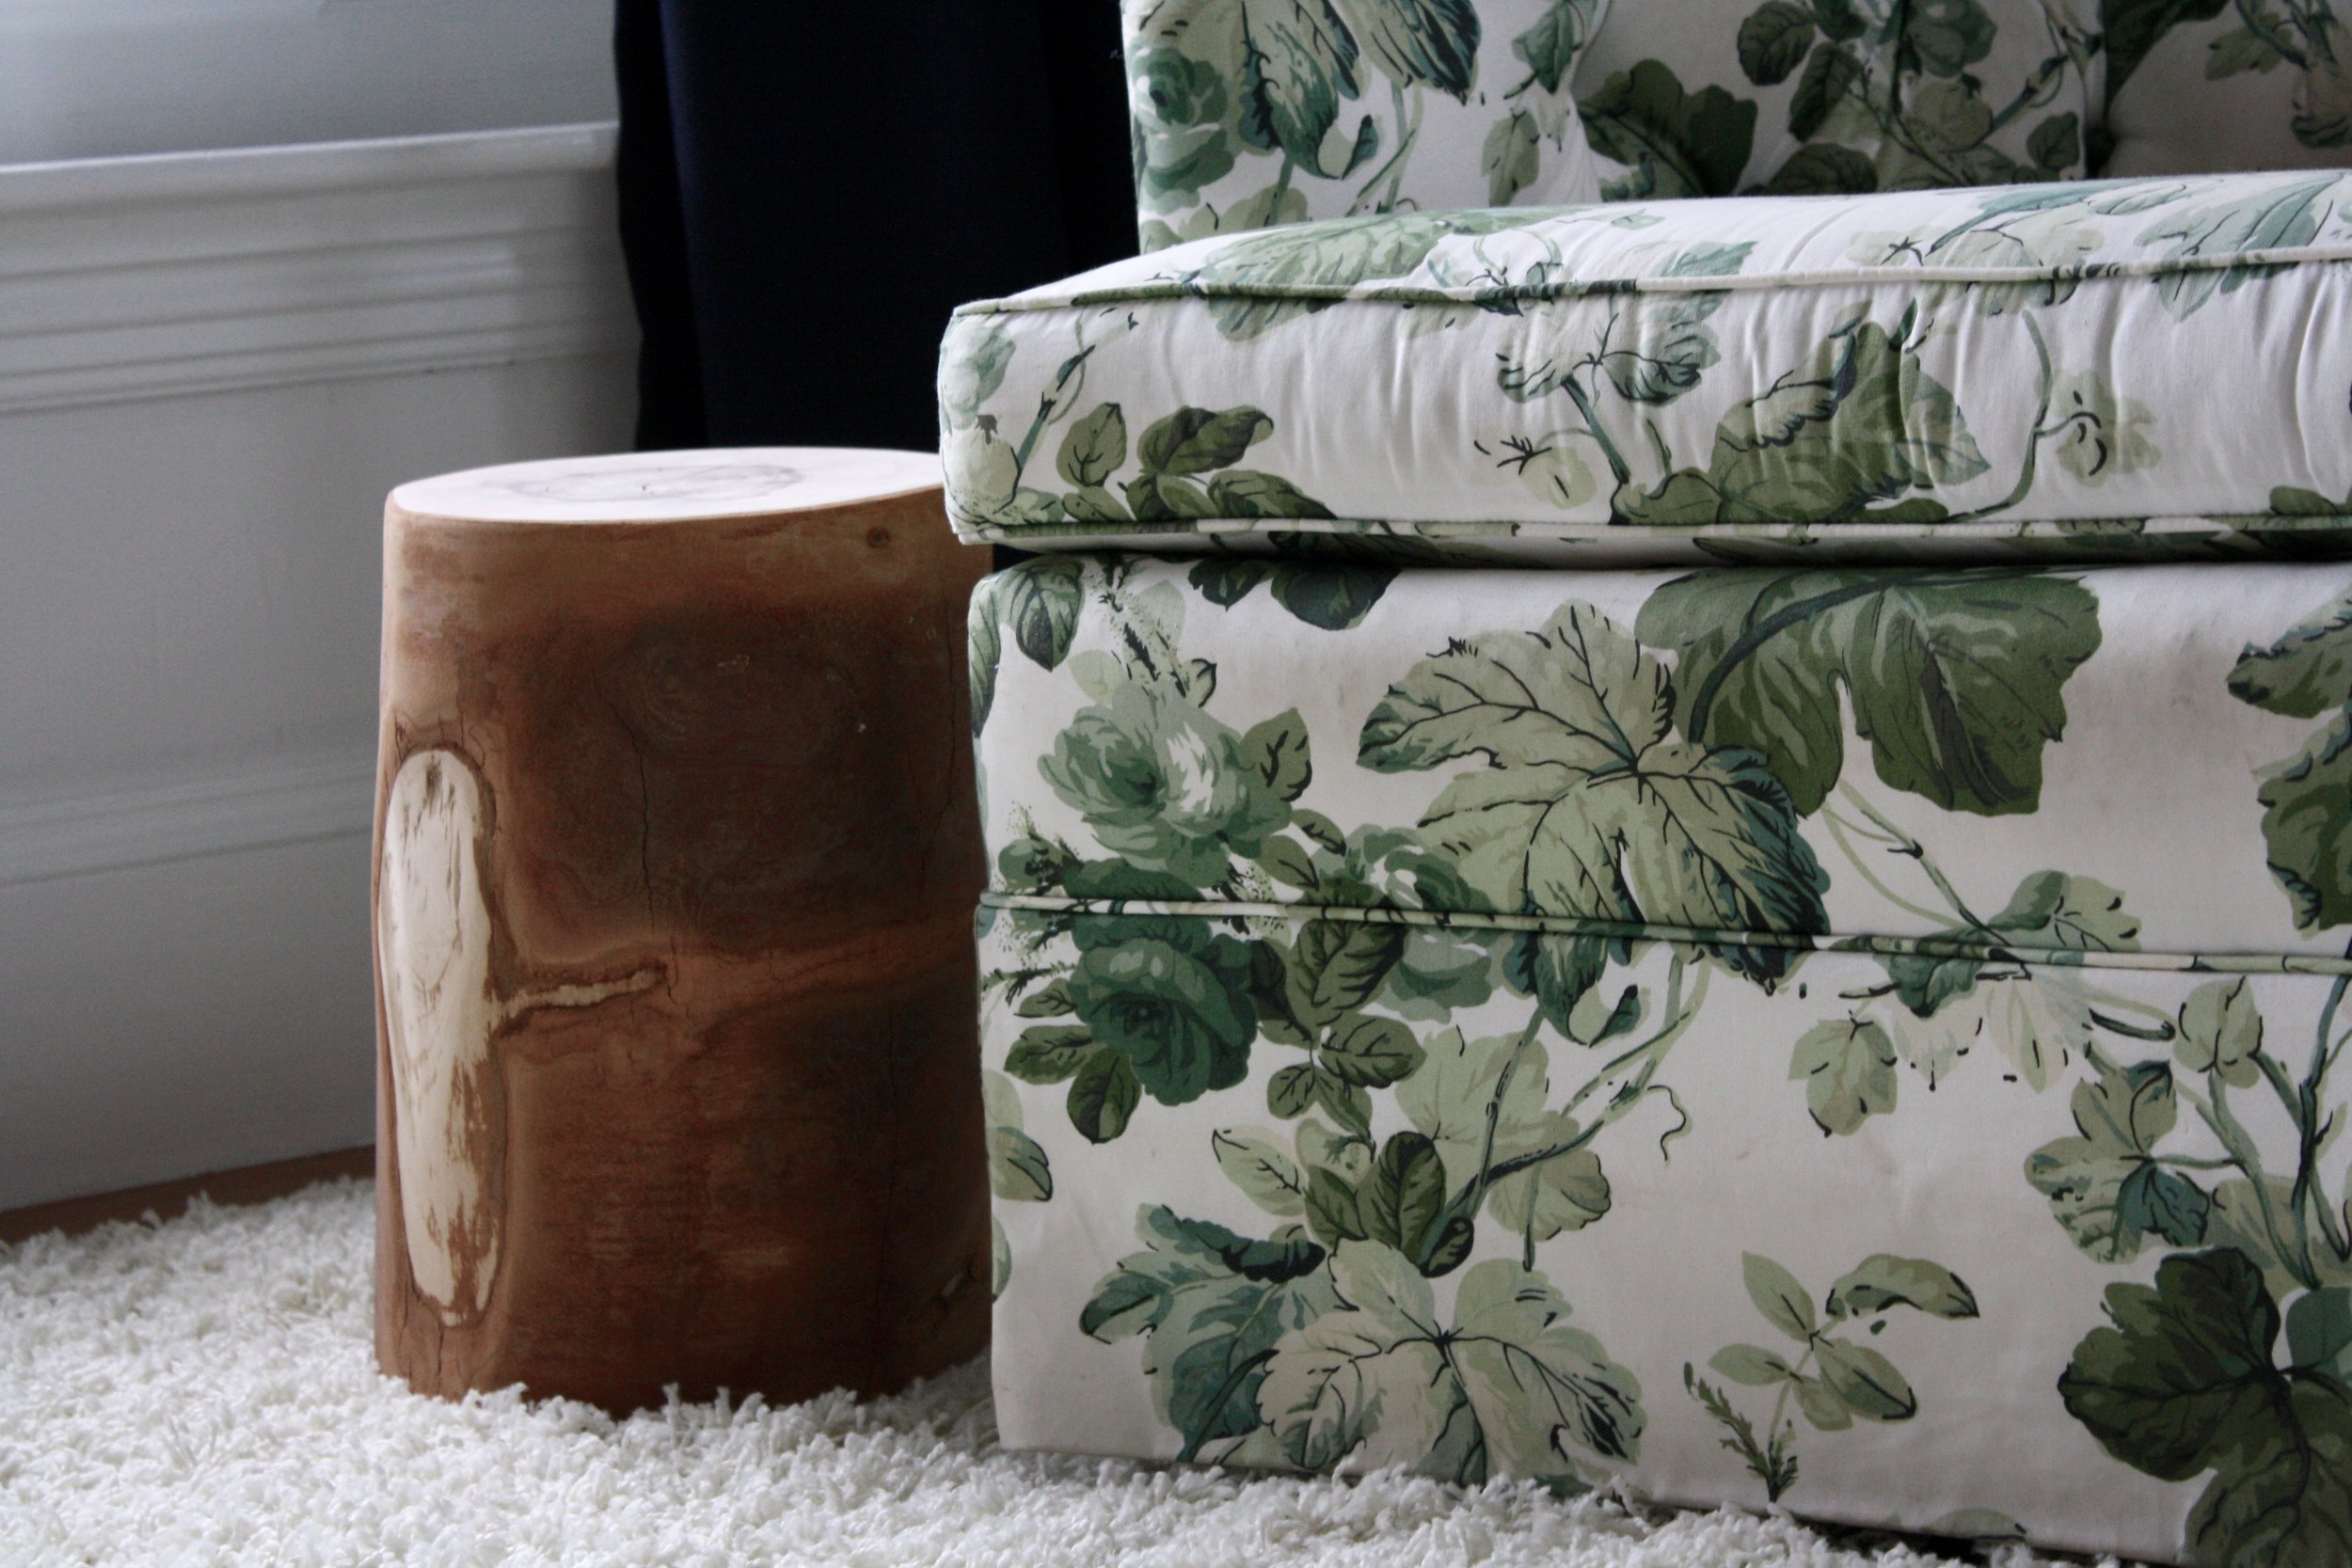
The biggest project to get finished up this week was the birch stump that will serve as a side table next to their reading chair. In May I decorated a wedding reception with, among other things, 10 birch stumps. I brought 6 home afterward (so heavy!!), and they have been drying out in my garage ever since.

 
IMG_5696.jpg
 

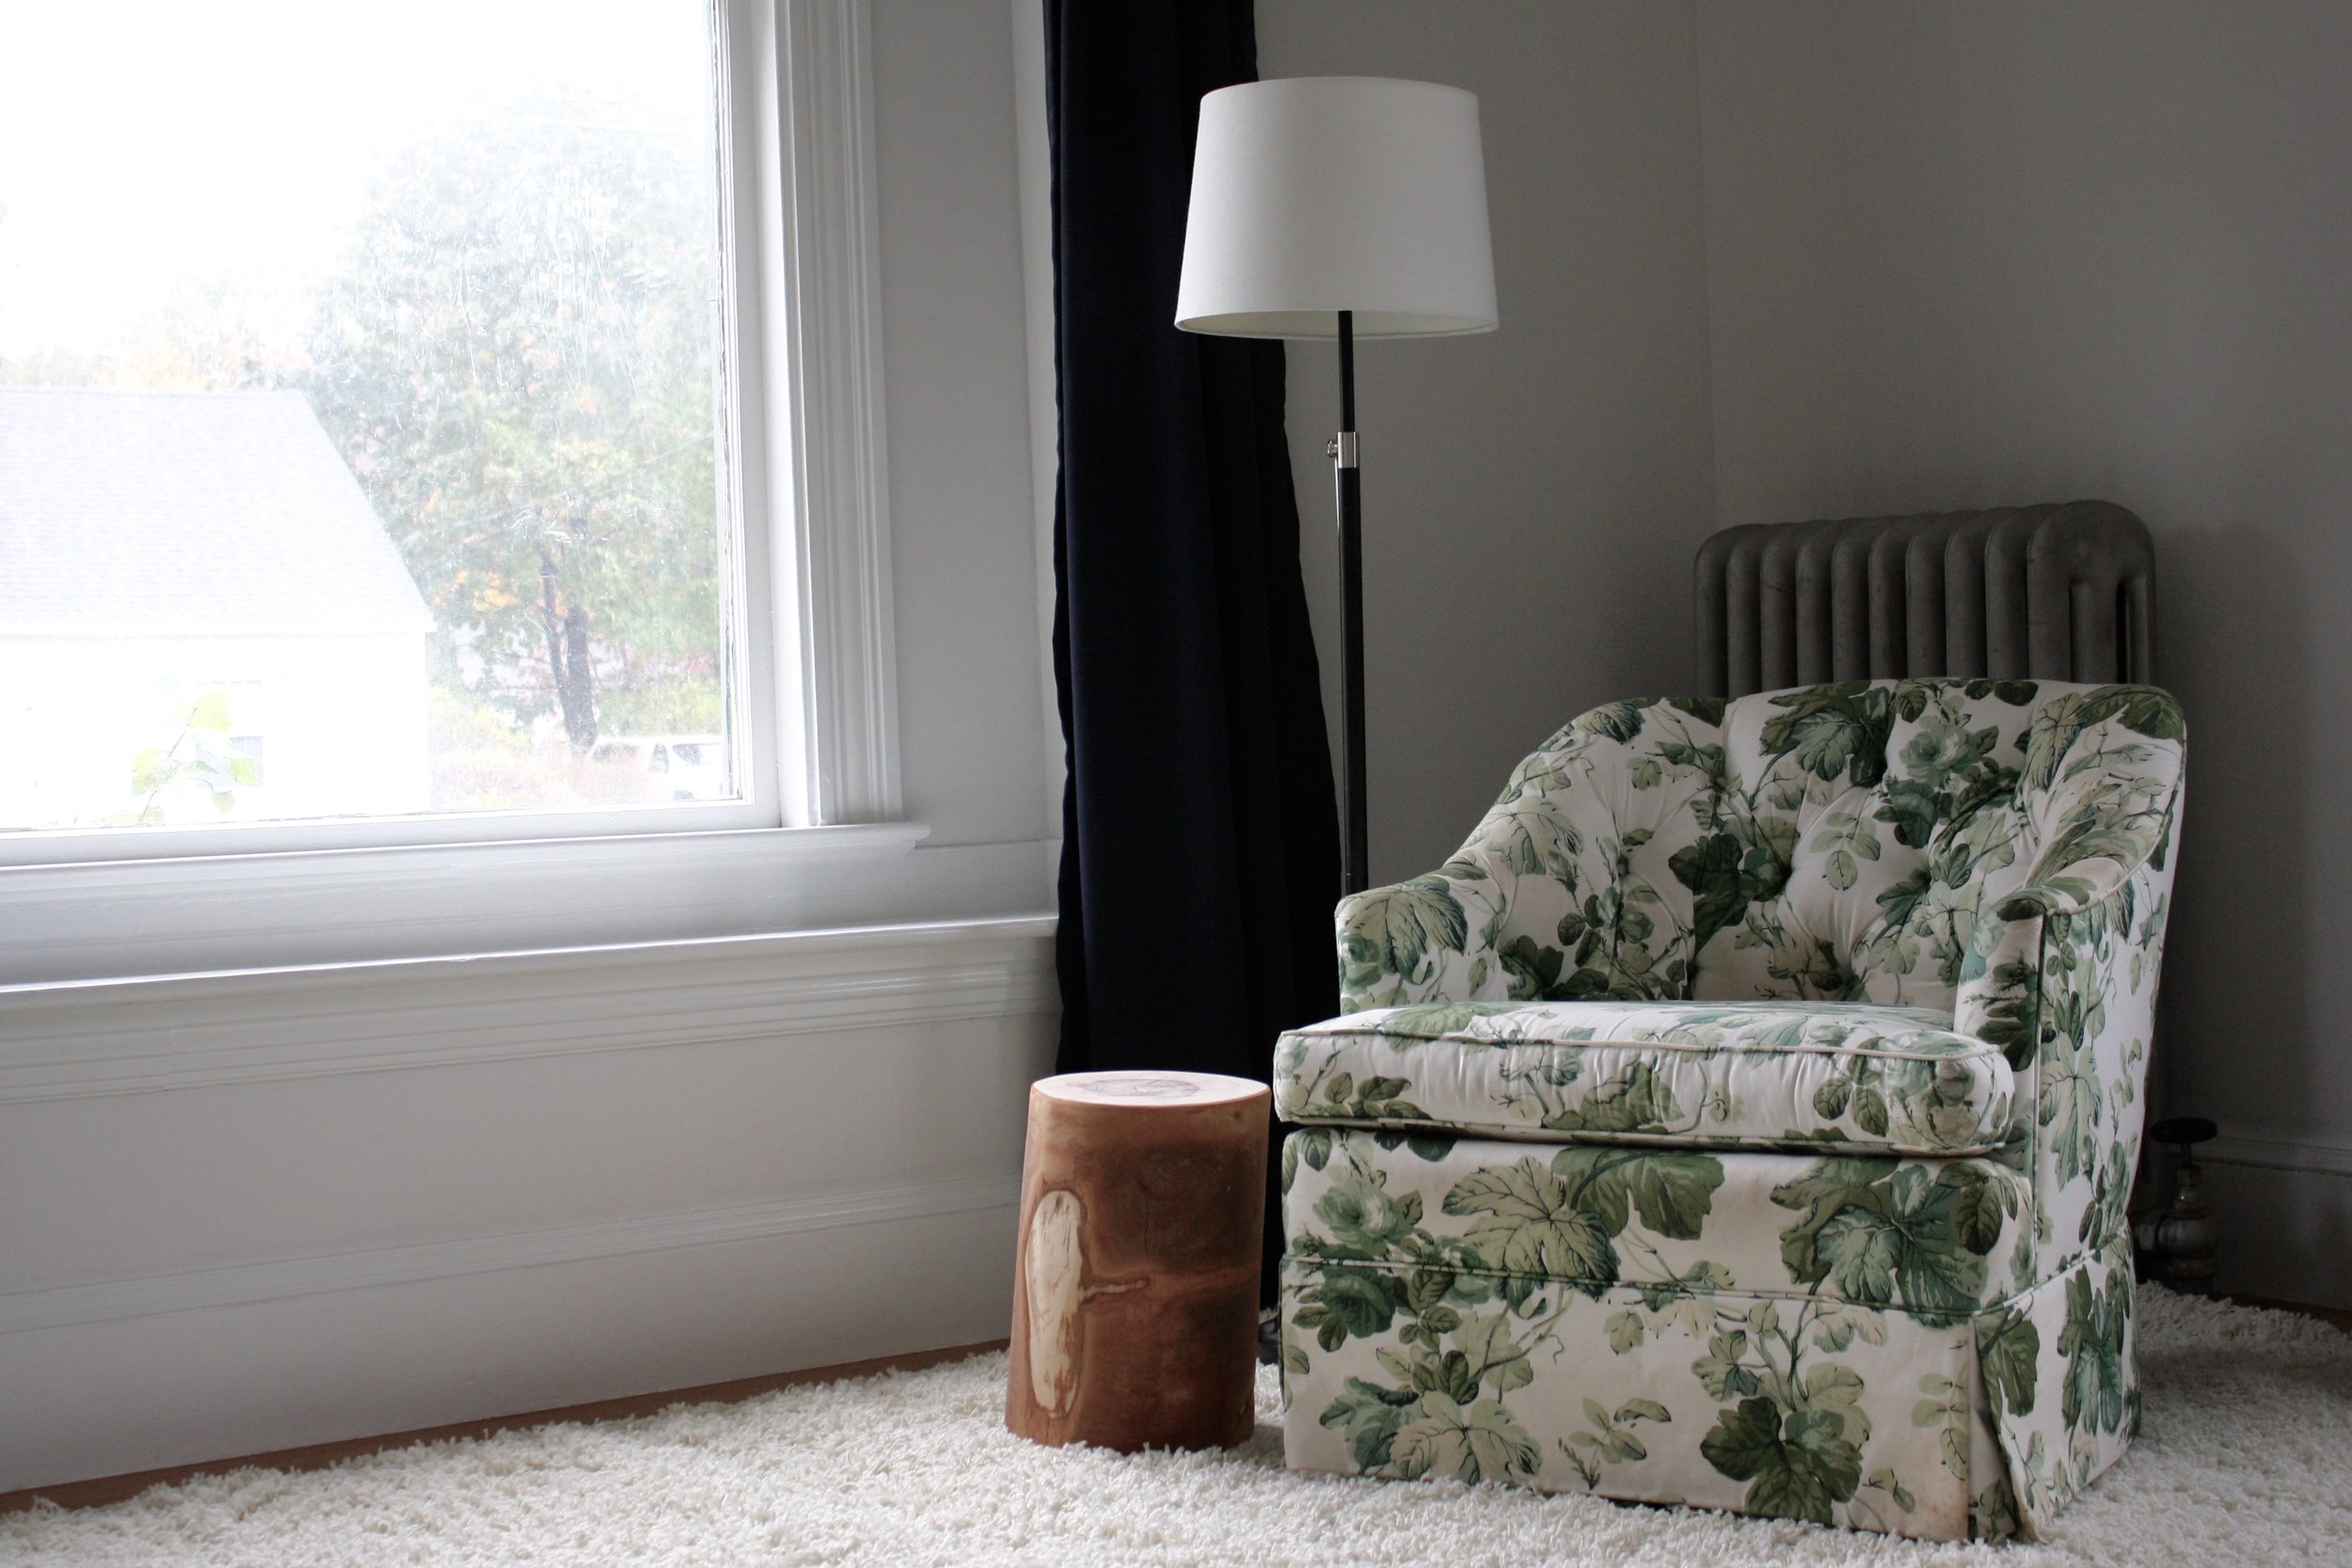
This weekend I selected one for the boys room, and set it on a stool outside to peel the bark. I hacked at it in a fairly unsafe way with my husband’s multi-tool knife until I got the many layers of bark off. I almost-not-quite got a blister, so it’s going to be a while before I peel another stump.

The next step was sanding, and I first used 80 grit, then 150, then 220 to finish it up. I used a 5-inch radius palm sander, and completed sanding in less than an hour. All told it was about a 3 hour project. I’m not going to seal it at this point, because there is a further layer that I’ll remove when it dries out even more (probably a spring project). Then I’ll oil or poly it… if you’ve ever peeled a stump please comment and let me know how you sealed it!

 
IMG_5700.jpg
 

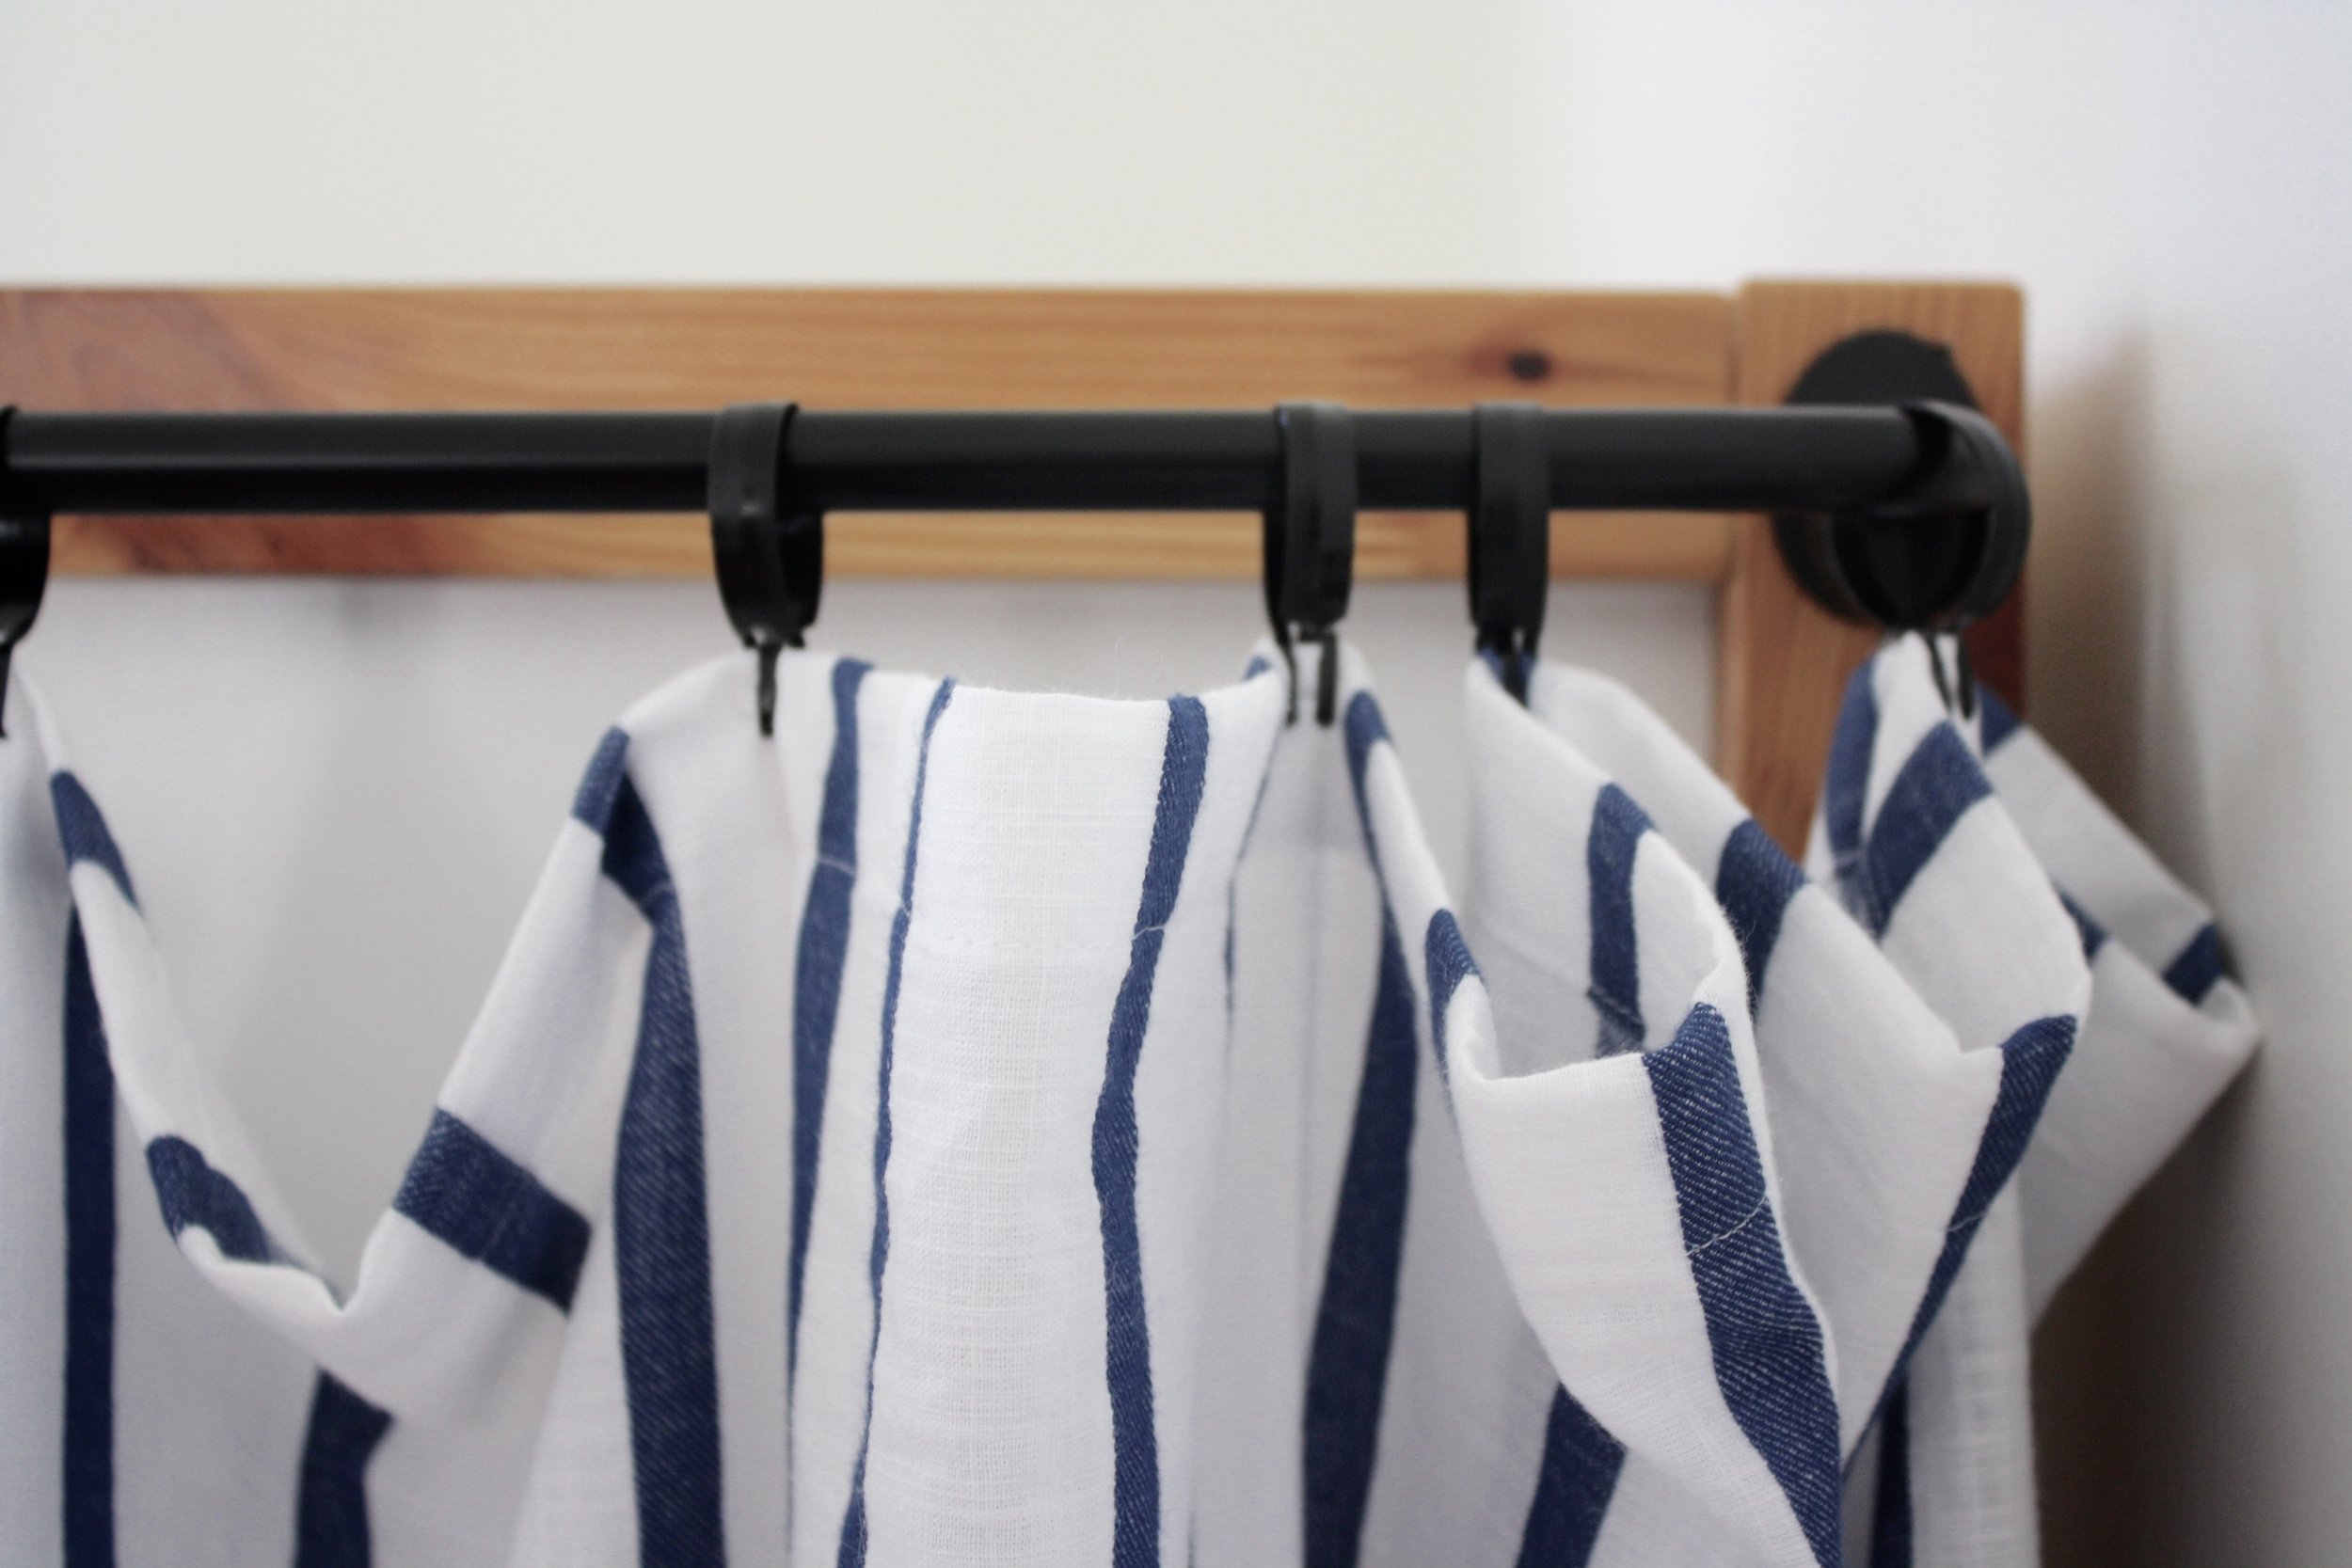
Tassels. So many tassels. So many, in fact, that it’s the title for this blog post, despite the fact that I have yet to take a picture of said tassels. I am going to trim the sides of the existing blackout curtains with tassels, and am making three different green colors with crochet thread. It’s going to be very fun. And now you know what I’ll be working on tonight when I finish this blog post.

 
IMG_5741.jpg
 

The KALLAX unit has seen steady progress, though I’m STILL not done with it. But I’ve applied multiple layers of poly to the wood and I should be ready to “built” it this weekend. I love how the color came out, and can’t wait to show you all! Crossing fingers for a successful IKEA hack…

 
IMG_5681.jpg
 

I took a trek to a second Target to pick up the second comforter, and my youngest is thrilled with his cozy blanket. The oldest commandeered the first one immediately upon purchase, so the little guy had been waiting for a couple weeks.

 
IMG_5690.jpg
 

I’ve been vacillating about my art plans for the room, but am pretty sure I have it nailed down now. It is all very personal and significant to the boys, and I’m looking forward to getting it on the walls in the next week or so. The boys will be so excited about a couple surprises I have planned!

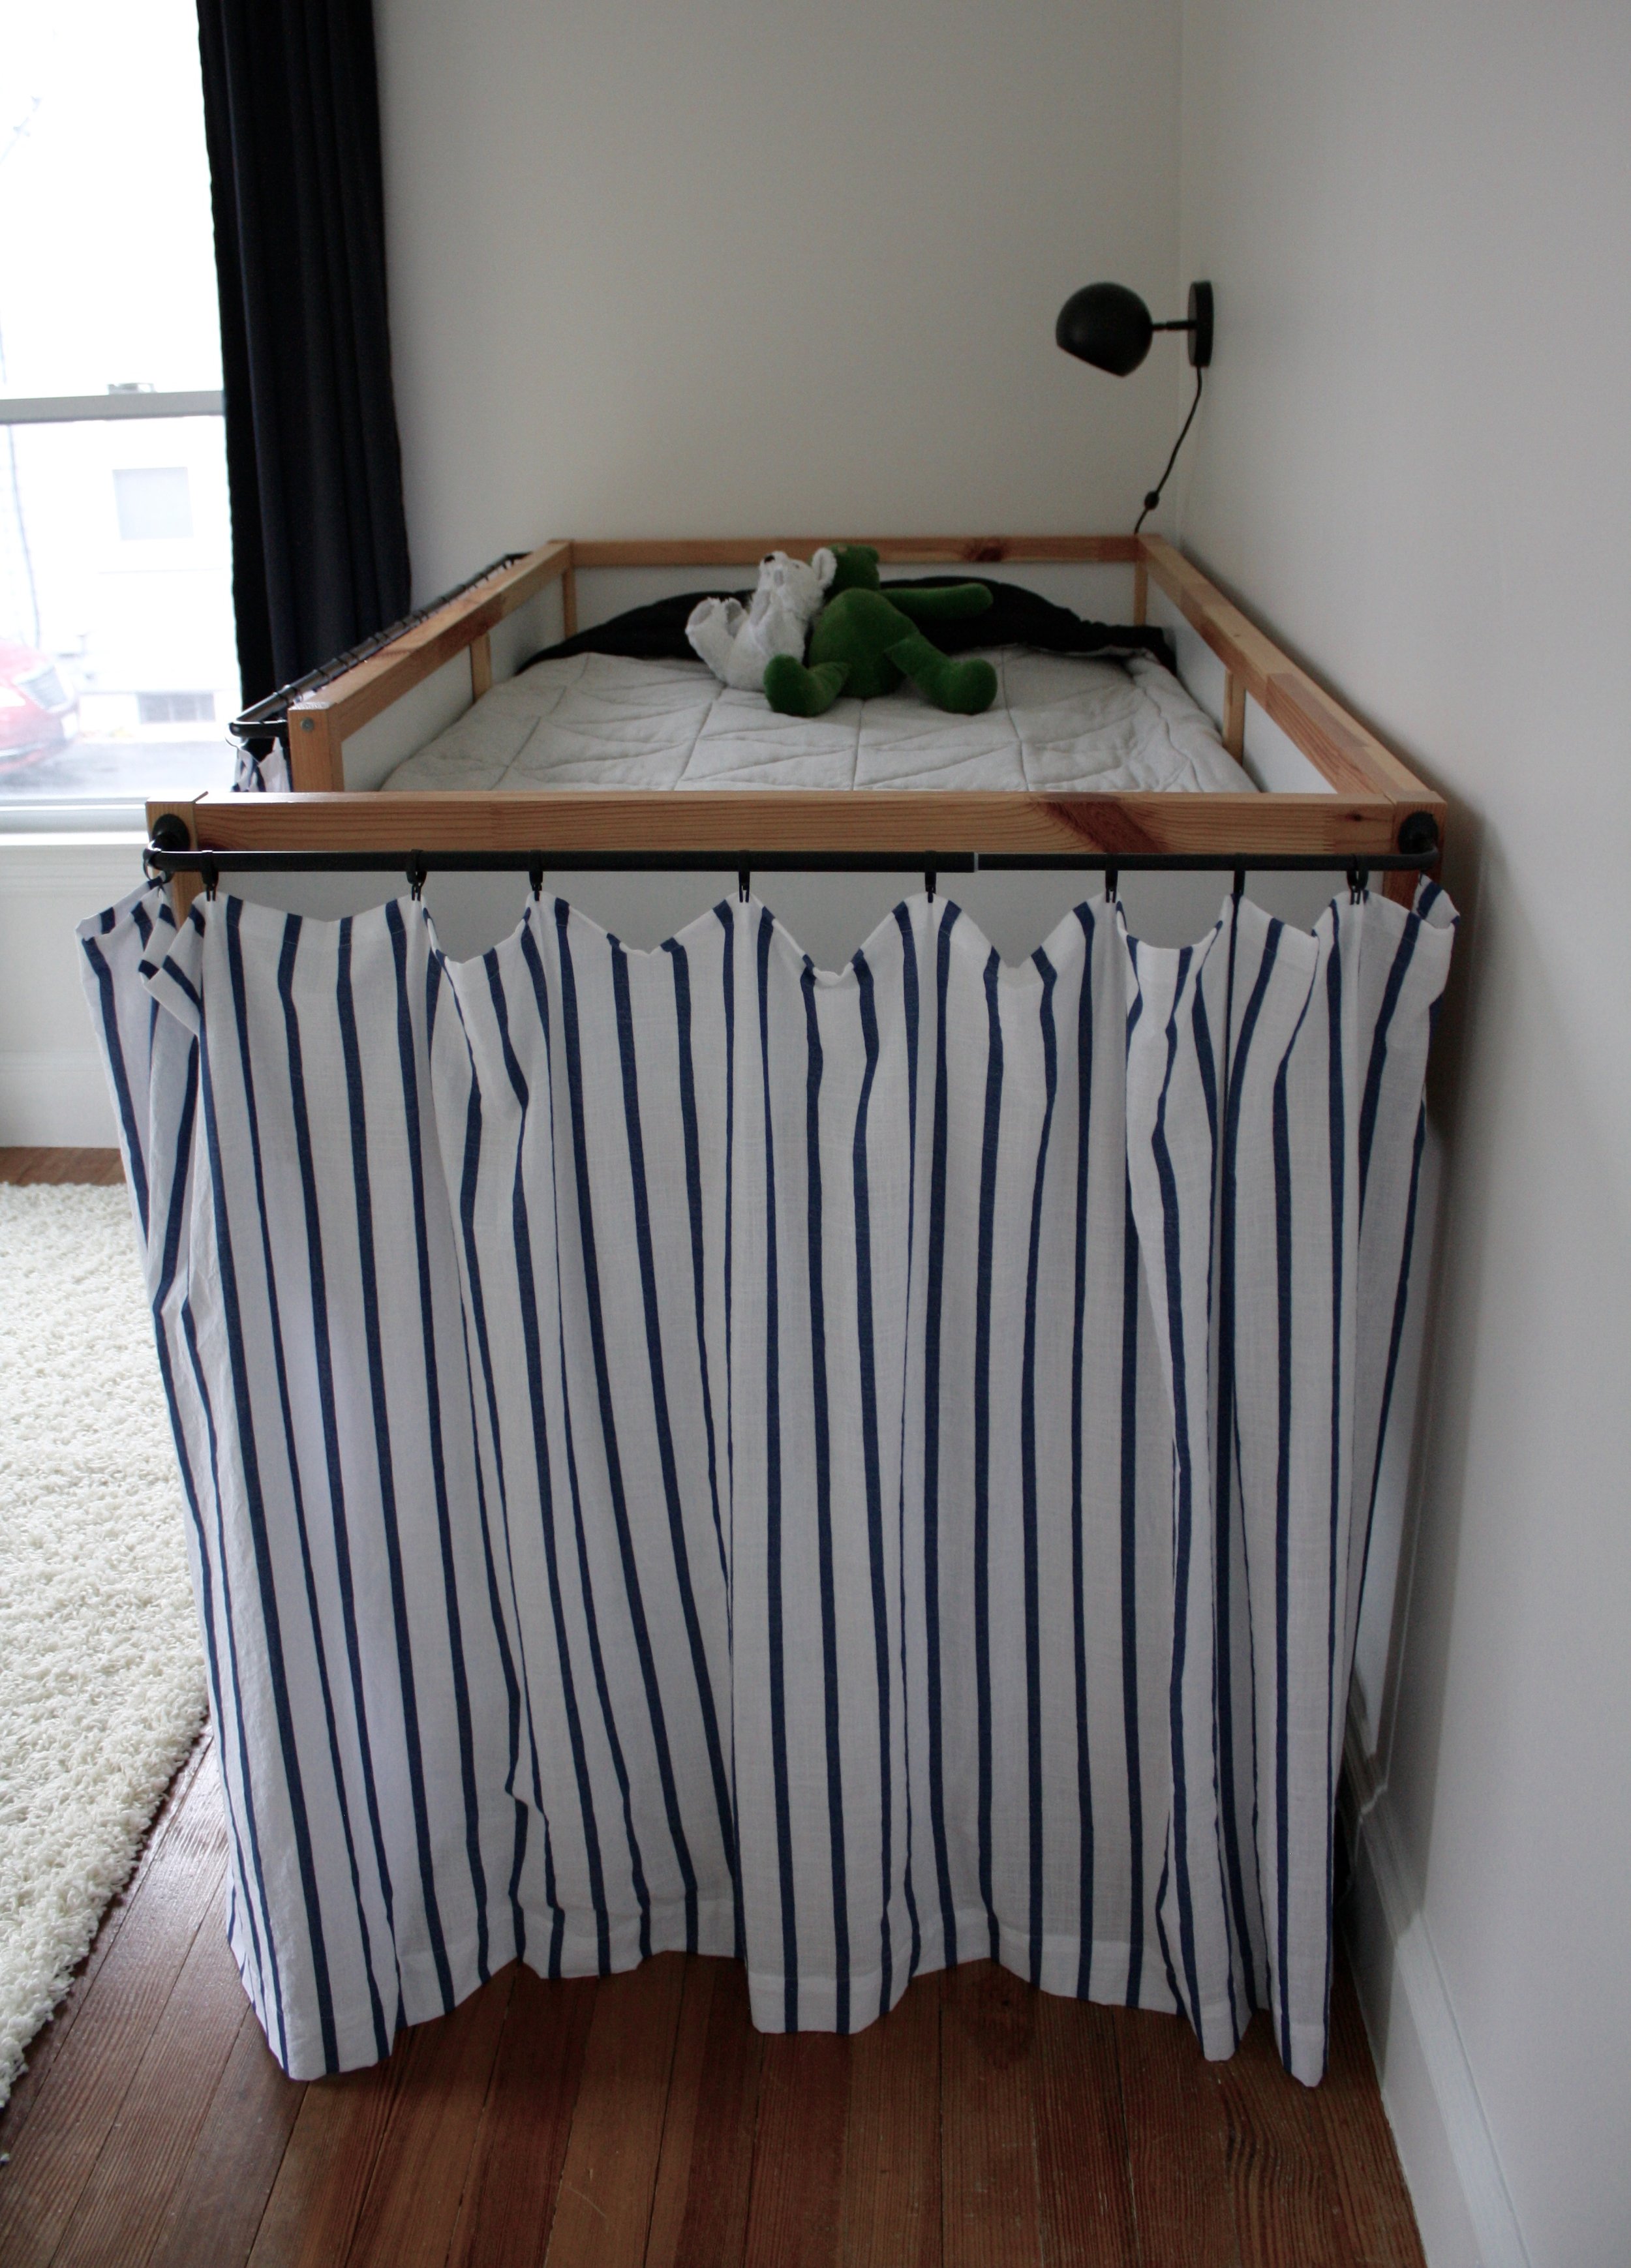
I realized today that I hadn’t taken any pictures with the bed curtains closed, and it’s one of my favorite details of the whole room. Check it out!

 
IMG_5722.jpg
 
IMG_5725.jpg
 
IMG_5728.jpg
 
IMG_5717.jpg


On to Week 5, time to really rock and roll!! Be sure to follow me on Instagram to keep up on One Room Challenge updates, and check out the featured designers and my fellow guests at the link below!


Two Steps Forward . . .

Welcome to Week 3 of the One Room Challenge!

For any new readers, the One Room Challenge is a biannual decor and design event that takes place every spring and fall. This Fall 2018 Challenge marks its fourteenth season! Each Challenge there are 20 designers selected to transform a space, and they document their progress every Wednesday for 6 weeks. In addition, anyone with a blog can take part as a Guest Participant. Each Thursday the guests post links to their progress, inspiring and encouraging others as they participate. And that’s me, a Guest Participant! I’m making over my boys shared bedroom, giving it a touch of whimsey and lots of function.

 
IMG_5369.jpg
 

Lovelovelove the rug. The colors are so pretty, and the quality is about as good as you can possibly get for $257. ALSO lovelovelove the green flower chair. In another room they would work together, but it just didn’t mesh in real life in the boys room. I want their room to feel simple, and the combo felt complicated. On paper it worked, so what happened?

Designing a room is not necessarily a sleek and linear process. You can have the best, most complete, well thought out plan ready to go, and then something doesn’t work in real life. Case in point: fabulous chair + dreamy rug = decor competition that doesn’t mesh.

 
Screen Shot 2018-10-05 at 9.23.38 PM.png
 

Which leads to this point: STAY FLEXIBLE. Allow for plans to change. The main direction of the boys bedroom is the same, and most of the elements are just what I initially planned… but now we are on the third rug. And you know what they say about the third time being the charm? It’s true.

Once I nailed down that it was the rug that had to change (not moving that chair!!), I decided a giant neutral shag was the way to go. My younger son comes to hang out in my office just to lie on my shag rug.

But have you ever shopped for a 9x12 rug? $$$!!!

 
IMG_5566.JPG
 

I was shopping on a site that had 45% off advertised, and kept trying to do the calculations, all the while wondering why they weren’t showing the sale price, as they usually did. Then I realized they WERE showing the sale price, and $500+ was about as good as it got. Buh-byeeee!

Thanks to trusty old Amazon for a 9x12 shag with great reviews for $155! Remember, boys are kind of gross. I might have cleaned boogers off the wall before I repainted their room. So we’re not spending big bucks on their rug. Maybe when they are older. Though do boys ever get less gross? I feel like we’re just going to move from boogers to modeling clay and stinky socks.

 
Photo credit Amazon

Photo credit Amazon


This bedroom has the unique challenges of no ceiling light and only 2 outlets. So I have to run the cord for the floor lamp 13 feet across the room and behind the bookcase to plug it in. The extra bonus of the larger rug (my poor little zebra that is no more was only 7’6” x 9’6”) is that I can run the extension cord UNDER the rug. Yes. I agree it would be better to install another outlet, but it’s not in the works right this second.

The next best surprise was that the rug arrived a week early, tonight as we were sitting down to dinner! Due to it’s giant size, it was folded in half after being rolled, and then plastic wrapped into a giant green blob, so I’m going to let it flatten out a bit more before any pictures happen.

One of the biggest projects I tackled this week was painting the boys doors. The door into their room is in the same corner as their closet door, at 90 degrees from each other. Together they provide an irresistible opportunity to introduce a little more color into the room.

 
IMG_1282.JPG

I’ve been debating green vs. blue and bold vs. subtle for weeks, and finally decided yesterday morning it was time to bite the bullet. After pinning about 40 doors, I picked three green colors and painted samples on one of the doors. That clarified things immediately! Green was out of the running, and I would stick to a light blue… or two… Benjamin Moore’s Watercolor Blue (793) and Mystical Blue (792).

 
IMG_1291.JPG
 

All those rectangles took a long time to freehand. Thank goodness for my once a week daycare…

 
IMG_5588.jpg
 
IMG_5597.jpg
 
IMG_5609.jpg


One more area I made (some) progress in this week was lighting. I ordered small wall-mounted sconces from Urban Outfitters, and when they arrived it took about 20 minutes to get them both mounted by their beds. So simple! I wanted something low profile so the boys don’t bump into them at night, particularly on the lower bunk. You will notice, though, that the Emperor has no clothes. I still don’t have the right light bulbs almost a full week later. I also need to get a flat-head extension cord to plug in instead of having both cords sticking out of the outlet.

 
IMG_5586.jpg
 
IMG_5585.jpg
 
IMG_5582.jpg
 

What else?

 
IMG_5600.jpg
 

I know. This looks mostly the same, except the books are slightly tidier and I swapped out the bins for baskets.

 
IMG_1268.JPG
 

I’ve done the black-wash treatment to the wood for the KALLAX unit, and thanks to my dad have also cut it down to size (I don’t have a table saw of my own… yet.). Next I need to sand/poly/sand/poly it, then attach the wood. So that will be another week or two, depending on weather and time management.

Plenty still to come, from art and textiles to dressing up their curtain panels, finding the perfect thrifted footstool / side table for next to the chair, sorting out bedding, and pulling together the ceiling treatment. Moving full speed ahead!

Be sure to check out the 20 featured designers and all the guest participants on the One Room Challenge Blog, link below! There are some great projects happening, and I’ll be sharing about some of them coming up soon on Instagram. Be sure to follow me on the ‘gram to be in the know!

Week 2 ... A Good Case of the Stripes

Here we are, Week 2 of the One Room Challenge!

For any new readers, the One Room Challenge is a biannual decor and design event that takes place every spring and fall. This Fall 2018 Challenge marks its fourteenth season! Each Challenge there are 20 designers selected to transform a space, and they document their progress each Wednesday during the event. In addition, anyone with a blog can take part as a Guest Participant. Each Thursday the guests post links to their progress, inspiring and encouraging others as they participate. And that’s me, a Guest Participant! I’m making over my boys shared bedroom, giving it a touch of whimsey and lots of function.

I love stripes. Stripes in clothing, art, fabric, wallpaper … in moderation, of course. I have one throw pillow with black and white stripes, several black and white or blue and white striped shirts, and have now added blue and white striped curtains on the boys’ loft bed!

A few weeks ago I was wandering through Hobby Lobby and spotted a bolt of lightweight (Muslin? Not sure.) blue and white stripe fabric on clearance for $2 a yard. So I bought the rest of the bolt, which ended up being almost seven yards, with no plan in mind other than I HAD TO HAVE IT. To use “Someday.”

 
IMG_5249.jpg
 

Someday came much sooner than it usually does, as I decided to participate in the One Room Challenge just weeks later. A light bulb came on, and I realized it would be the perfect fabric for curtains on the KURA loft bed. It is lightweight, but falls well. The boys have blackout curtains, so with fun being the only mission I could really use any fabric I chose. It seemed meant to be, as the stripe coordinated perfectly with the rest of the decor plan I had in mind, and with almost 7 yards at hand I had plenty!

 
IMG_5356.jpg
 

Even though I didn’t want to “blackout” the bed, I did buy curtain rods from Walmart that are meant for blackout curtains. Instead of hanging on a straight rod, the curtain clips can move all the way to the side, to sit flush with the mounting hardware. It’s the best option for hide and seek! I couldn’t find black cafe clips, only oil rubbed bronze or nickel, so I went with the ORB and spray painted them black. All told, including fabric, rods, and clips, this project cost under $40. I already had the spray paint.

 
IMG_5353.jpg
 

Ok, tutorial time.

And by that I mean, look up a tutorial on how to sew a hem, and then follow their directions to hem your fabric to the size you need. There are a billion sewing tutorials out there, and they are all MUCH better tutors than me, so YouTube it up, friends … feel free to comment if you have any great tutorials to share! I’m outsourcing here!

 
IMG_5365.jpg
 

For the KURA bed, once the rod was mounted and clips hung, I needed the finished curtains to be 43.5 inches long. I hemmed the top first, and then used the very scientific method of marking my ironing board with a pencil to know where to fold the bottom hem up to. Miraculously, this non-method worked out, and the curtains are the perfect length.

This afternoon I tried out the curtains. I hid in the bottom bunk with my 9-year old, and pulled both curtains closed.

No one found us!

Of course, no one knew we were hiding. And the other kids were outside. That might have had something to do with it.

 
IMG_5374.jpg
 

The rest of the room is coming along nicely. The rug arrived yesterday (A day early! I was so excited I interrupted nap time to install it. I think the One Room Challenge is not good for my kids naps.), and the verdict is that we all love it. Except my 9-year old says “The cream part is itchy. But the silver part is soft.”

Can’t make everyone happy. It’s not her room, so whatever.

And a week after my craigslist purchase the chair still makes me SO HAPPY. I will love it forever. It could literally work in any room of my house. Including the kitchen, and an upholstered chair in a kitchen is a hard sell. (Don’t worry. It’s staying in the boys room.)

 
IMG_5369.jpg
 

I painted the room over the weekend. On Friday the kids had a couple friends over, so they played out in the backyard all afternoon while I frantically painted the trim Benjamin Moore’s Decorators White. Then on Saturday I painted the walls and ceiling Benjamin Moore’s Classic Gray, mixed half-tint. Not sure how I got it done in one day, because I spent most of my time at Home Depot. First for paint. Then back for a roller. Because I forgot to thaw the roller I had in the freezer that was saturated with half-tint Classic Gray from when I painted my bedroom in August and ROLLERS DON’T THAW FAST. Then back for more paint, when I realized I definitely couldn’t get away with one coat. Long day! But I’m married to a saint, so he wrangled children and it got done.

 
IMG_5354.jpg
 

There you have it. The first full week of the One Room Challenge is over, and it seems I just might get this done! Next up, a makeover of their KALLAX storage unit. I bought wood today, so here we go!

 
IMG_5390.JPG
 

Don’t forget to check out the other participants of the One Room Challenge, there are some really cool projects happening. Inspiration is flowing! Check it out at the link below, and don’t forget to keep up to date on my Whimsical Boys Room Makeover on Instagram. (Link below… below.)


Evolution of a moodboard

It’s only been a few days, and the moodboard for the boys room has already seen significant changes. It started out with a geometric rug that I’d had my eye on for some time… but that rug didn’t really work with my craigslist chair find.

 
Screen Shot 2018-10-04 at 8.58.02 PM.png
 

So I went back to the drawing board, and focused on light colored neutral rugs. I was almost sold on a plush cream shag, when I came across this zebra print from RugsUSA. It was an “aha” moment, but it’s so different from what I’d initially had in mind that I decided to run it by my two favorite decor buddies. They both agreed that it added the right touch, so I immediately pulled the trigger to take advantage of the 55% off Columbus Day sale. Usually I’d sleep on it, but I didn’t want it to get sold out and go on backorder past the One Room Challenge deadline!

 
Screen Shot 2018-10-08 at 1.45.24 PM.png
 

Yes, it is a very light colored rug. Yes, it’s going into a boys room. But we are a no shoes in the house family, and I’m going to Scotchguard the crap out of it. And then cross my fingers that we never have another Blueberry Vomit Situation again.

The addition of the chair and change in rug have clarified the direction of the room, and I’m so excited to see it all move forward. Now that I’ve painted the trim, walls, and ceiling, I can get going on some of the fun stuff.

 
Screen Shot 2018-10-08 at 1.41.09 PM.png
 

The boys already have the KURA loft bed from IKEA, and I’m going to be adding blue and white stripe curtains on the side and end. My three year old loves to have a cave-like bed, and currently has most of his dress up clothes tucked in various places. When you duck down and look in, you can see his Batman cape and policeman jacket hanging side by side from the slats that hold big bro’s mattress up. On the long side he has scarves tied on, and the latest addition today was a scarf that he fashioned into a hammock for his favorite stuffie.

Of course, the moodboard doesn’t show the full details of what I have planned out, so here are some more of the coming projects:

  1. Customizing their KALLAX shelving unit. I have an image in my head of a wood wrap that waterfalls into legs that hold it up about 4 inches off the ground. And I’m sure that makes no sense to most people because as of right now it only exists in my head, but in my head it’s really cool.

  2. Grosgrain ribbon detailing on the existing blackout curtains in a grid pattern. The curtains are staying because these boys NEED blackout curtains. Our lives are all miserable without them.

  3. As mentioned above, bed curtains. And tomorrow I’ll be taking advantage of the warmer weather to spray paint the cafe curtain clips to hold said curtains on the rod. Black rod + oil rubbed bronze clips = blech! I looked everywhere for black clips, but they don’t exist (Amazon, you let me down!) so spray paint it is.

  4. I MIGHT also spray paint a set of lamps that I have for their room, but am torn between finding something new (old) on craigslist and selling these, or spray painting them. We’ll see.

  5. Art. ART! Finally. I’m planning a giant map above their shelving unit. And have a couple other ideas percolating.

  6. I have an idea for a sort of miniature bunting that would hang at ceiling level and cris-cross from wall to wall. Kind of like string art, but on a larger scale. And with color. And again, impossible to show an example of before I just do it. This one’s going to either be really really cool, or really really awful. Totally depends on execution, I think.

And with that, I’m off to get sewing!